


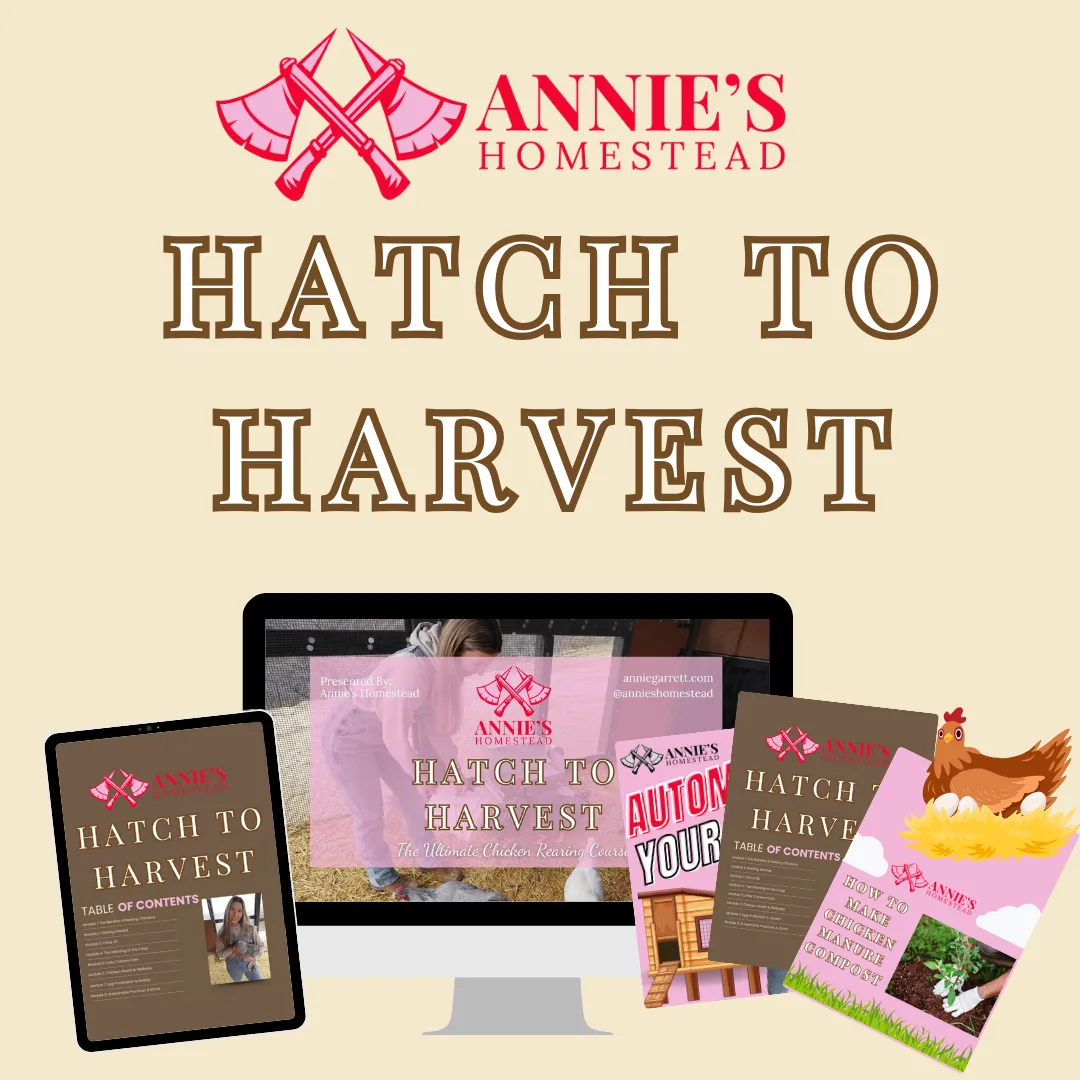
Welcome to Annie's Homestead
Take Your Homesteading to the next level!
Don't let another day go by without pursuing your passion for a more sustainable, fulfilling way of life.
Does this sound familiar?
You find yourself feeling disconnected from the food you eat, relying on processed products from the grocery store instead of nurturing your own garden-fresh produce...
You live in the city but want to learn the basics...
You want to monetize your homestead...
If these frustrations resonate with you, you're not alone.
Many people share your desire for a deeper connection to nature and a more sustainable way of living, but struggle to find the resources and support they need to make it happen.
That's where Annie's Homestead comes in.

It's time to take control of your food, your lifestyle, and your future by embarking on a homesteading journey like no other.

Here, you'll find courses tailored to individuals just like you, providing you with a homestead roadmap

It's okay if you're living in a city right now! You can homestead exactly where you are.

Learning skills of fermentation, baking, bush craft, gardening and more, can help you become a homesteader even if you live in the heart of the city.

Turn your homestead into a cash cow by capitalizing on your talents so you can leave your 9-5.

Are you a home baker or gardener? Or neither? Our Homestead courses will help you discover your passion to turn into an income.
chicken coop automations
Want to streamline your chores?
From automatic door openers to refillable waterers, these innovations streamline maintenance tasks, ensuring your flock stays happy and healthy with minimal effort on your part.
Whether you're a seasoned keeper or just starting out, these time-saving solutions are a game-changer for any chicken enthusiast.
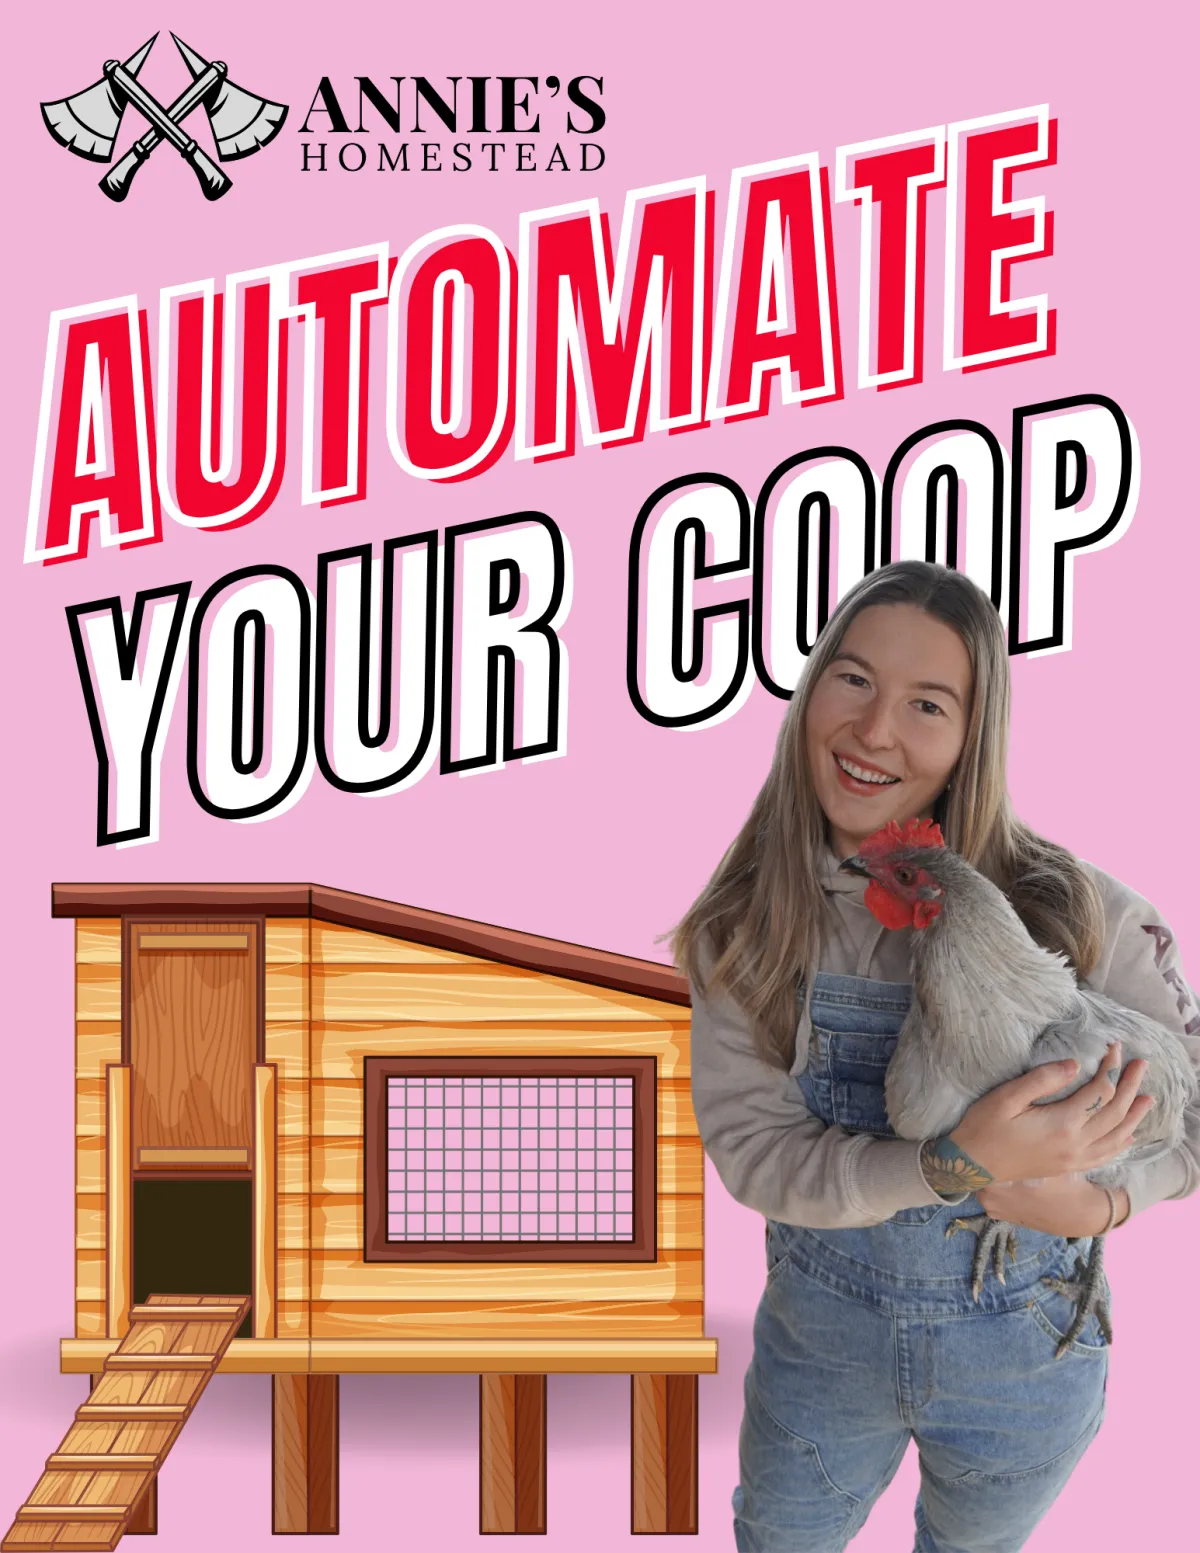
Hey There,
I'm Annie
I'm here to help you homestead with ease
If you are just starting your homestead journey, or burb-steading in the city, together, let's turn your homesteading dreams into a thriving reality.
Top Resources

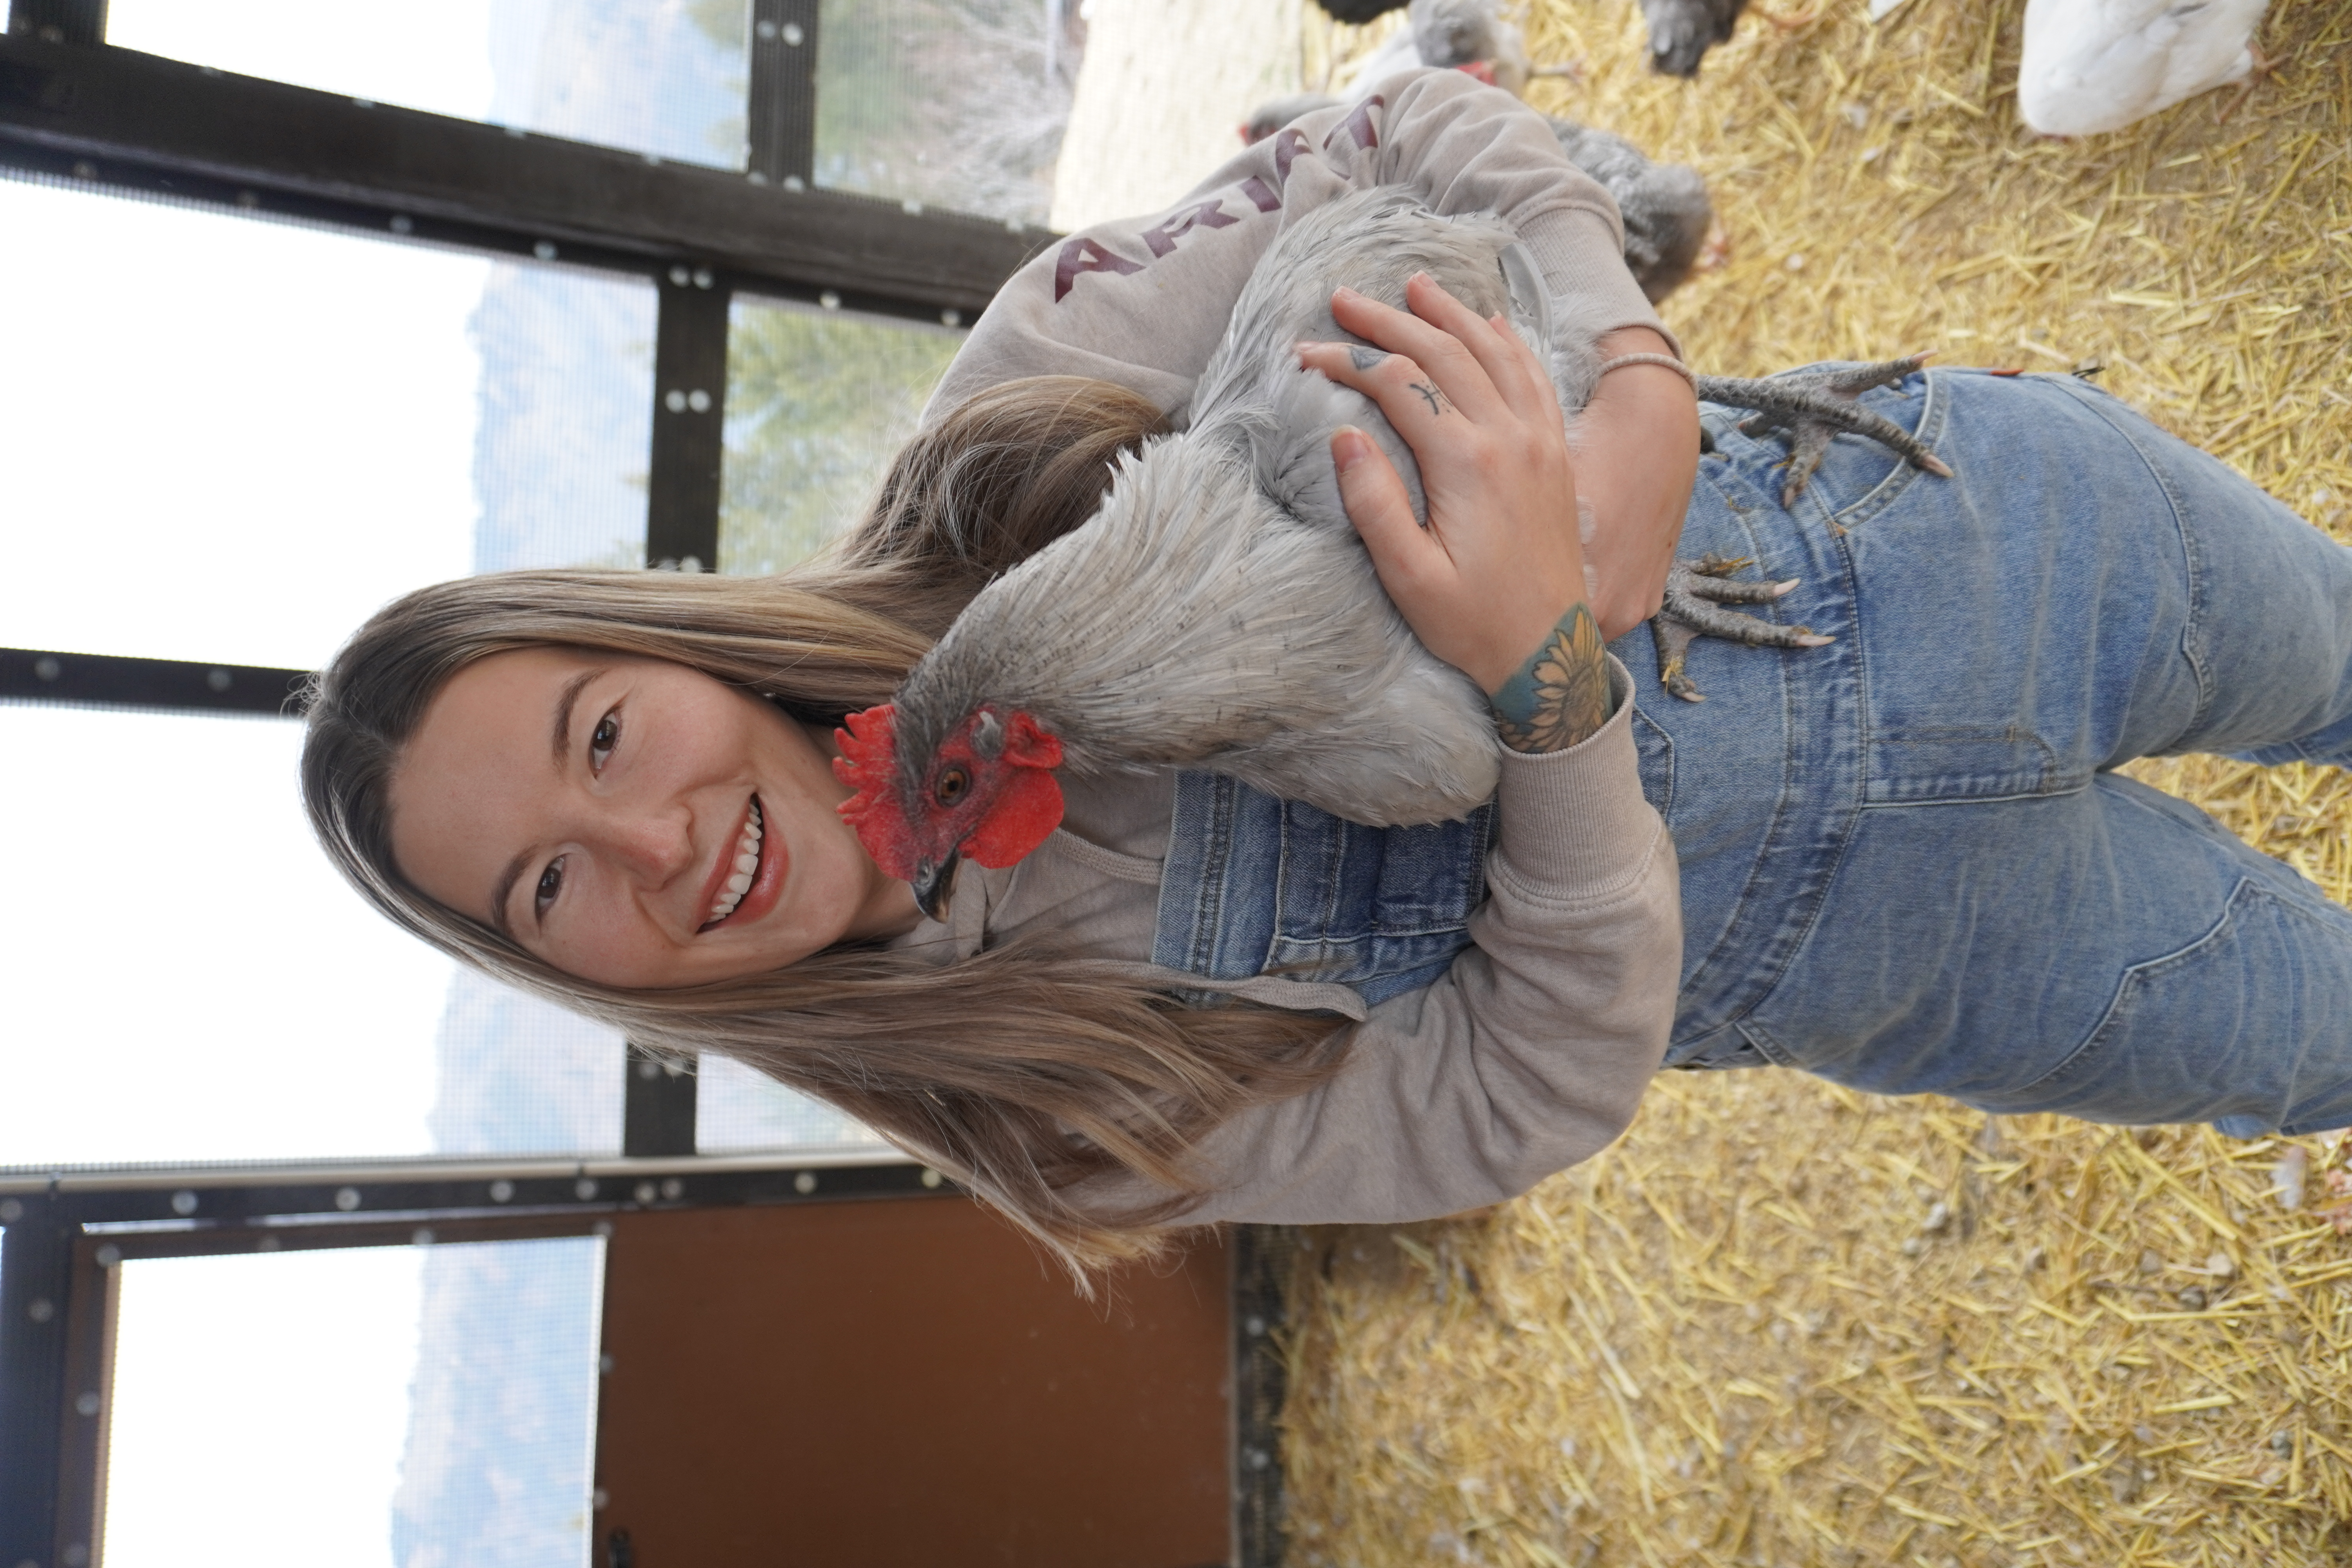
Streamline your chore list with our chicken coop automation list
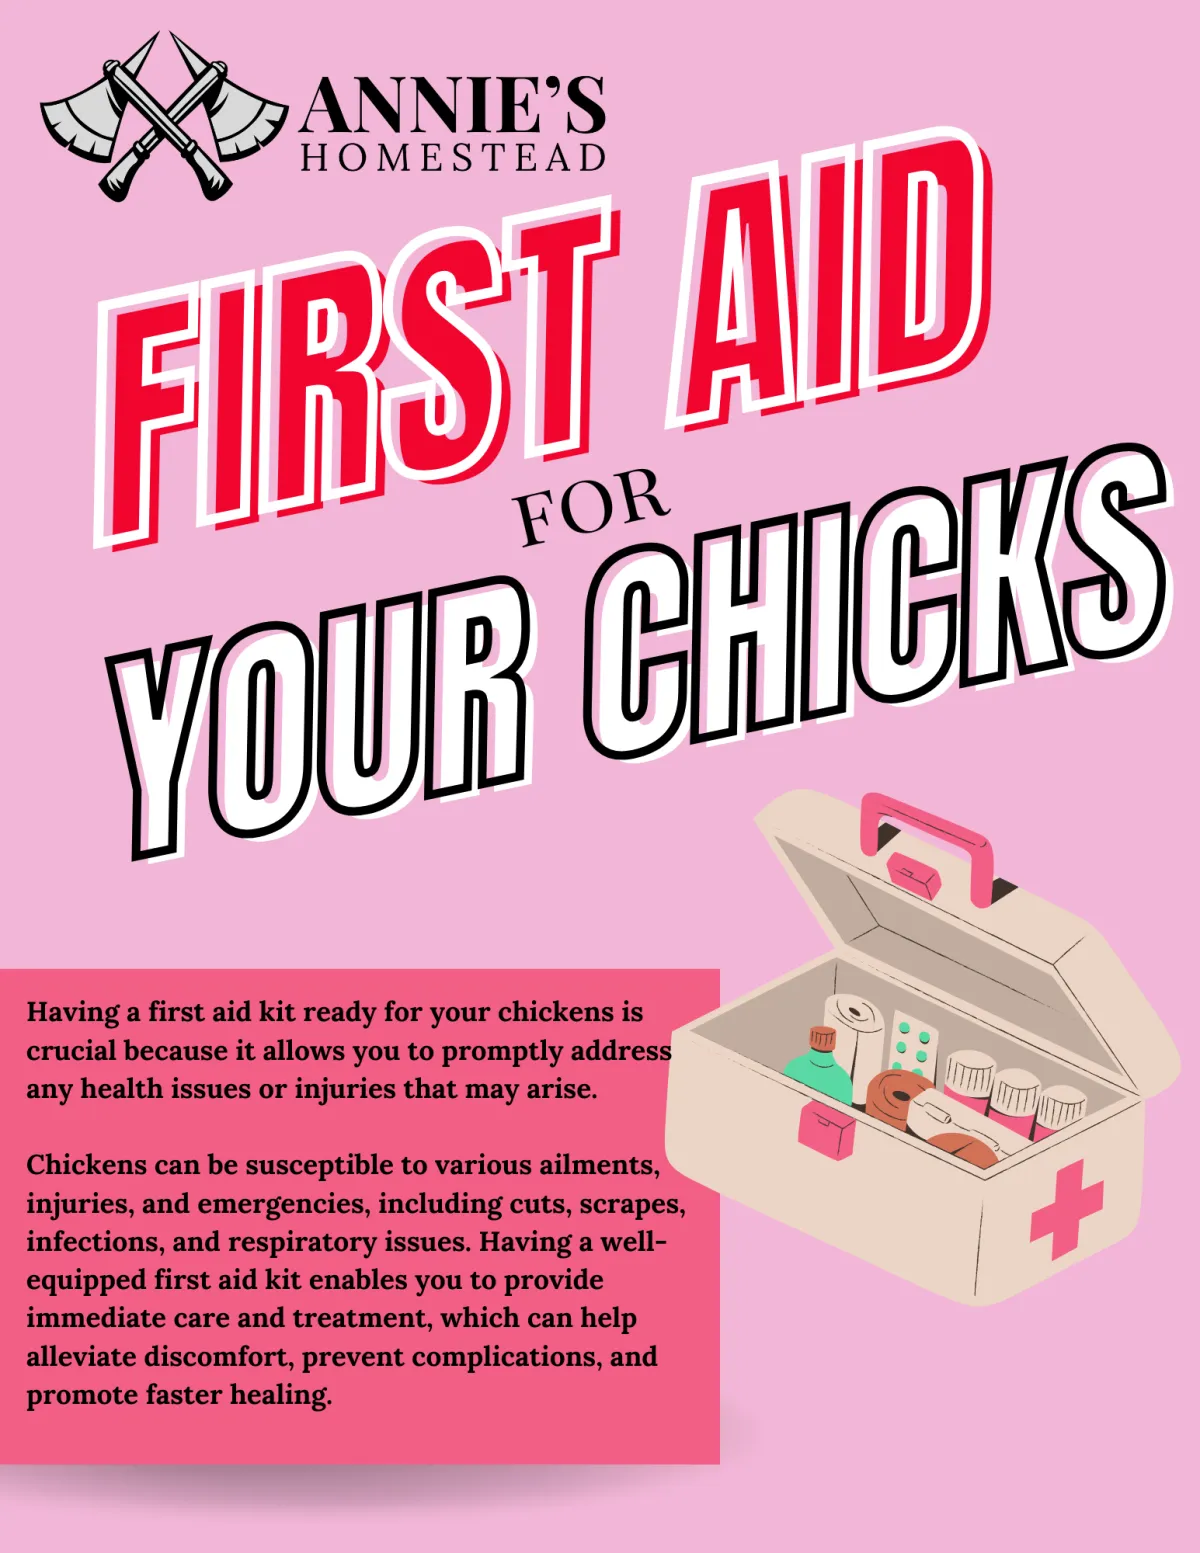
Prepare For Emergencies with our Chicken First Aid Kit
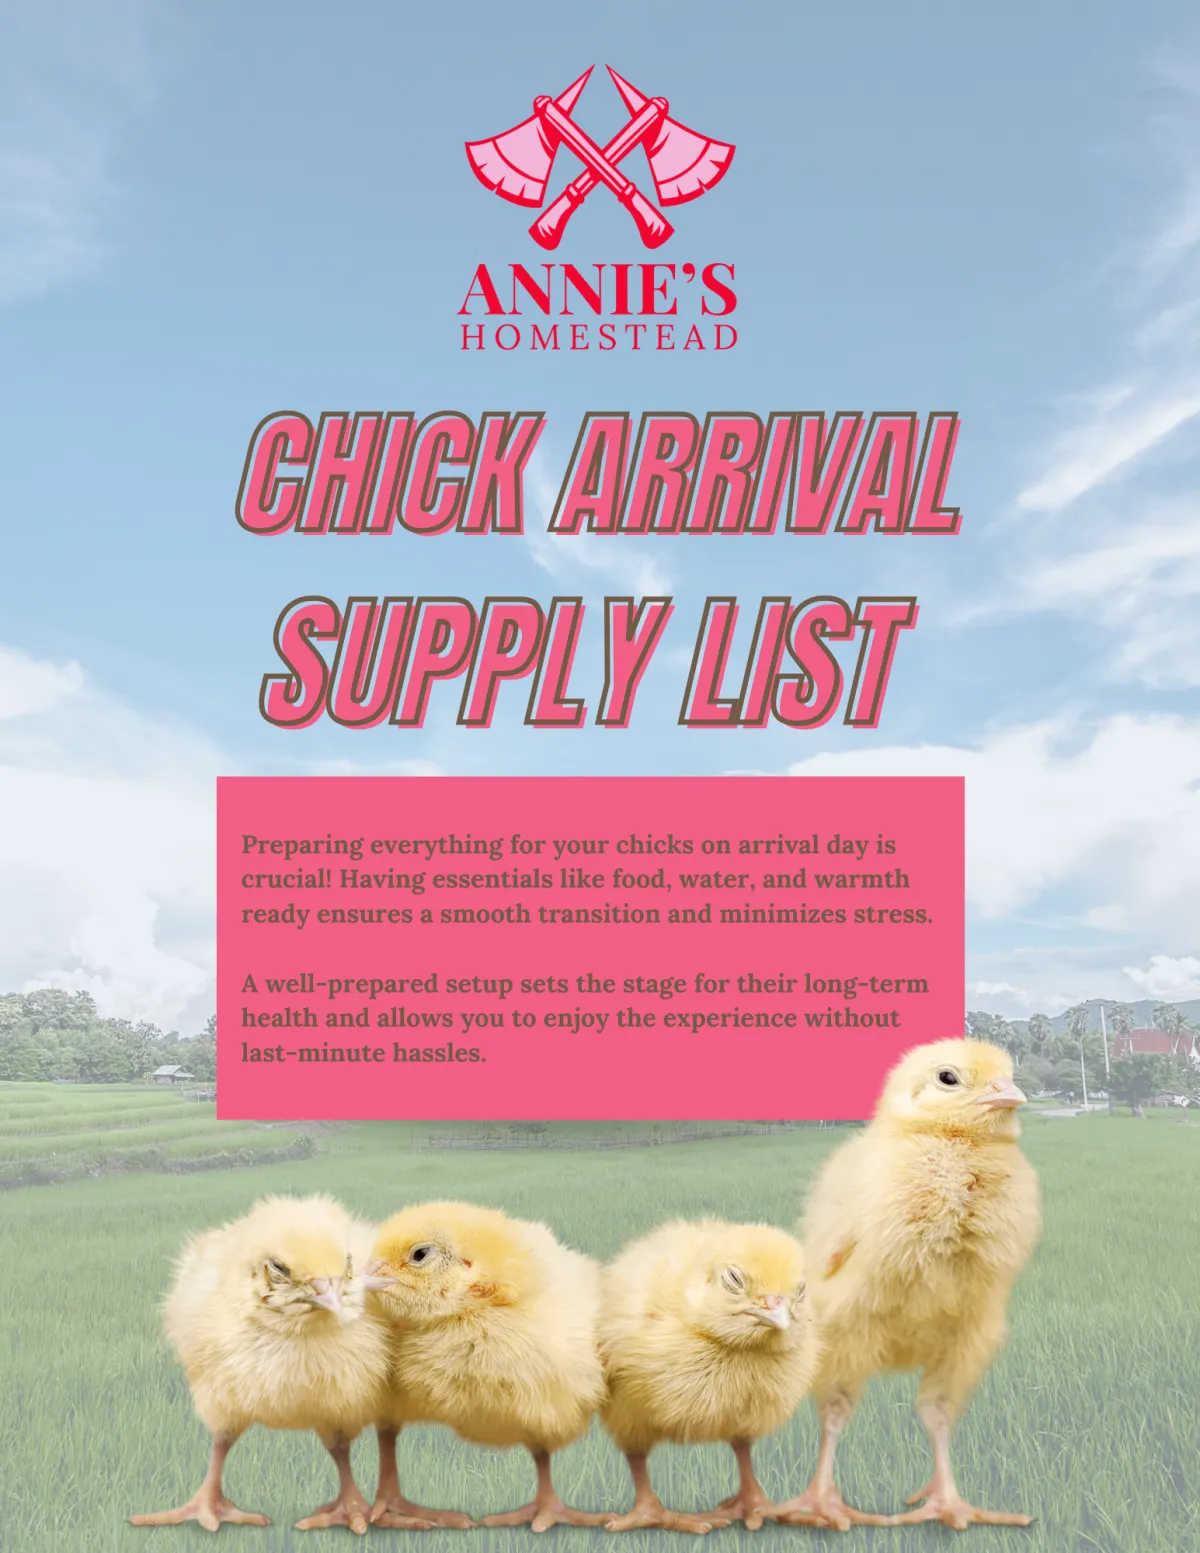
Prepare For Your New Chicks with our Favorite Essentials
Stay Updated
And join the newsletter
Be one of the firsts to know anything new and stay up to date with all the happenings on the homestead!
(I won't spam you ever - PROMISE!)
Read The Blog
A Beginner’s Guide to Canning
A Beginner’s Guide to Canning
Hi, friend! If you’ve been thinking about starting your canning journey, there’s no better time than right now. It’s January. And this time of the year is what we homesteaders like to call Canuary—a month dedicated to celebrating, sharing, and preserving food through canning. Whether you’re in the middle of the mountains (like me!) or living in a cozy apartment in the heart of the city, canning is something anyone can do, anywhere.
So…why should you get started canning? There are so many reasons why you should take control of your food, and let me tell you—it's eye-opening once you start paying attention.
Have you walked down a grocery store aisle lately and read the ingredient lists on packaged foods? It’s shocking to see what manufacturers are allowed to include in products we’re expected to feed our families. Toxic preservatives, like nitrites and nitrates, are commonly used to preserve processed meats despite their links to health concerns.
Ingredients like natural flavors sound harmless, but they’re a catch-all term that doesn’t even require companies to disclose what’s actually inside. Are you upset yet?
Then there are preservatives like butylated hydroxyanisole (BHA), which has been flagged as a possible carcinogen, and potassium bromate, a flour additive with known toxic and carcinogenic effects.
But enough about the why—let’s talk about the how. Canning can seem a little intimidating at first, but trust me, once you get started, you’ll wonder why you didn’t do it sooner. It’s simple, satisfying, and (dare I say) even fun?
Let’s dive in!
What Is Canning, and Why Does It Matter?
Canning is all about preserving food by sealing it in jars to keep it shelf-stable and safe to eat for months—or even years. By removing air and heating the food to kill off bacteria, canning creates a vacuum seal that keeps your food fresh and delicious.
The cool part? You don't need to add preservatives because the canning process heats foods to kill microbes that cause spoilage, while keeping intact vitamins, minerals, fiber and protein essential to our healthy diets.
Here’s why canning matters:
You save money. Buying produce in season, in bulk, or growing your own is way more affordable than buying pre-packaged foods. I save the most money by making relationships with local farmers at the farmers market and buying bulk produce - you can sometimes get a better deal at the end of the season too!
You reduce food waste. Those garden tomatoes you couldn’t eat fast enough? Can them! Leftover holiday ham? Throw it in a soup and can that too! If you can't can it fast enough, throw it in the freezer and can it later!
You eat clean. Say goodbye to questionable mystery ingredients. When you can your own food, you know exactly what’s inside.
Pressure Canning vs. Water Bath Canning
Now let’s talk tools. There are two main methods of canning, and which one you use depends on what you’re preserving.
Water Bath Canning:
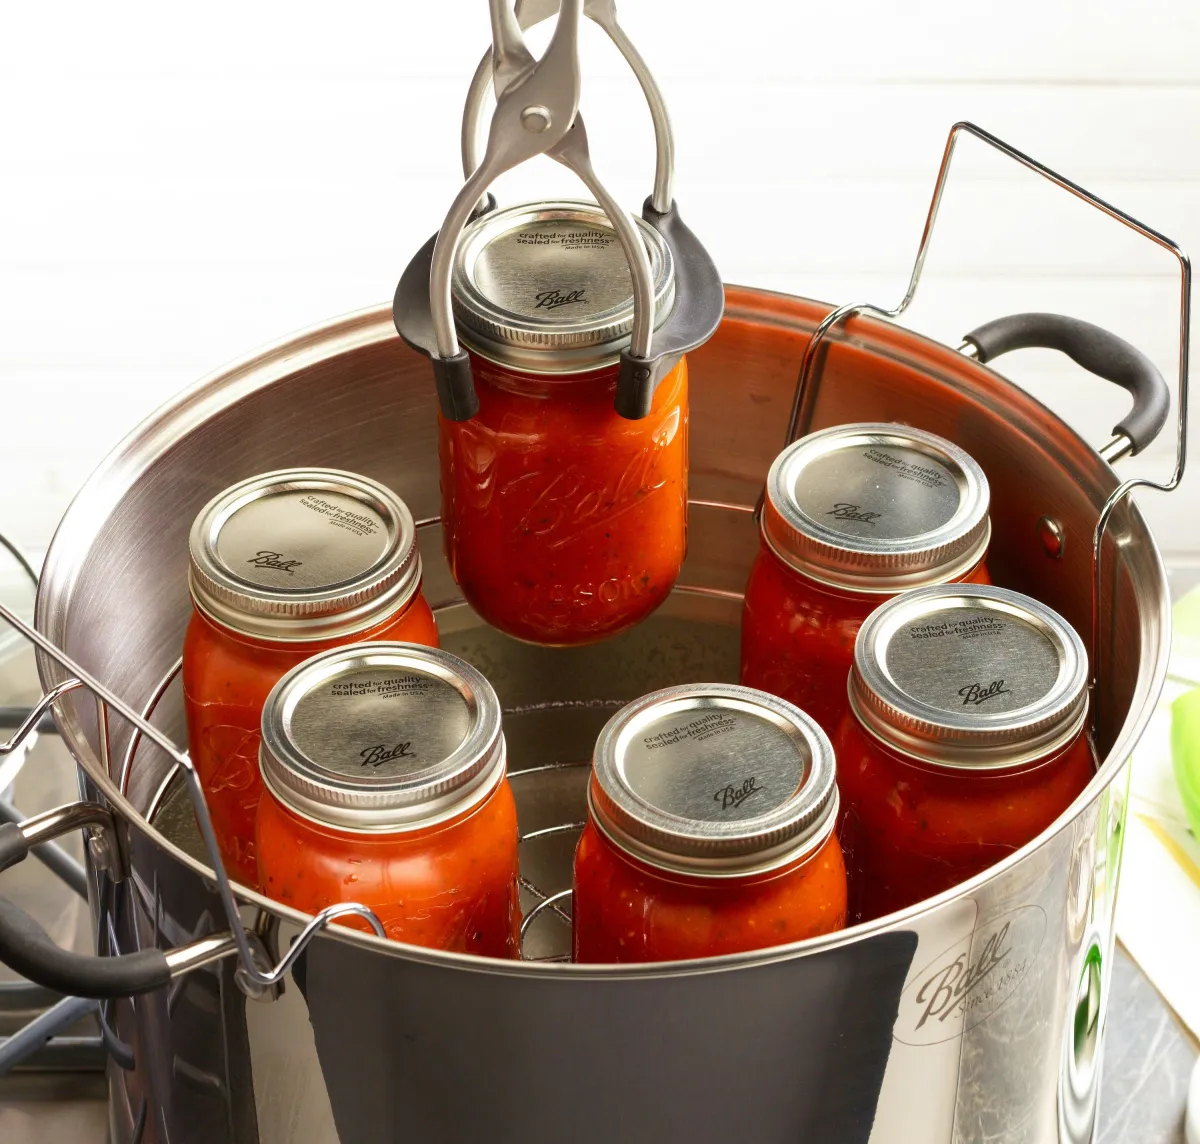
This method is perfect for high-acid foods like jams, jellies, pickles, and most fruits. All you need is a large pot, some jars, and a rack to keep the jars off the bottom. If you're new to canning, this is a great place to start!Pressure Canning:
Low-acid foods like vegetables, meats, and soups require a pressure canner to reach higher temperatures and kill off harmful bacteria. A pressure canner might seem intimidating, but I promise it’s worth learning—it opens up a whole world of possibilities!
What You’ll Need to Get Started
If you’re just beginning, here’s a list of the basics:
Mason jars with lids and bands (make sure the lids are brand new and undamaged for a proper seal).
A canning pot or pressure canner (depending on what you’re making). Stock pots work great too!
A jar lifter to safely remove hot jars from boiling water.
A funnel to avoid messy spills when filling jars (I prefer a stainless steel funnel instead of a plastic one).
A bubble remover (or a butter knife works in a pinch) to get air bubbles out of your jars.
Beginner-Friendly Recipes to Try
Start small and work your way up! Here are a few easy ideas:
Water Bath Canning:
Strawberry Jam: Nothing beats the taste of summer berries on toast in the middle of January.
Classic Dill Pickles: A crunchy snack that’s great on its own or in sandwiches.
Pressure Canning:
Chicken Soup: Perfect for cold winter nights when you need comfort in a jar.
Canned Green Beans: A pantry staple that tastes so much better than store-bought.
Tips for Canning Success
Follow trusted recipes. Canning is not the time to get creative or wing it—trust me on this one. Stick to recipes that are tried, true, and specifically designed for safe food preservation. The Ball Canning Guide is a fantastic place to start, and you can’t go wrong with the resources from your local extension office either (find your local extension office here). These offices are usually tied to universities that follow USDA guidelines and solid, science-backed research to make sure the canning advice they provide is as safe as it gets. They offer everything from classes and articles to a treasure trove of tested recipes. Bonus: many extension offices will even test your pressure canner gauge for free, which is a must for ensuring everything is in working order. Make them your go-to for all things canning!
Prep everything beforehand. Chop your veggies, sterilize your jars, and have your tools ready to go.
Check your seals. After your jars cool, press on the lids to make sure they’re sealed tight. If the lid pops back, it didn’t seal properly—stick that jar in the fridge and use it up soon.
Celebrate Canuary All Month Long
Canuary is about more than just canning—it’s about celebrating food, community, and self-reliance. Here are a few ways to join in:
Host a canning day. Invite friends or family over and spend the day making jam or salsa together. It’s a fun way to share the workload and learn from each other.
Share your creations. Post photos of your canned goods on social media and tag #Canuary to inspire others to start canning too.
Experiment with spice mixes. Mason jars aren’t just for canning! Whip up homemade taco seasoning, ranch mix, or pumpkin pie spice and store them in jars for easy access.
Get creative with jar storage. Use mason jars to organize your pantry, store sourdough starter, or even as a cute centerpiece.
Start Where You Are
I know some of you might be thinking, “But Annie, I don’t live on a homestead!” That’s okay! You don’t need acres of land to start canning. Whether you’re growing herbs on a windowsill or buying fresh produce at your local farmer’s market, you can make this work. Start small—maybe with one recipe—and build from there.
Canning is about more than just food preservation. It’s about taking control of what you eat, embracing self-reliance, and connecting with the simple joys of homemade food. So, let’s kick off this Canuary with a bang!
Let’s Chat!
What’s the first thing you’re going to can this Canuary? Or, if you’re already a canning pro, what’s your favorite recipe? Drop your thoughts below—I’d love to hear from you!

It's time to take the first step towards your homesteading journey.
Don't let uncertainty hold you back any longer.
Our homesteading courses offer a comprehensive roadmap to self-sufficiency, guiding you step-by-step through the process of creating your own thriving homestead, no matter where you live.
Enroll in our course today and take the first step towards a brighter, more empowered future!
Annie's Homestead is not affiliated by Facebook™ in any way. Facebook™ is a registered trademark of Facebook™ Inc
Branding and Website by RoyalT Studio

