


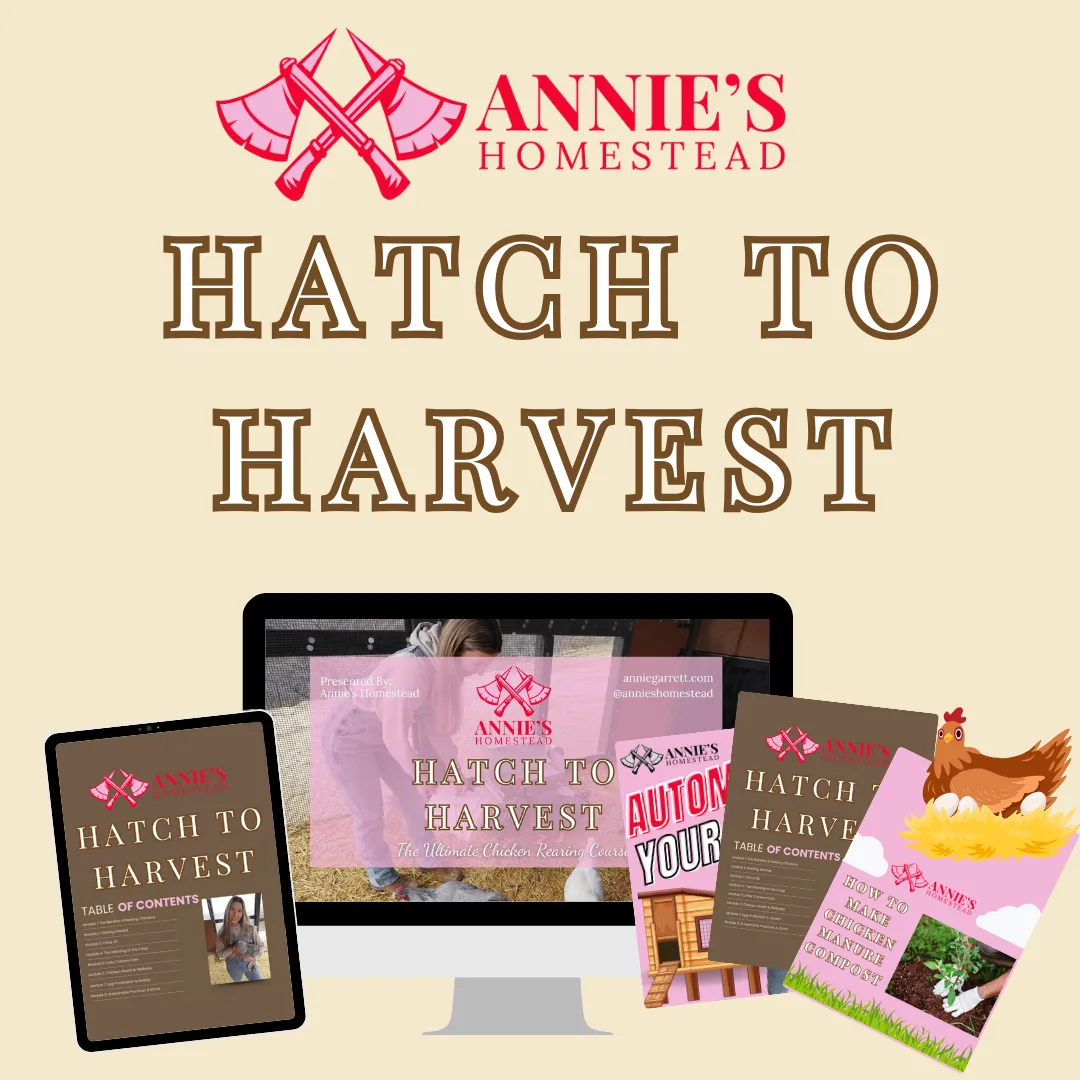
Welcome to Annie's Homestead
Take Your Homesteading to the next level!
Tired of grocery store mystery meat & wilting lettuce? Let’s grow real food, raise happy chickens, and earn money—no acres or fear required.
Does this sound familiar?
You’re over the mystery meat and wilted lettuce life.
You’re tired of not knowing what’s in your food—or where it came from. You're craving a real connection to your meals (and maybe a tomato that actually tastes like a tomato).You live in the city but your soul belongs in the dirt.
You’ve got dreams of chickens, raised beds, and canning jars—even if you're still stuck in a tiny apartment with a windowsill garden and a compost bin that scares your roommate.You’re ready to stop treating your homestead like a hobby.
You're putting in the work—growing food, raising animals, doing it all—and now you're wondering, “Wait... could this actually make money?”
If these frustrations resonate with you, you're not alone.
Let’s be real—lots of people want to live closer to the land...
But most of the info out there is either sugar-coated nonsense or so overwhelming it makes you want to throw your phone in the compost.
You're not alone—and you don't have to figure it all out yourself.
That's where Annie's Homestead comes in.

It's time to take control of your food, your lifestyle, and your future by embarking on a homesteading journey like no other.

Here, you'll find courses tailored to individuals just like you, providing you with a homestead roadmap

It's okay if you're living in a city right now! You can homestead exactly where you are.

Learning skills of fermentation, baking, bush craft, gardening and more, can help you become a homesteader even if you live in the heart of the city.

Turn your homestead into a cash cow by capitalizing on your talents so you can leave your 9-5.

Are you a home baker or gardener? Or neither? Our Homestead courses will help you discover your passion to turn into an income.
chicken coop automations
Want to streamline your chores?
From automatic door openers to refillable waterers, these innovations streamline maintenance tasks, ensuring your flock stays happy and healthy with minimal effort on your part.
Whether you're a seasoned keeper or just starting out, these time-saving solutions are a game-changer for any chicken enthusiast.
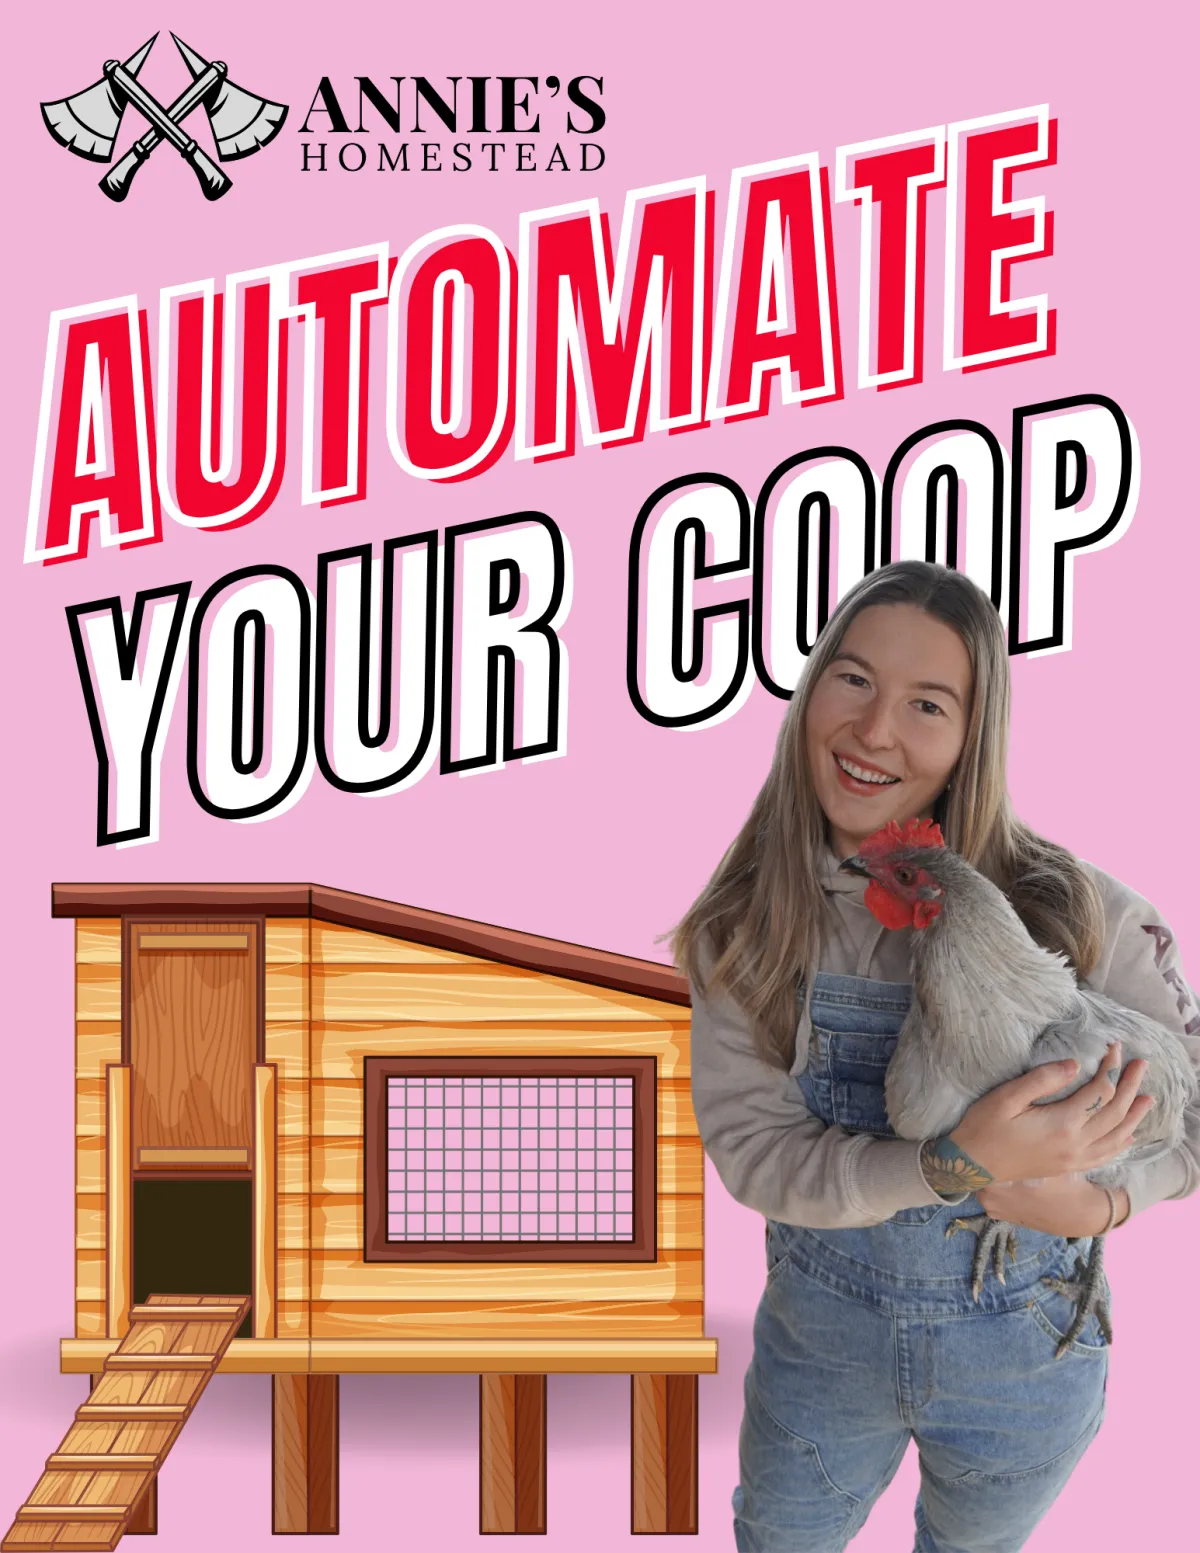
Hey There,
I'm Annie
I'm here to help you homestead with ease
You want to raise clean food. You want chickens that thrive, a garden that actually produces, and maybe even a little off-grid dream of your own.
But every time you Google something, it turns into a black hole of conflicting advice, overpriced courses, and blog posts that never really get to the point.
I get it. I was there too.
Now I live off-grid with a flock of mixed birds, an indoor grow room, and a greenhouse—because I’d rather avoid whatever’s falling from those ch3mtra!ls in the sky. I created Annie’s Homestead to make real-deal, straight-to-the-point content that helps you feel confident, not confused.
No gatekeeping. Just honest, tested resources to help you grow food, raise birds, and get out of the system—one chicken (or coop automation) at a time.
Top Resources

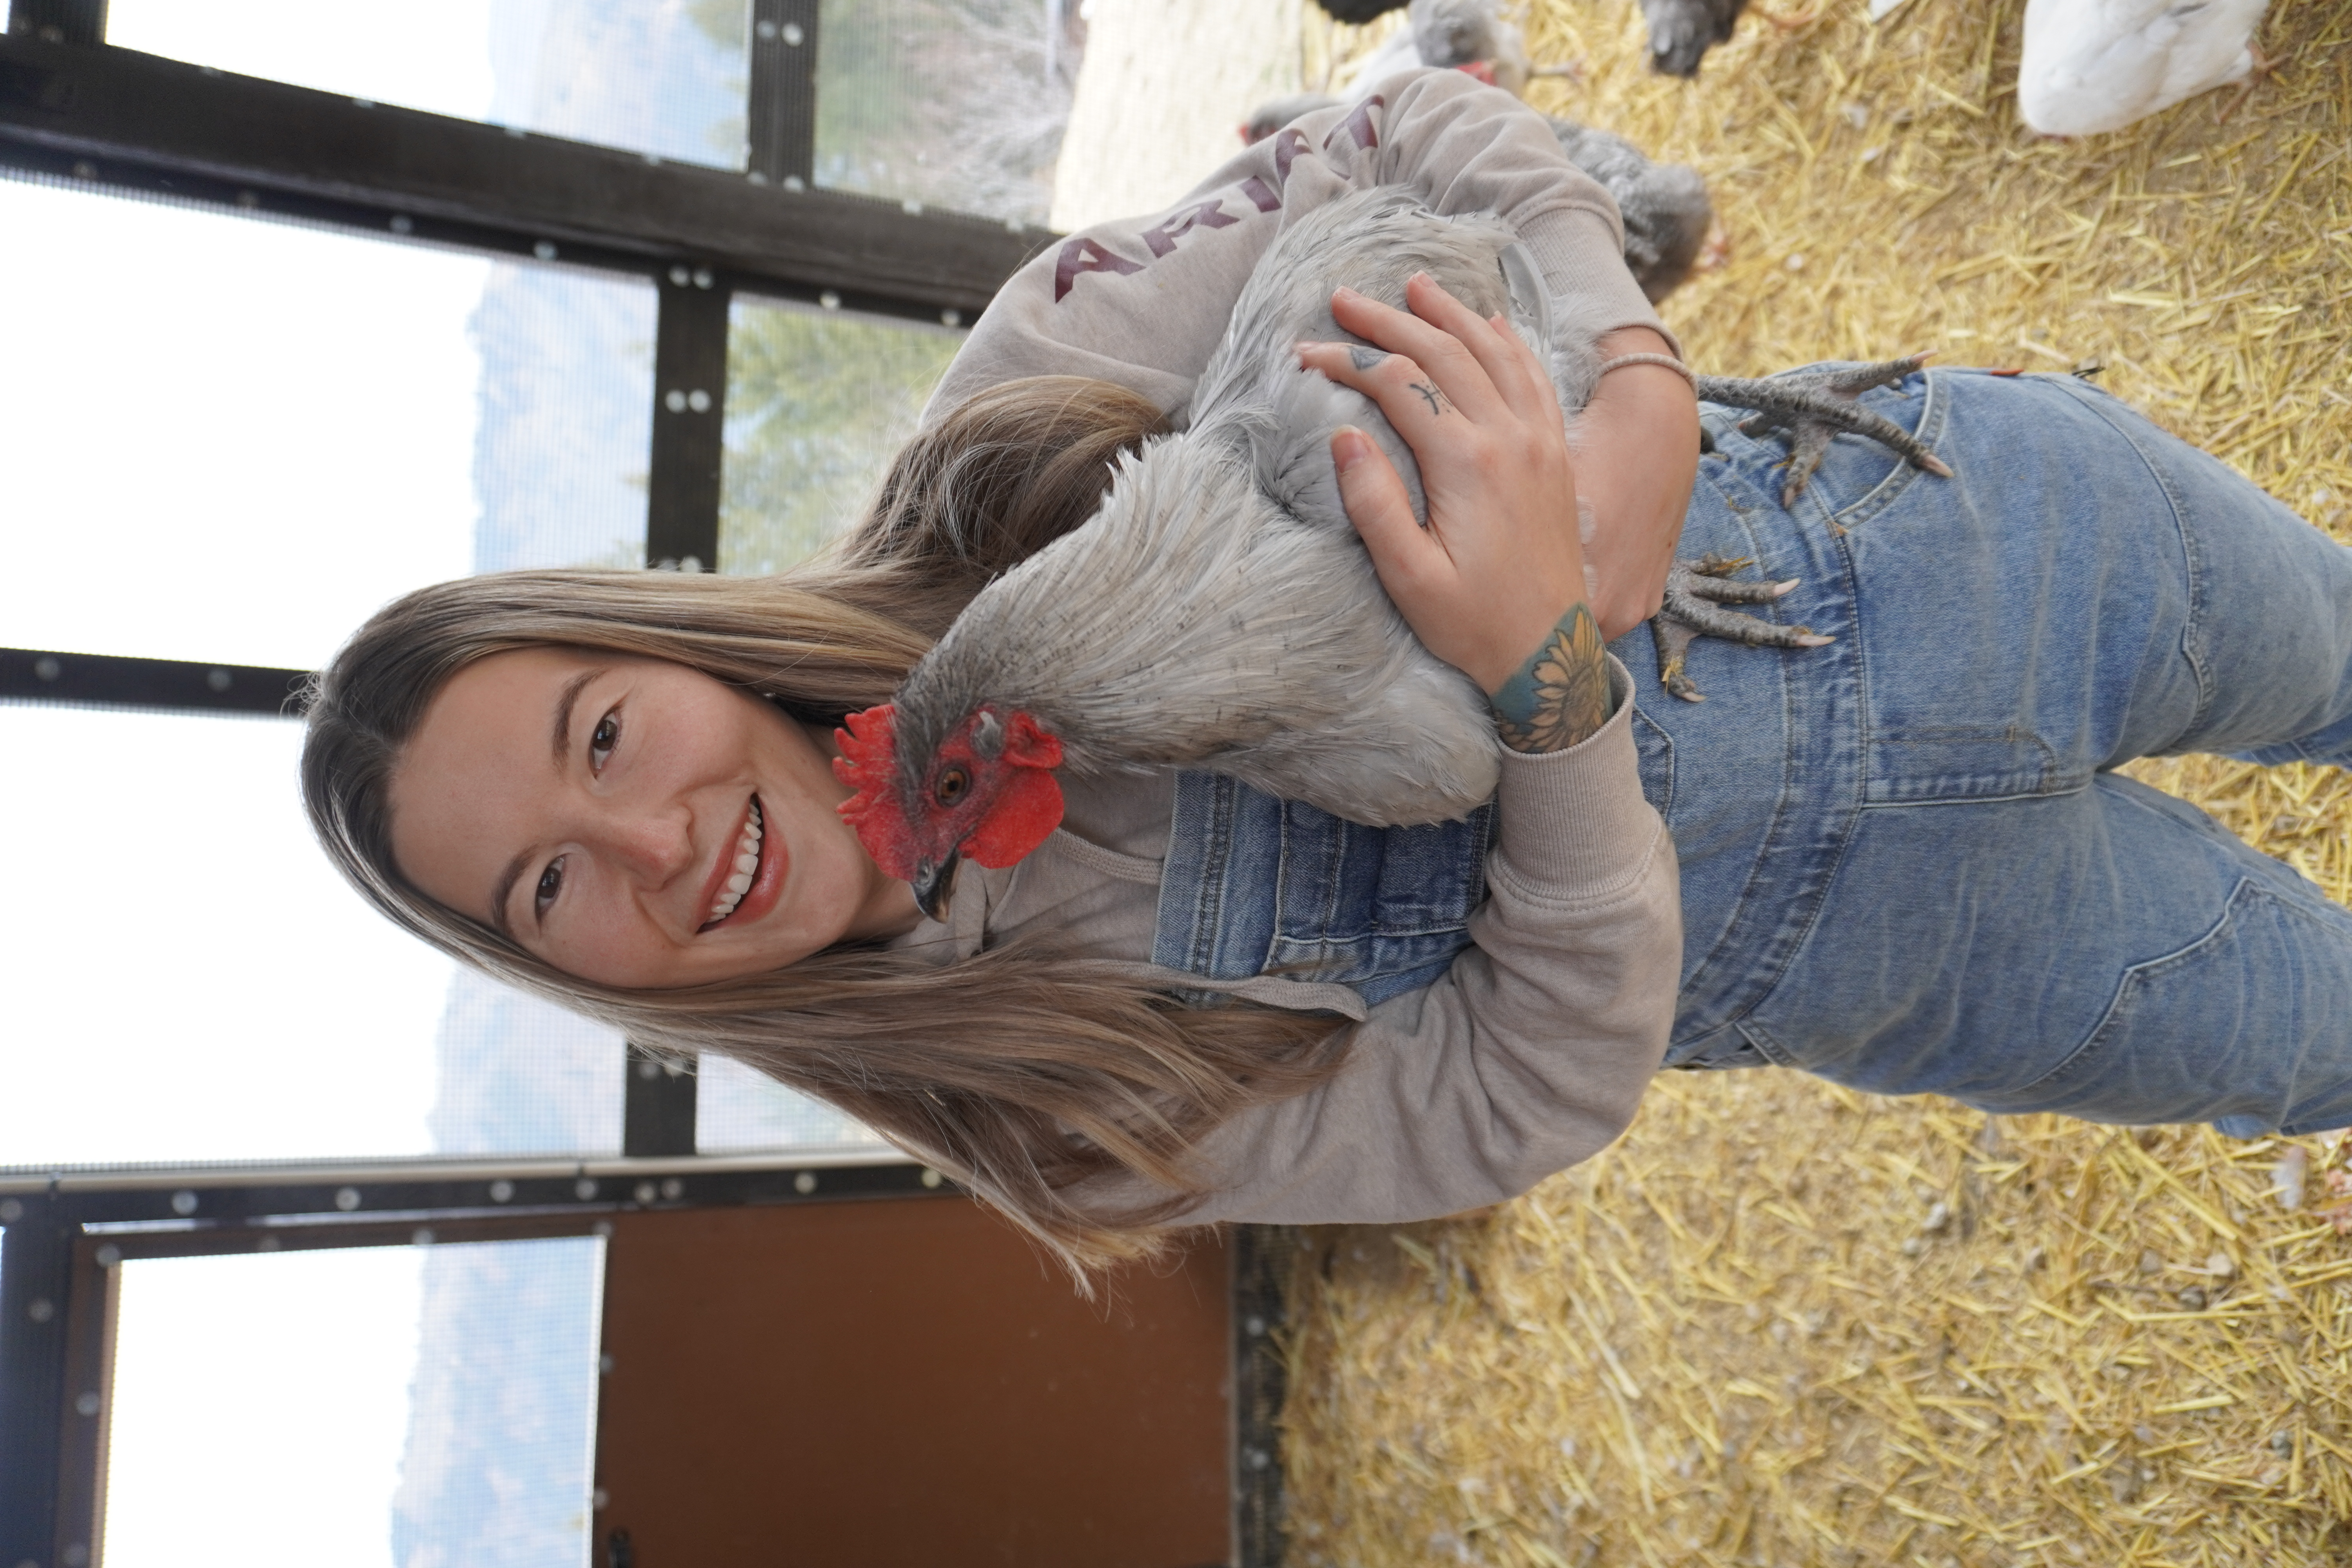
Streamline your chore list with our chicken coop automation list
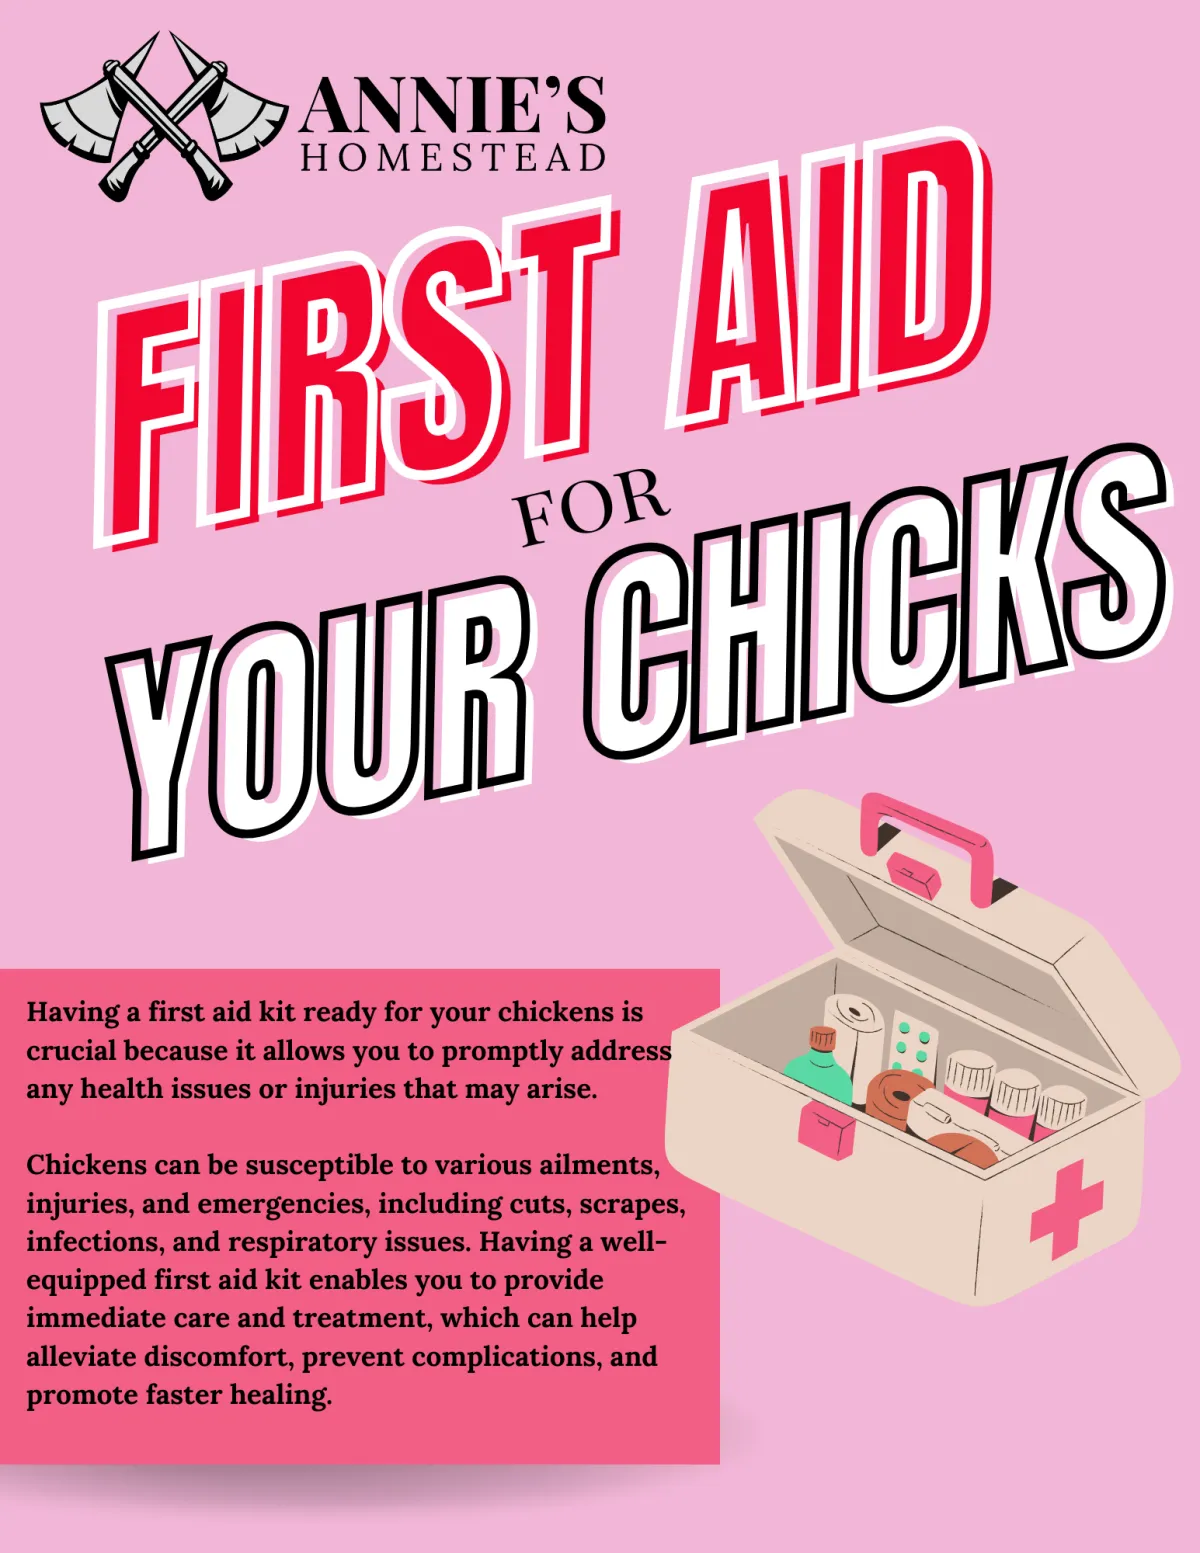
Prepare For Emergencies with our Chicken First Aid Kit
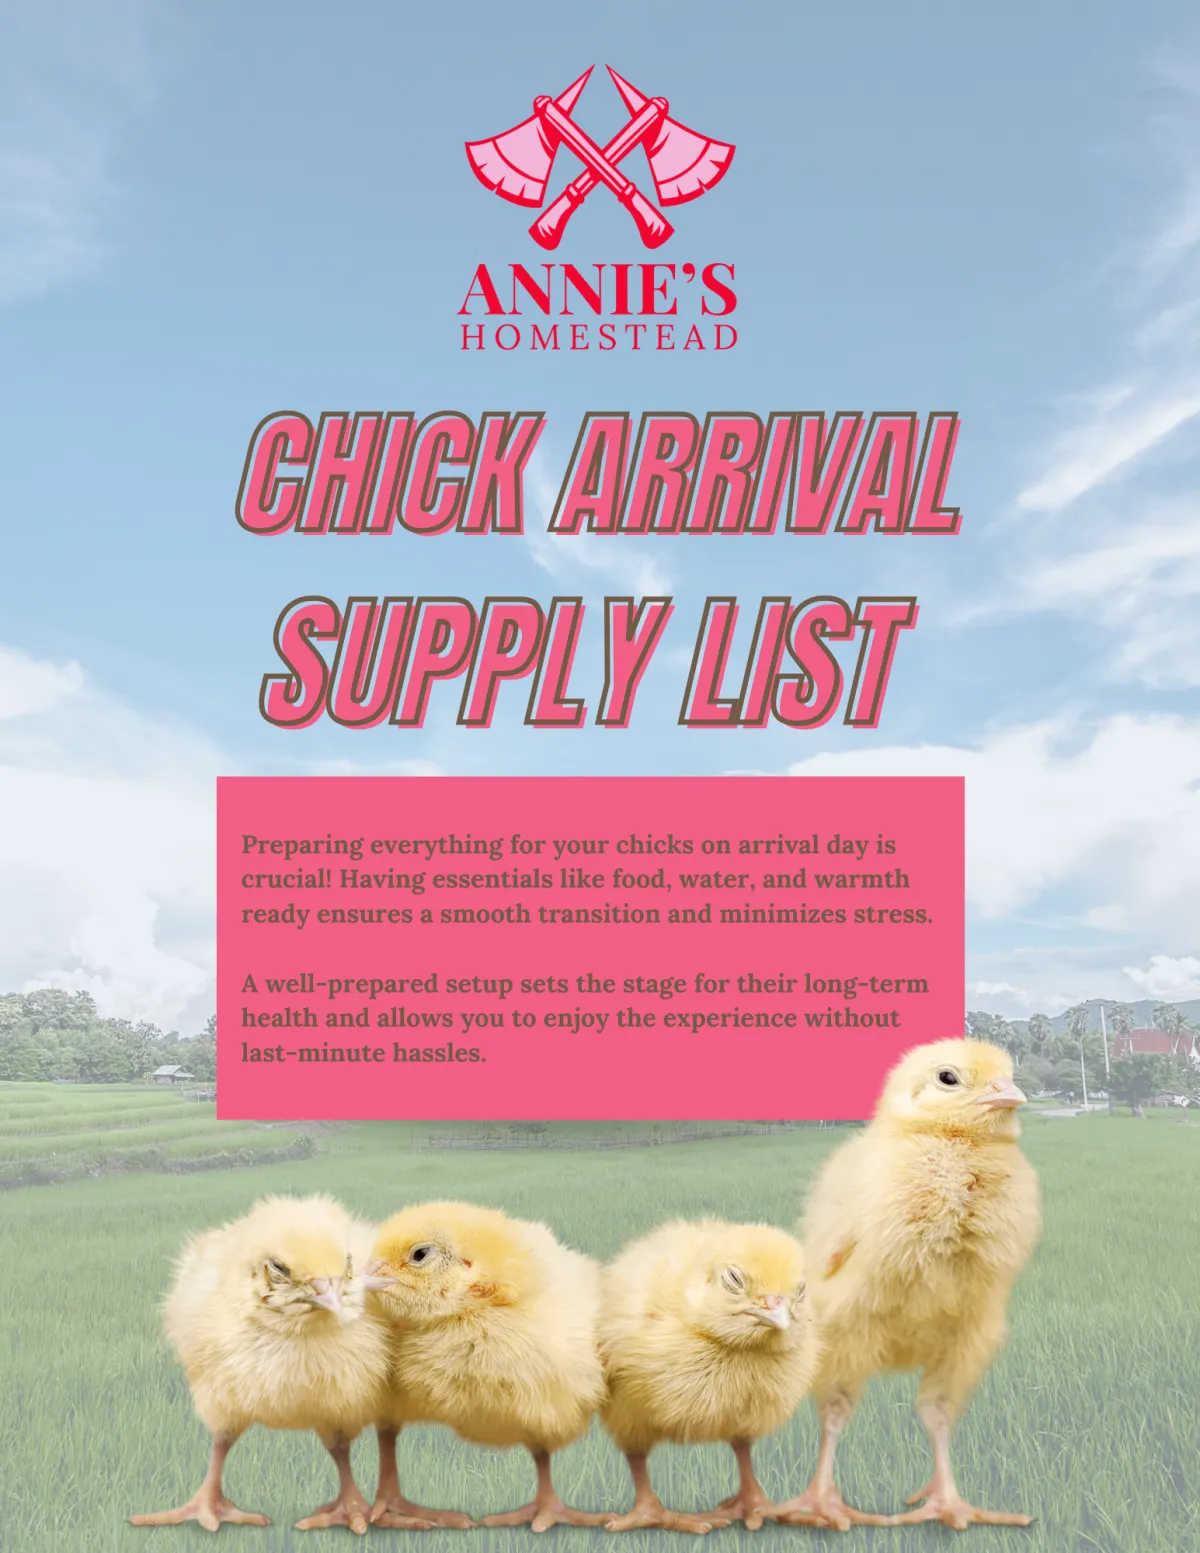
Prepare For Your New Chicks with our Favorite Essentials
Stay Updated
And join the newsletter
Be one of the firsts to know anything new and stay up to date with all the happenings on the homestead!
(I won't spam you ever - PROMISE!)
Read The Blog
The Science of Canning
The Science of Canning
How It Works and Why It’s Safe
There’s something downright magical about turning fresh produce into shelf-stable jars of deliciousness, but beneath the surface of this homesteading craft lies a fascinating science. If you’ve ever wondered how canning works or questioned its safety, you’re in the right place.
Let’s break down the science of canning so you can preserve with confidence and enjoy the fruits (and veggies) of your labor.
Why Canning Works
The Science of Food Preservation
Canning isn’t just an art—it’s science in action. At its core, canning is about two things: killing harmful microorganisms and sealing food in a sterile environment to prevent contamination. Here’s how it happens:
Heat to Kill Microorganisms
When food is heated to a specific temperature, it destroys bacteria, yeast, molds, and enzymes that cause spoilage. The type of food determines the level of heat required:High-acid foods (like fruits, jams, and pickles) need to reach boiling water temperatures (212°F) to destroy most spoilage organisms.
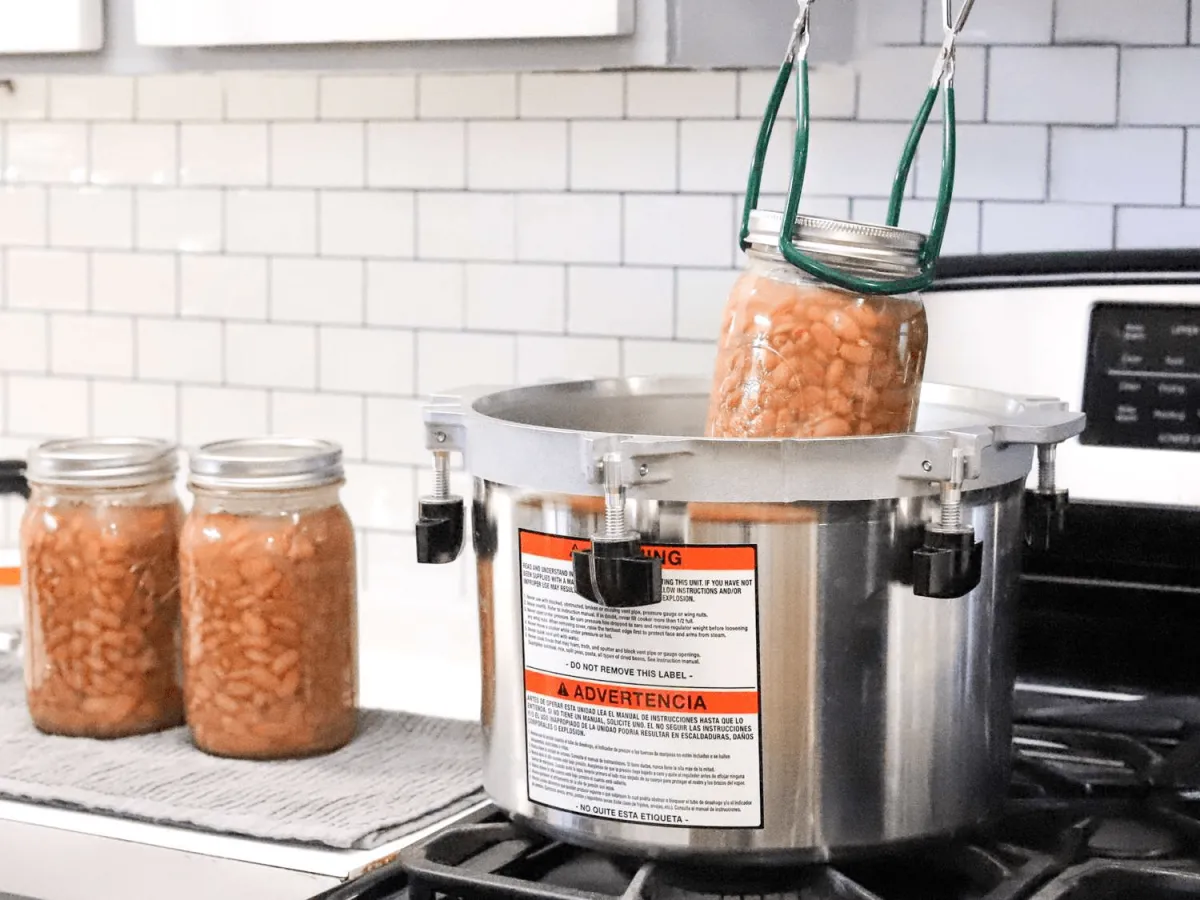
Low-acid foods (like meats, beans, and vegetables) require higher temperatures (240°F or more) achievable only with a pressure canner to eliminate dangerous bacteria like Clostridium botulinum.
Create an Airtight Seal
As the jars cool after processing, the air inside contracts, pulling the lids down and creating a vacuum seal. This seal keeps new bacteria, molds, and other nasties out while locking in freshness.
Why It’s Safe: Understanding the Guidelines
Canning has been safely practiced for centuries, but thanks to modern science, we now know exactly what makes it work—and what can go wrong.
The Role of Acidity
The acidity level of food is a major player in the science of canning. Here’s why:
High-acid foods (pH below 4.6) create an environment where harmful bacteria, like Clostridium botulinum, can’t grow. That’s why water bath canning is sufficient for fruits, pickles, and jams.
Low-acid foods (pH above 4.6) need the higher heat of a pressure canner to destroy botulism spores and other pathogens.
Quick Tip: If you’re ever unsure about the acidity of your food, add a splash of lemon juice or vinegar—it’s a simple step to ensure safety.
Preventing Botulism: The Big Bad Bacteria
Botulism might sound like a scary homesteading buzzword, but it’s entirely avoidable if you follow canning safety guidelines. Botulism spores can’t survive the high temperatures of pressure canning, so sticking to tested recipes and methods is key.
Here are a few golden rules:
Don’t wing it. Use recipes designed for safe food preservation, like those from the Ball Canning Guide or USDA guidelines.
Process for the correct time. Underprocessing jars leaves room for bacteria to thrive.
Never skip the pressure canner for low-acid foods. Even if your grandma swore by water bath canning green beans, modern science says otherwise.
Food Preservation Methods: Why Canning Is Unique
Canning isn’t the only way to preserve food, but it’s certainly one of the most versatile and long-lasting. Here’s how it stacks up against other food preservation methods:
Freezing: While freezing is convenient, it relies on electricity and doesn’t eliminate microorganisms—just slows their growth. Plus, freezer burn is a real buzzkill.
Drying: Great for herbs and snacks, but not every food lends itself to dehydration.
Fermenting: A fun and healthy option (hello, sauerkraut!), but it’s more of a short-term method compared to canning.
Canning: A little upfront effort gives you shelf-stable jars of goodness that can last for years.
Canning lets you take control of your food supply, reduce waste, and enjoy homegrown flavors all year long.
How to Get Started with Safe Canning
Ready to dive into the world of canning? Here’s a step-by-step guide to ensure you’re doing it safely and confidently:
Step 1: Gather Your Tools
A canning pot or pressure canner
Glass jars and new lids (always use new lids to ensure a proper seal)
A jar lifter, funnel, and other canning tools
Tested recipes from trusted sources
Step 2: Choose the Right Method
Water Bath Canning: Best for high-acid foods like fruits, jams, and pickles.
Pressure Canning: Essential for low-acid foods like vegetables, meats, and soups.
Step 3: Prep Your Food
Follow your recipe carefully, whether you’re slicing peaches for syrup or packing carrots into jars.
Step 4: Process Your Jars
Heat your jars for the recommended time and temperature, then let them cool on a towel-lined countertop. You’ll know you’ve done it right when you hear the satisfying “ping” of sealing lids.
The Benefits of Canning Your Own Food
Why should you invest time and effort into canning? Here are just a few reasons:
Control Your Ingredients: Say goodbye to preservatives, “natural flavors,” and questionable additives.
Save Money: Stocking up on produce in-season (or growing your own) is cheaper than buying pre-packaged goods.
Reduce Waste: No more tossing out spoiled veggies—just can them!
Self-Sufficiency: Build a pantry that doesn’t rely on the whims of grocery store shelves.
Nostalgia and Joy: There’s something deeply satisfying about hearing that “ping” and seeing rows of beautiful jars on your shelf.
Science Meets Homesteading
Canning might seem intimidating at first, but once you understand the science behind it, you’ll see it’s both safe and rewarding. Whether you’re jamming summer berries, pickling garden cucumbers, or pressure-canning your first batch of chicken soup, you’re participating in a time-honored tradition of self-reliance.
So roll up your sleeves, grab your jars, and start building a pantry you can be proud of. With every lid you seal, you’re preserving more than just food—you’re preserving a way of life.
What’s the first thing you’re going to can this Canuary? Let me know in the comments, and don’t forget to share your success stories (and mishaps—we’ve all been there)!

It's time to take the first step towards your homesteading journey.
Don't let uncertainty hold you back any longer.
Our homesteading courses offer a comprehensive roadmap to self-sufficiency, guiding you step-by-step through the process of creating your own thriving homestead, no matter where you live.
Enroll in our course today and take the first step towards a brighter, more empowered future!
Annie's Homestead is not affiliated by Facebook™ in any way. Facebook™ is a registered trademark of Facebook™ Inc
Branding and Website by RoyalT Studio

