


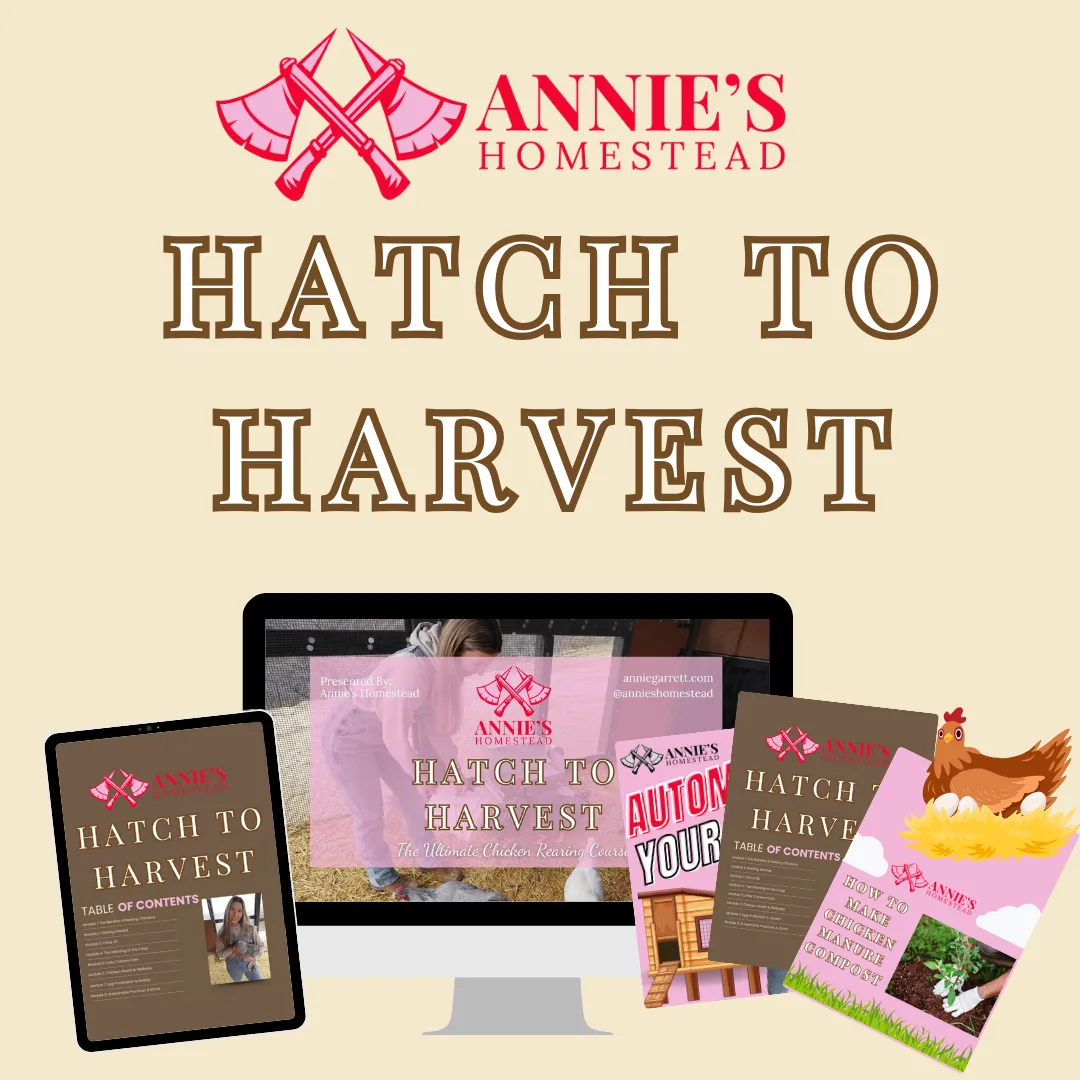
Welcome to Annie's Homestead
Take Your Homesteading to the next level!
Don't let another day go by without pursuing your passion for a more sustainable, fulfilling way of life.
Does this sound familiar?
You find yourself feeling disconnected from the food you eat, relying on processed products from the grocery store instead of nurturing your own garden-fresh produce...
You live in the city but want to learn the basics...
You want to monetize your homestead...
If these frustrations resonate with you, you're not alone.
Many people share your desire for a deeper connection to nature and a more sustainable way of living, but struggle to find the resources and support they need to make it happen.
That's where Annie's Homestead comes in.

It's time to take control of your food, your lifestyle, and your future by embarking on a homesteading journey like no other.

Here, you'll find courses tailored to individuals just like you, providing you with a homestead roadmap

It's okay if you're living in a city right now! You can homestead exactly where you are.

Learning skills of fermentation, baking, bush craft, gardening and more, can help you become a homesteader even if you live in the heart of the city.

Turn your homestead into a cash cow by capitalizing on your talents so you can leave your 9-5.

Are you a home baker or gardener? Or neither? Our Homestead courses will help you discover your passion to turn into an income.
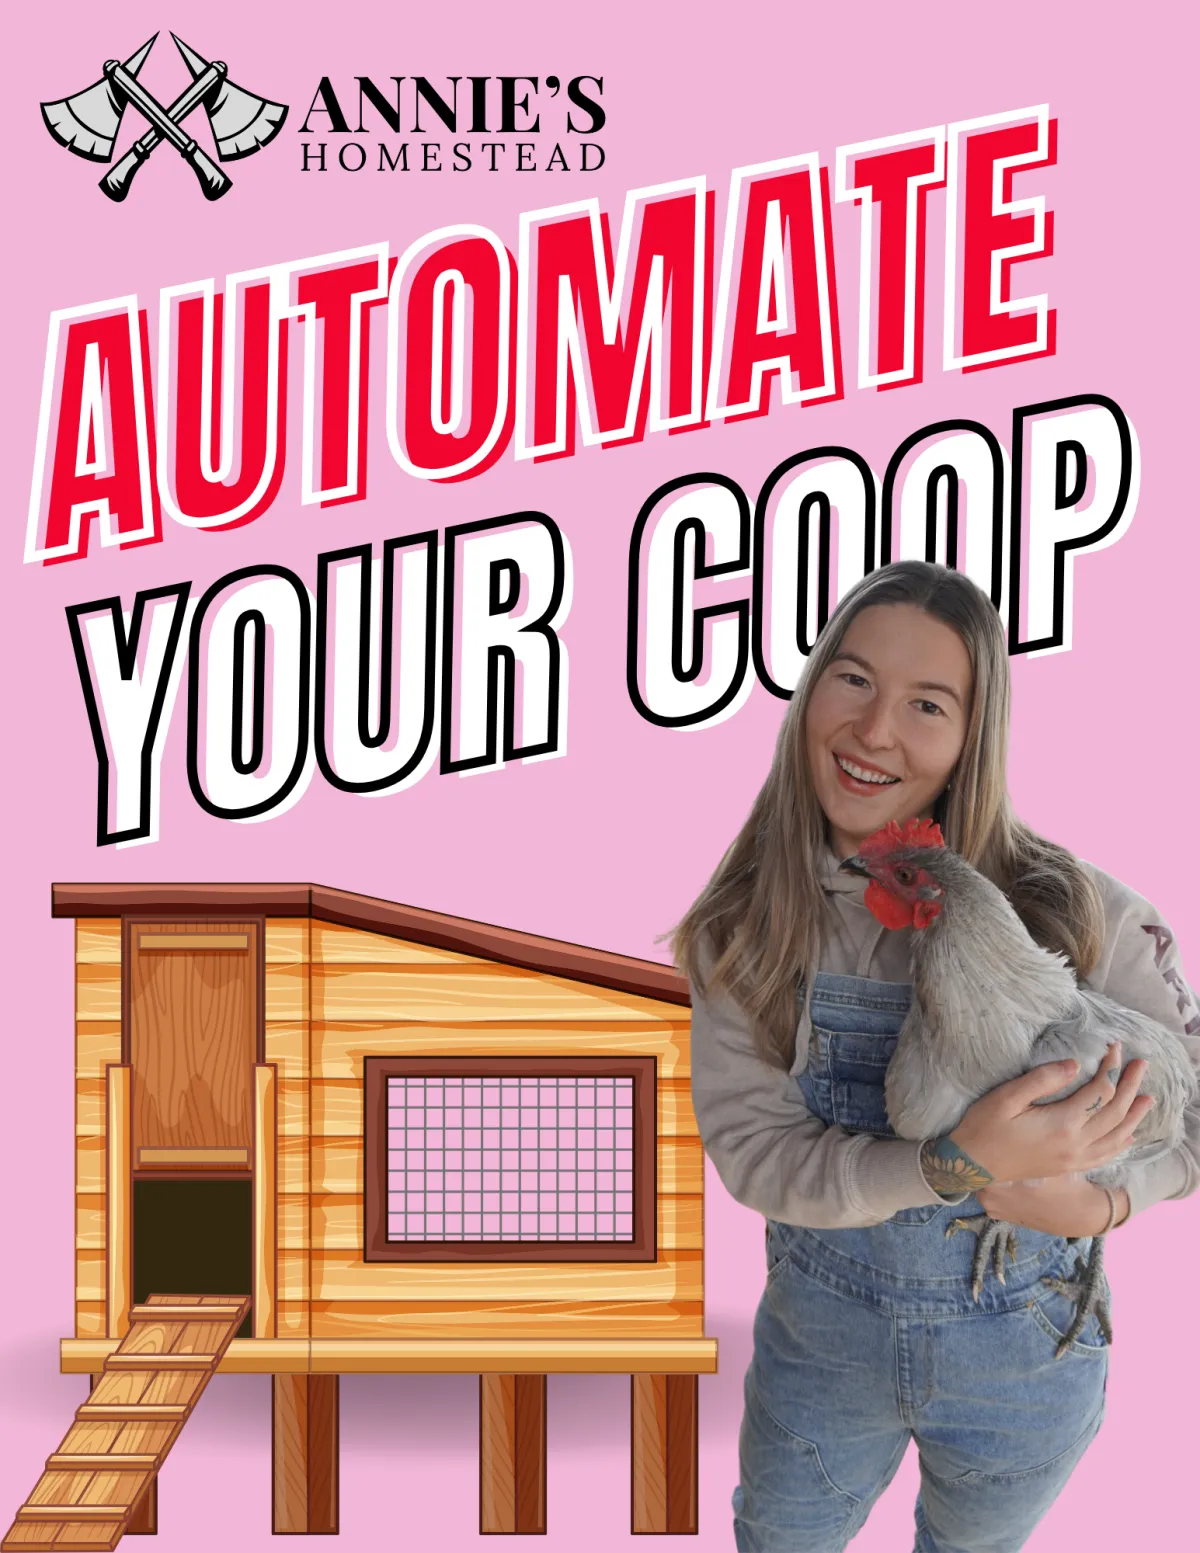
chicken coop automations
Want to streamline your chores?
From automatic door openers to refillable waterers, these innovations streamline maintenance tasks, ensuring your flock stays happy and healthy with minimal effort on your part.
Whether you're a seasoned keeper or just starting out, these time-saving solutions are a game-changer for any chicken enthusiast.
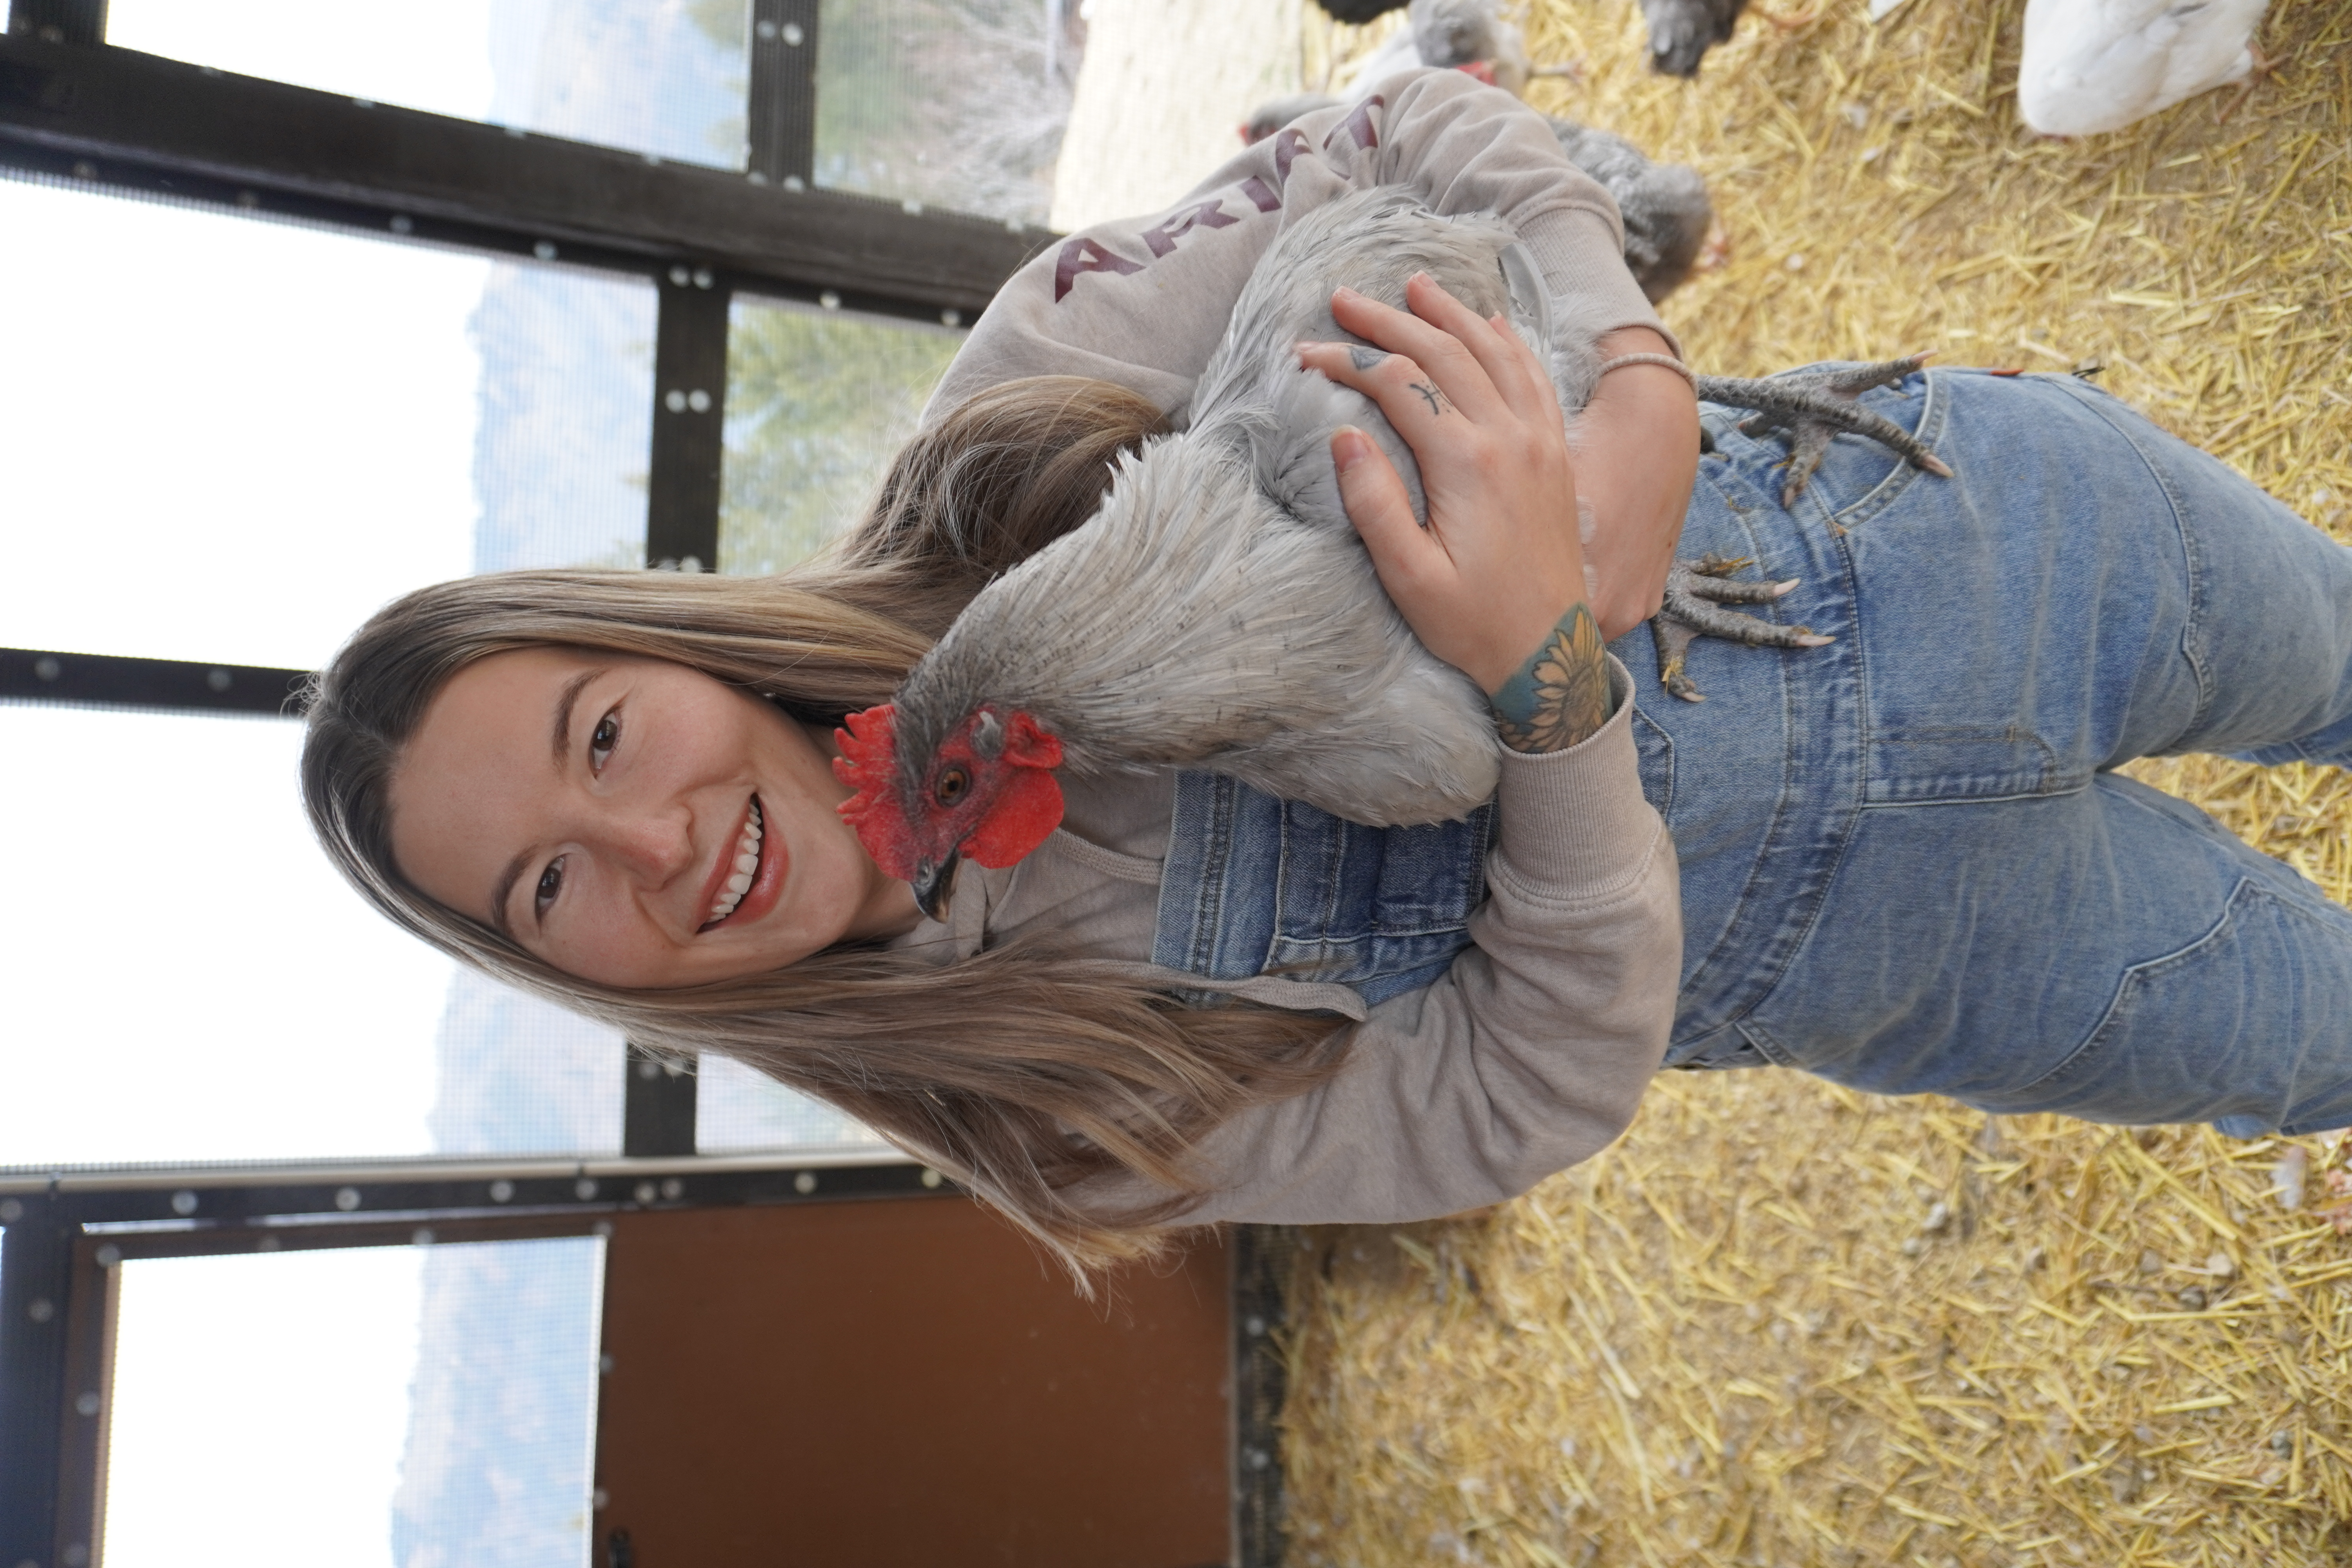
Hey There,
I'm Annie
I'm here to help you homestead with ease
If you are just starting your homestead journey, or burb-steading in the city, together, let's turn your homesteading dreams into a thriving reality.
Top Resources

Streamline your chore list with our chicken coop automation list
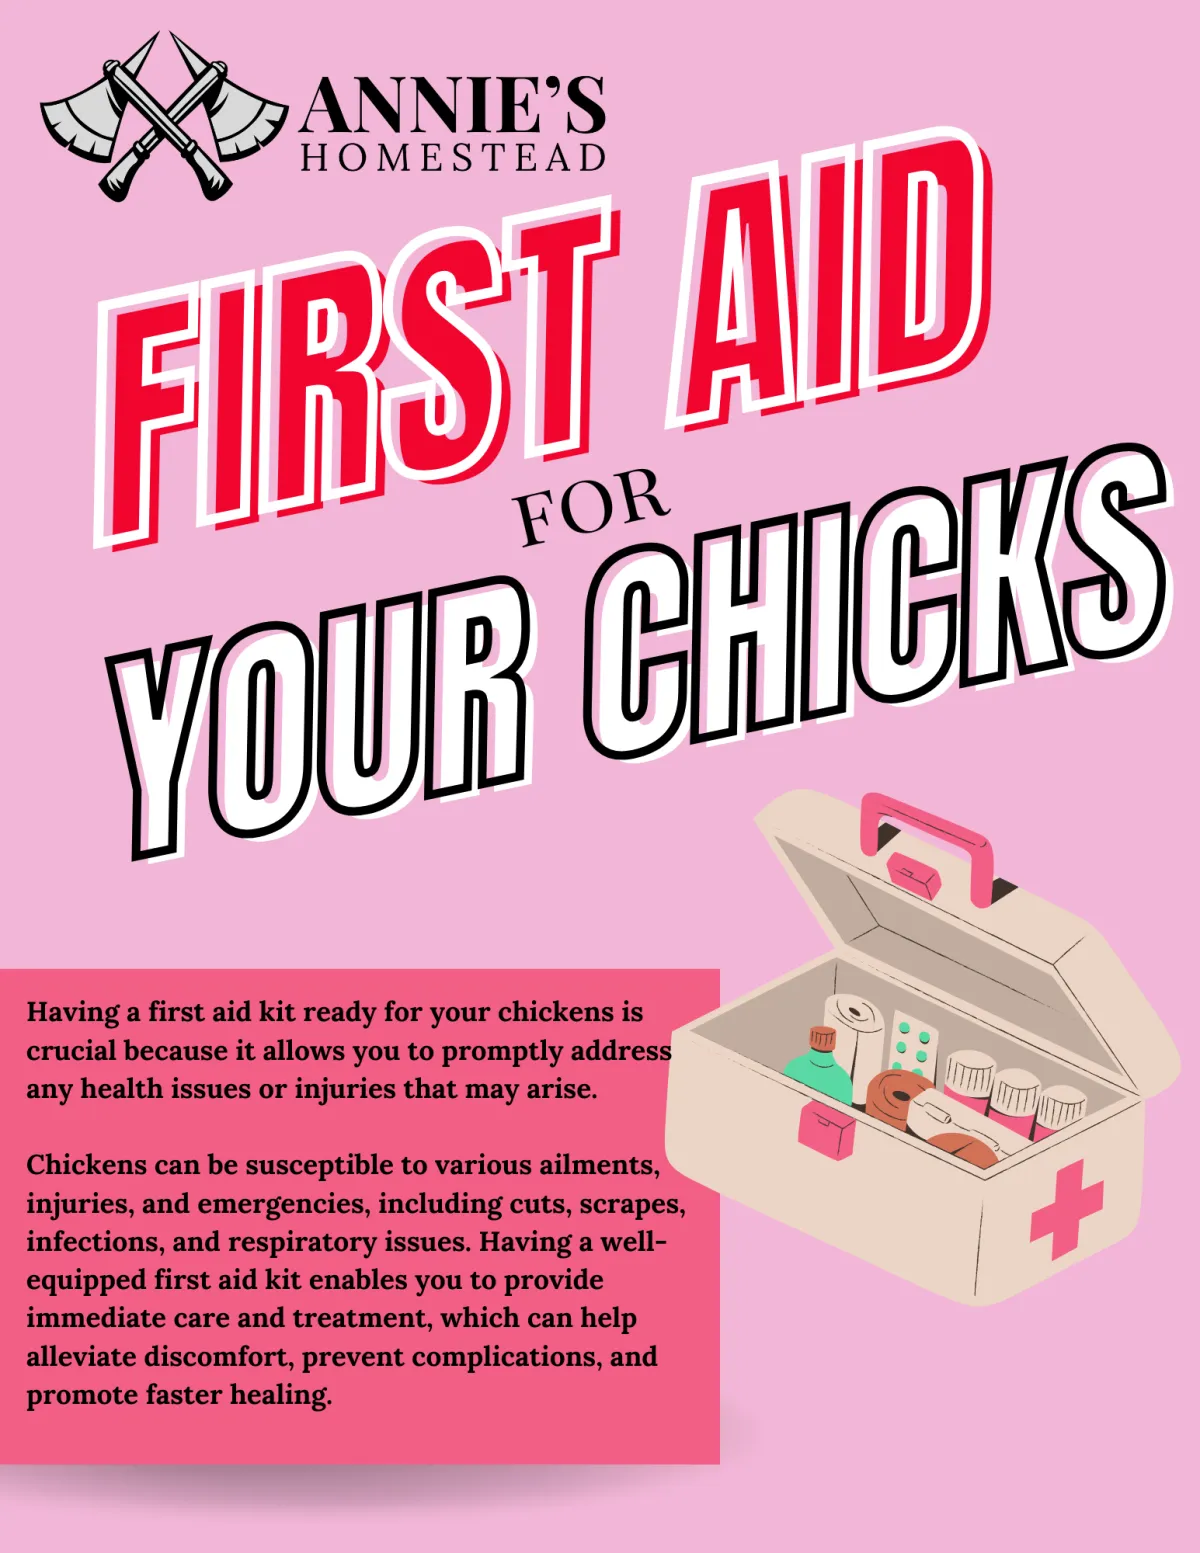
Prepare For Emergencies with our Chicken First Aid Kit
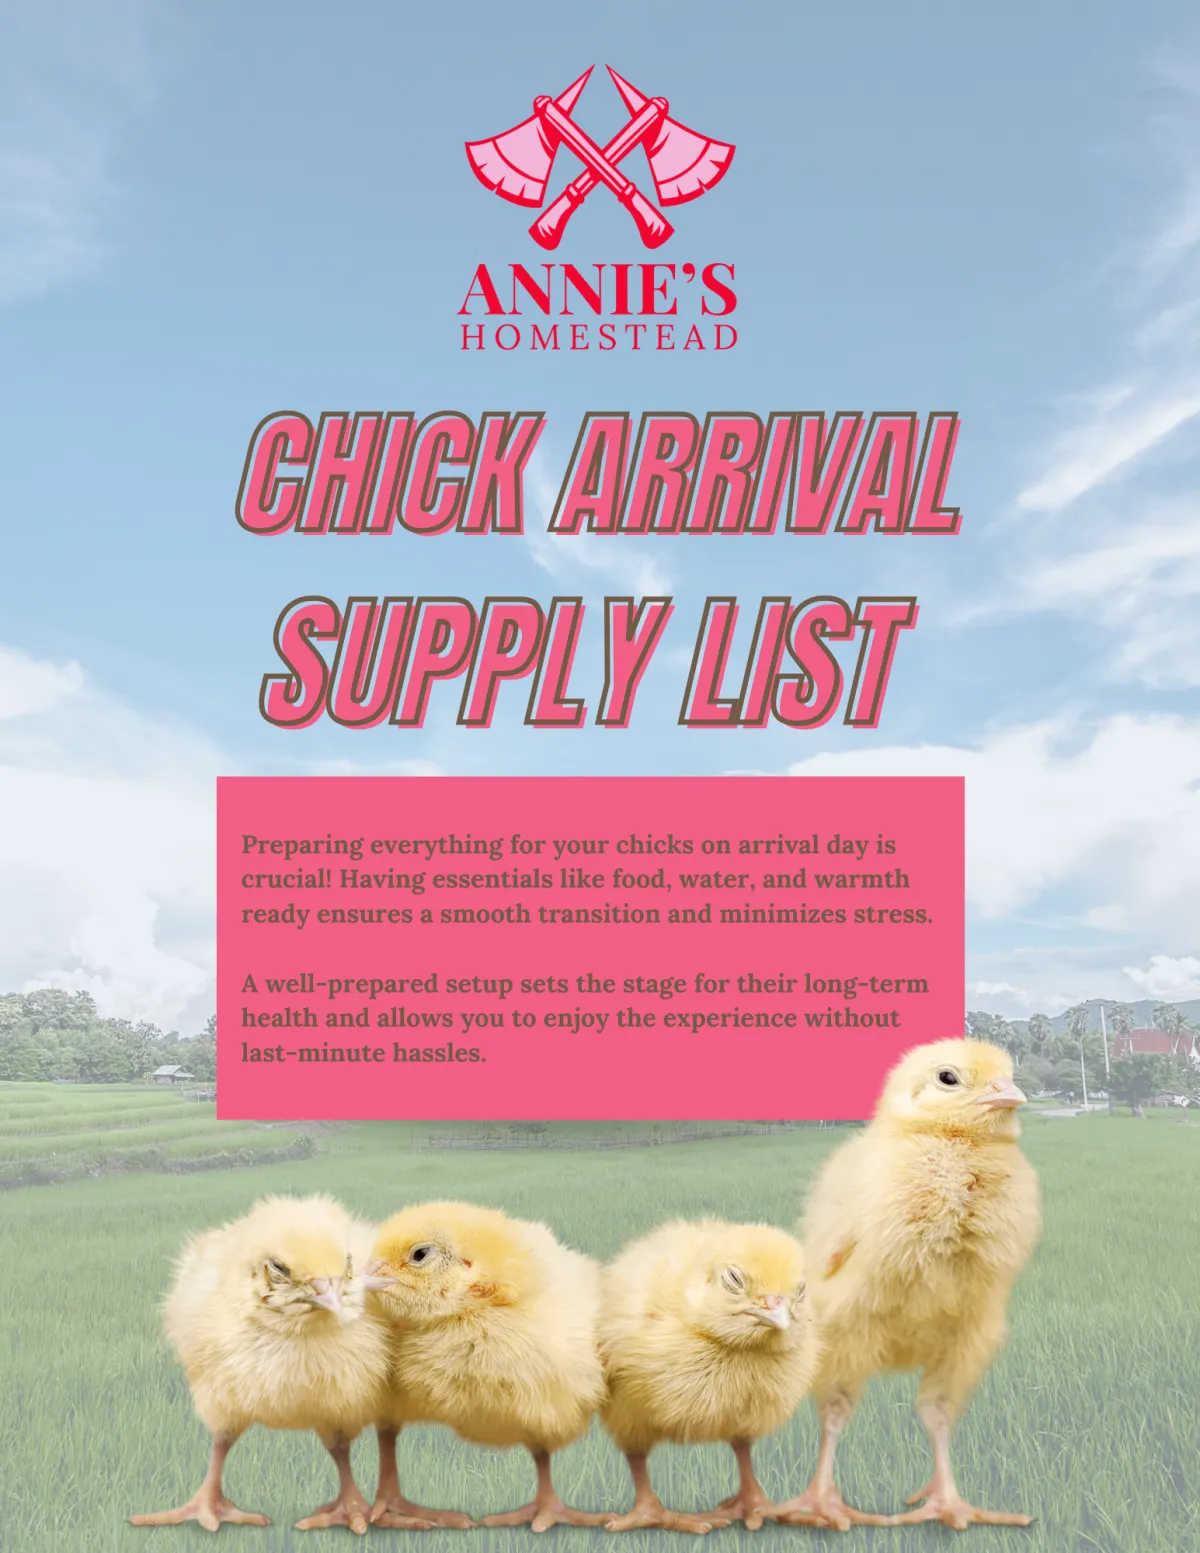
Prepare For Your New Chicks with our Favorite Essentials
Stay Updated
And join the newsletter
Be one of the firsts to know anything new and stay up to date with all the happenings on the homestead!
(I won't spam you ever - PROMISE!)
Read The Blog
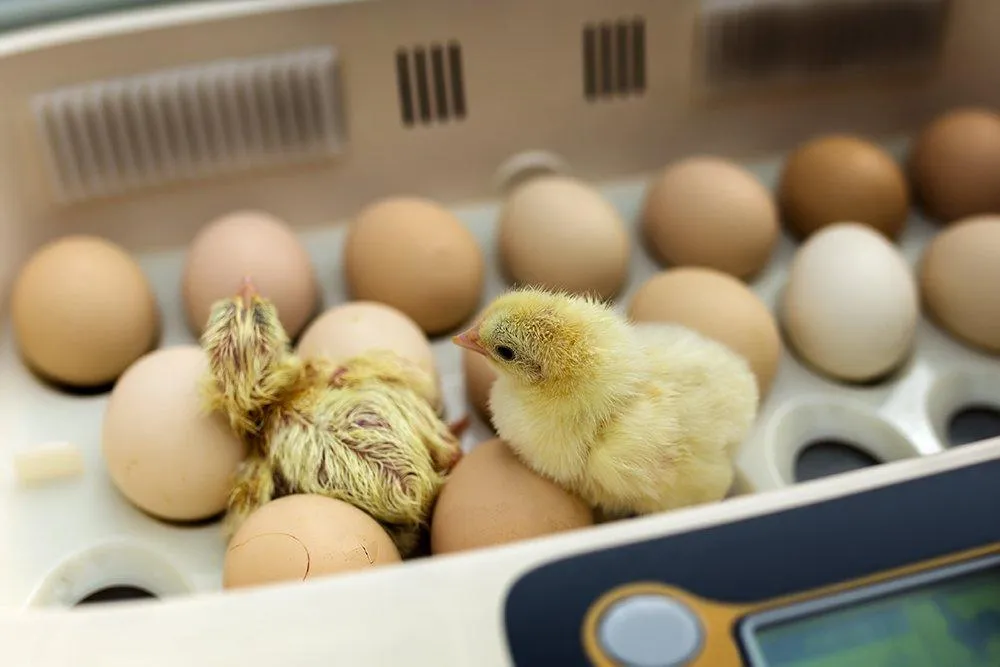
Why You Should Incubate Your Own Chicken Eggs
Why You Should Incubate Your Own Chicken Eggs
If you've ever considered raising backyard chickens, hatching your own eggs is one of the most rewarding experiences you can have as a homesteader. Whether you’re a beginner or a seasoned chicken keeper, incubating eggs at home gives you full control over your flock, saves money, and offers an invaluable hands-on learning experience.
But beyond the excitement of watching fluffy chicks hatch, there are real, practical benefits to incubating your own eggs rather than buying from a hatchery or local farm supply store.
In this guide, we’ll dive into why incubating eggs is worth your time, the benefits for both homesteaders and small-scale farmers, and how you can get started on your own hatching journey.
What is Egg Incubation?
Egg incubation is the process of artificially hatching fertile eggs by providing the right temperature, humidity, and ventilation conditions—without the need for a broody hen. It mimics a mother hen’s natural warmth and turning process, allowing the embryo inside the egg to develop into a healthy chick over 21 days.
By using an incubator, you can hatch eggs at home anytime, giving you complete control over the process.
Why Incubate Your Own Eggs Instead of Buying Chicks?
Many new chicken keepers purchase day-old chicks from hatcheries or feed stores, but there are several reasons why incubating your own eggs is the better choice.
1. Full Control Over Your Flock 🐣
When you hatch your own eggs, you get to select the genetics and health of your birds.
✔ Breed Selection – Want hardy winter birds? Good egg layers? Friendly backyard pets? Incubating lets you choose the exact breeds that fit your needs.
✔ Stronger Immune Systems – Chicks raised in their home environment from day one develop natural immunity to local bacteria and diseases.
✔ Avoid Hatchery Stress – Store-bought chicks are often exposed to shipping stress, illnesses, and overcrowding. Home-hatched chicks grow up stronger and healthier.
2. Cost Savings & Self-Sufficiency 💰
Raising chickens can get expensive, especially when you’re buying chicks year after year. Hatching your own is an affordable and sustainable way to expand your flock.
✔ Hatch for Less – A dozen fertilized eggs cost significantly less than a dozen live chicks from a hatchery.
✔ No Shipping Costs – Ordering chicks online can rack up expensive shipping fees. Incubation eliminates that entirely.
✔ Endless Flock Growth – Once you have an incubator, you can hatch as many chicks as you need without additional cost.
3. A Hands-On Learning Experience 📚
Incubating eggs is one of the most fascinating and educational experiences, especially for families and homesteaders looking to deepen their understanding of poultry care.
✔ Learn About Embryo Development – Watching an egg develop from fertilization to hatching is an incredible lesson in biology and life cycles.
✔ Great for Kids & Families – Incubating teaches patience, responsibility, and hands-on farm skills.
✔ Build Animal Husbandry Skills – You’ll gain confidence in poultry care, from monitoring incubation conditions to raising healthy chicks.
4. Biosecurity & Chick Health 🦠
One of the biggest downsides of buying chicks from large-scale hatcheries is the risk of disease transmission. When you hatch your own, you reduce biosecurity risks and maintain a controlled environment for your flock.
✔ Lower Disease Risk – Hatchery chicks can carry respiratory illnesses, parasites, and bacterial infections like Salmonella. Home-hatched chicks are safer.
✔ Controlled Environment – You get to ensure that your chicks hatch in clean, stress-free conditions without exposure to external pathogens.
5. Hatch Rare & Heritage Breeds 🐓
Hatcheries and farm stores typically carry only common production breeds like Rhode Island Reds and Leghorns. If you want rare, heritage, or specialty chickens, incubating eggs is the best way to introduce them to your flock.
✔ Preserve Rare Breeds – Many heritage breeds are at risk of disappearing. Incubating eggs helps keep these genetics alive.
✔ Customize Your Flock – Hatch unique breeds that match your homestead’s climate, egg-laying needs, and temperament preferences.
Common Concerns About Egg Incubation
(And Why They Shouldn’t Stop You)
“Incubating eggs sounds complicated.”
Not at all! With a good-quality incubator and a step-by-step incubation guide (like ours!), anyone can hatch healthy chicks.
“What if the eggs don’t hatch?”
While not every egg will hatch, following best practices—like monitoring humidity, temperature, and egg turning—can give you a high hatch rate.
“Isn’t it easier to let a hen do it?”
Broody hens can be unreliable. Some abandon their eggs, while others stop sitting too soon. With an incubator, you control the outcome.
How to Get Started With Incubation
Ready to hatch your own eggs? Here’s what you’ll need:
✔ Fertilized Eggs – Get high-quality, fertilized eggs from a trusted breeder or your own flock’s rooster.
✔ Incubator – Choose a reliable model with accurate temperature and humidity controls.
✔ Thermometer & Hygrometer – These tools help maintain the correct incubation environment.
✔ Patience! – Incubation takes 21 days, with daily monitoring and care.
Step-by-Step Incubation Process
1️⃣ Set Up Your Incubator – Ensure proper temperature (99.5°F for forced air, 101-102°F for still air).
2️⃣ Maintain Humidity – Keep humidity levels around 45-50% during the first 18 days, increasing to 65-70% for hatching.
3️⃣ Turn the Eggs – Rotate eggs at least 3-5 times a day to prevent the embryo from sticking to the shell.
4️⃣ Lockdown on Day 18 – Stop turning eggs and let humidity rise for the final days before hatch.
5️⃣ Hatch Day! – Chicks will start pipping and hatching around day 21. Let them dry before moving to a brooder.
🔹 Want a detailed step-by-step guide? Grab our Egg Incubation Guide for everything you need to hatch your own chicks successfully!
Is Incubating Eggs Right for You?
If you’re passionate about raising chickens, self-sufficiency, and having full control over your flock, incubating eggs is 100% worth it. Not only does it save money, but it’s also an incredibly rewarding experience that deepens your connection with your homestead.
If you’re ready to start hatching, be sure to grab our Egg Incubation Guide to learn everything you need to know about incubation, chick care, and ensuring a successful hatch.
🐣 Have you incubated eggs before? Drop a comment below with your experiences or any questions you have!

It's time to take the first step towards your homesteading journey.
Don't let uncertainty hold you back any longer.
Our homesteading courses offer a comprehensive roadmap to self-sufficiency, guiding you step-by-step through the process of creating your own thriving homestead, no matter where you live.
Enroll in our course today and take the first step towards a brighter, more empowered future!
Annie's Homestead is not affiliated by Facebook™ in any way. Facebook™ is a registered trademark of Facebook™ Inc
Branding and Website by RoyalT Studio

