


Welcome to Annie's Homestead
You stopped trusting the system.
Now let's build your way out of it
Learn how to grow real food, real birds, for real independence.
Does this sound familiar?
You've been reading labels and not likeing what you see.
You don't fully trust the grocery store, the supply chain, or what the label actually means. You're not paranoid. You're paying attention. And you're ready to do something about it.You want to know where your food actually comes from.
You want to know the bird, the feed, the ground it walked on. You want the full chain — and you want to own it.You’re done waiting for the system to fix itself.
Whether you have five acres or a back patio, you're ready to start building something that doesn't depend on anyone else. One seed. One egg. One jar at a time.
If any of that sounds like you — you're exactly who this is for.
Most homesteading content online is either a Pinterest fantasy or a 47-step overwhelm spiral. Neither helps you actually do anything.
This isn't that.
Annie's Homestead is no-gatekeep, straight-to-the-point resources for people who are done outsourcing their food supply to a system they don't trust. We go into the detail. We share what actually works. And we don't pretend it's simpler than it is — because you're smart enough to handle the real version.
That's where Annie's Homestead comes in.

Start exactly where you are.
You don't need land, livestock, or a barn. You need a direction and someone who's actually done it. Whether you have a backyard or a window ledge, the first step is the same: start something you can eat.

Know what's in your food — because you put it there.
From egg selection to hatch day. From mealworms to free-range. From seed to harvest. Annie covers the full chain because the full chain is the whole point.

Build skills that make you less dependent.
Fermentation. Incubation. Coop automation. Food preservation. Every skill you learn is one less thing you need from a system you don't trust. That's not a hobby. That's a strategy.
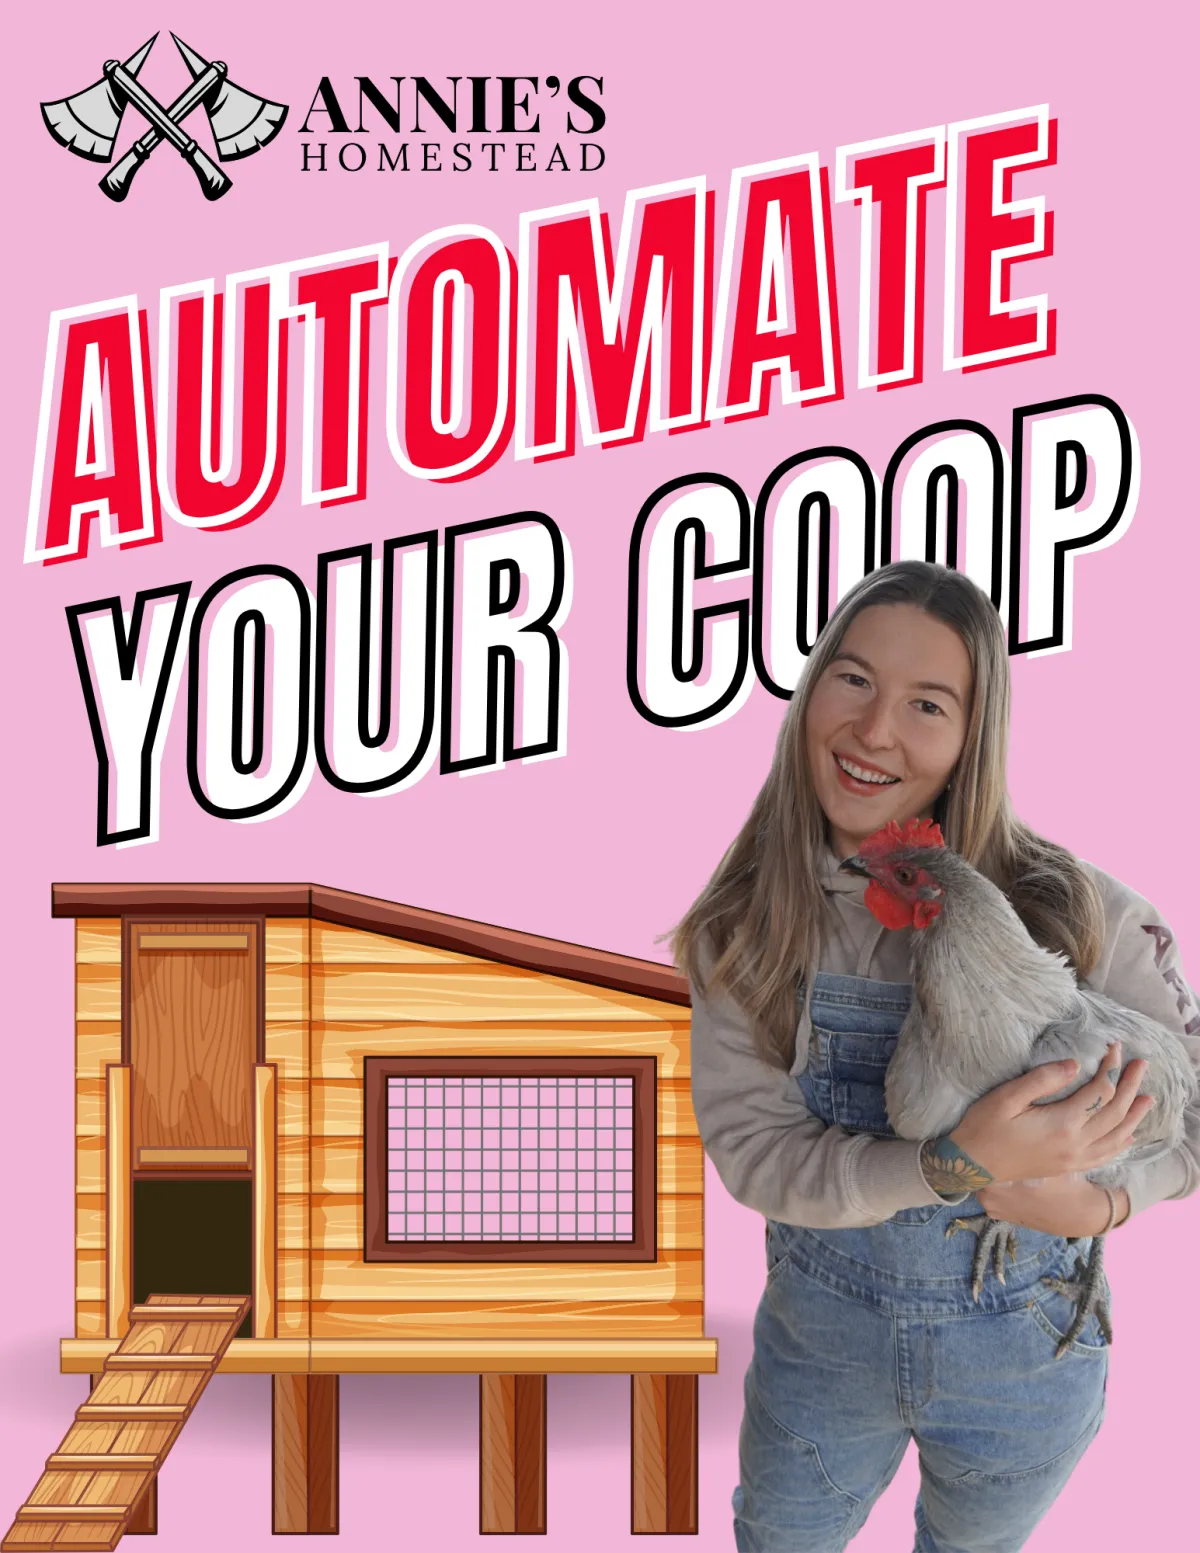
Free: Automate Your Coop
Want to streamline your chores?
Less time on chores.
More time on everything else.
The exact automations Annie uses on her off-grid Idaho homestead — automatic doors, refillable waterers, everything that runs the coop so she doesn't have to babysit it.
Free. Because we don't gatekeep here.
Hey There,
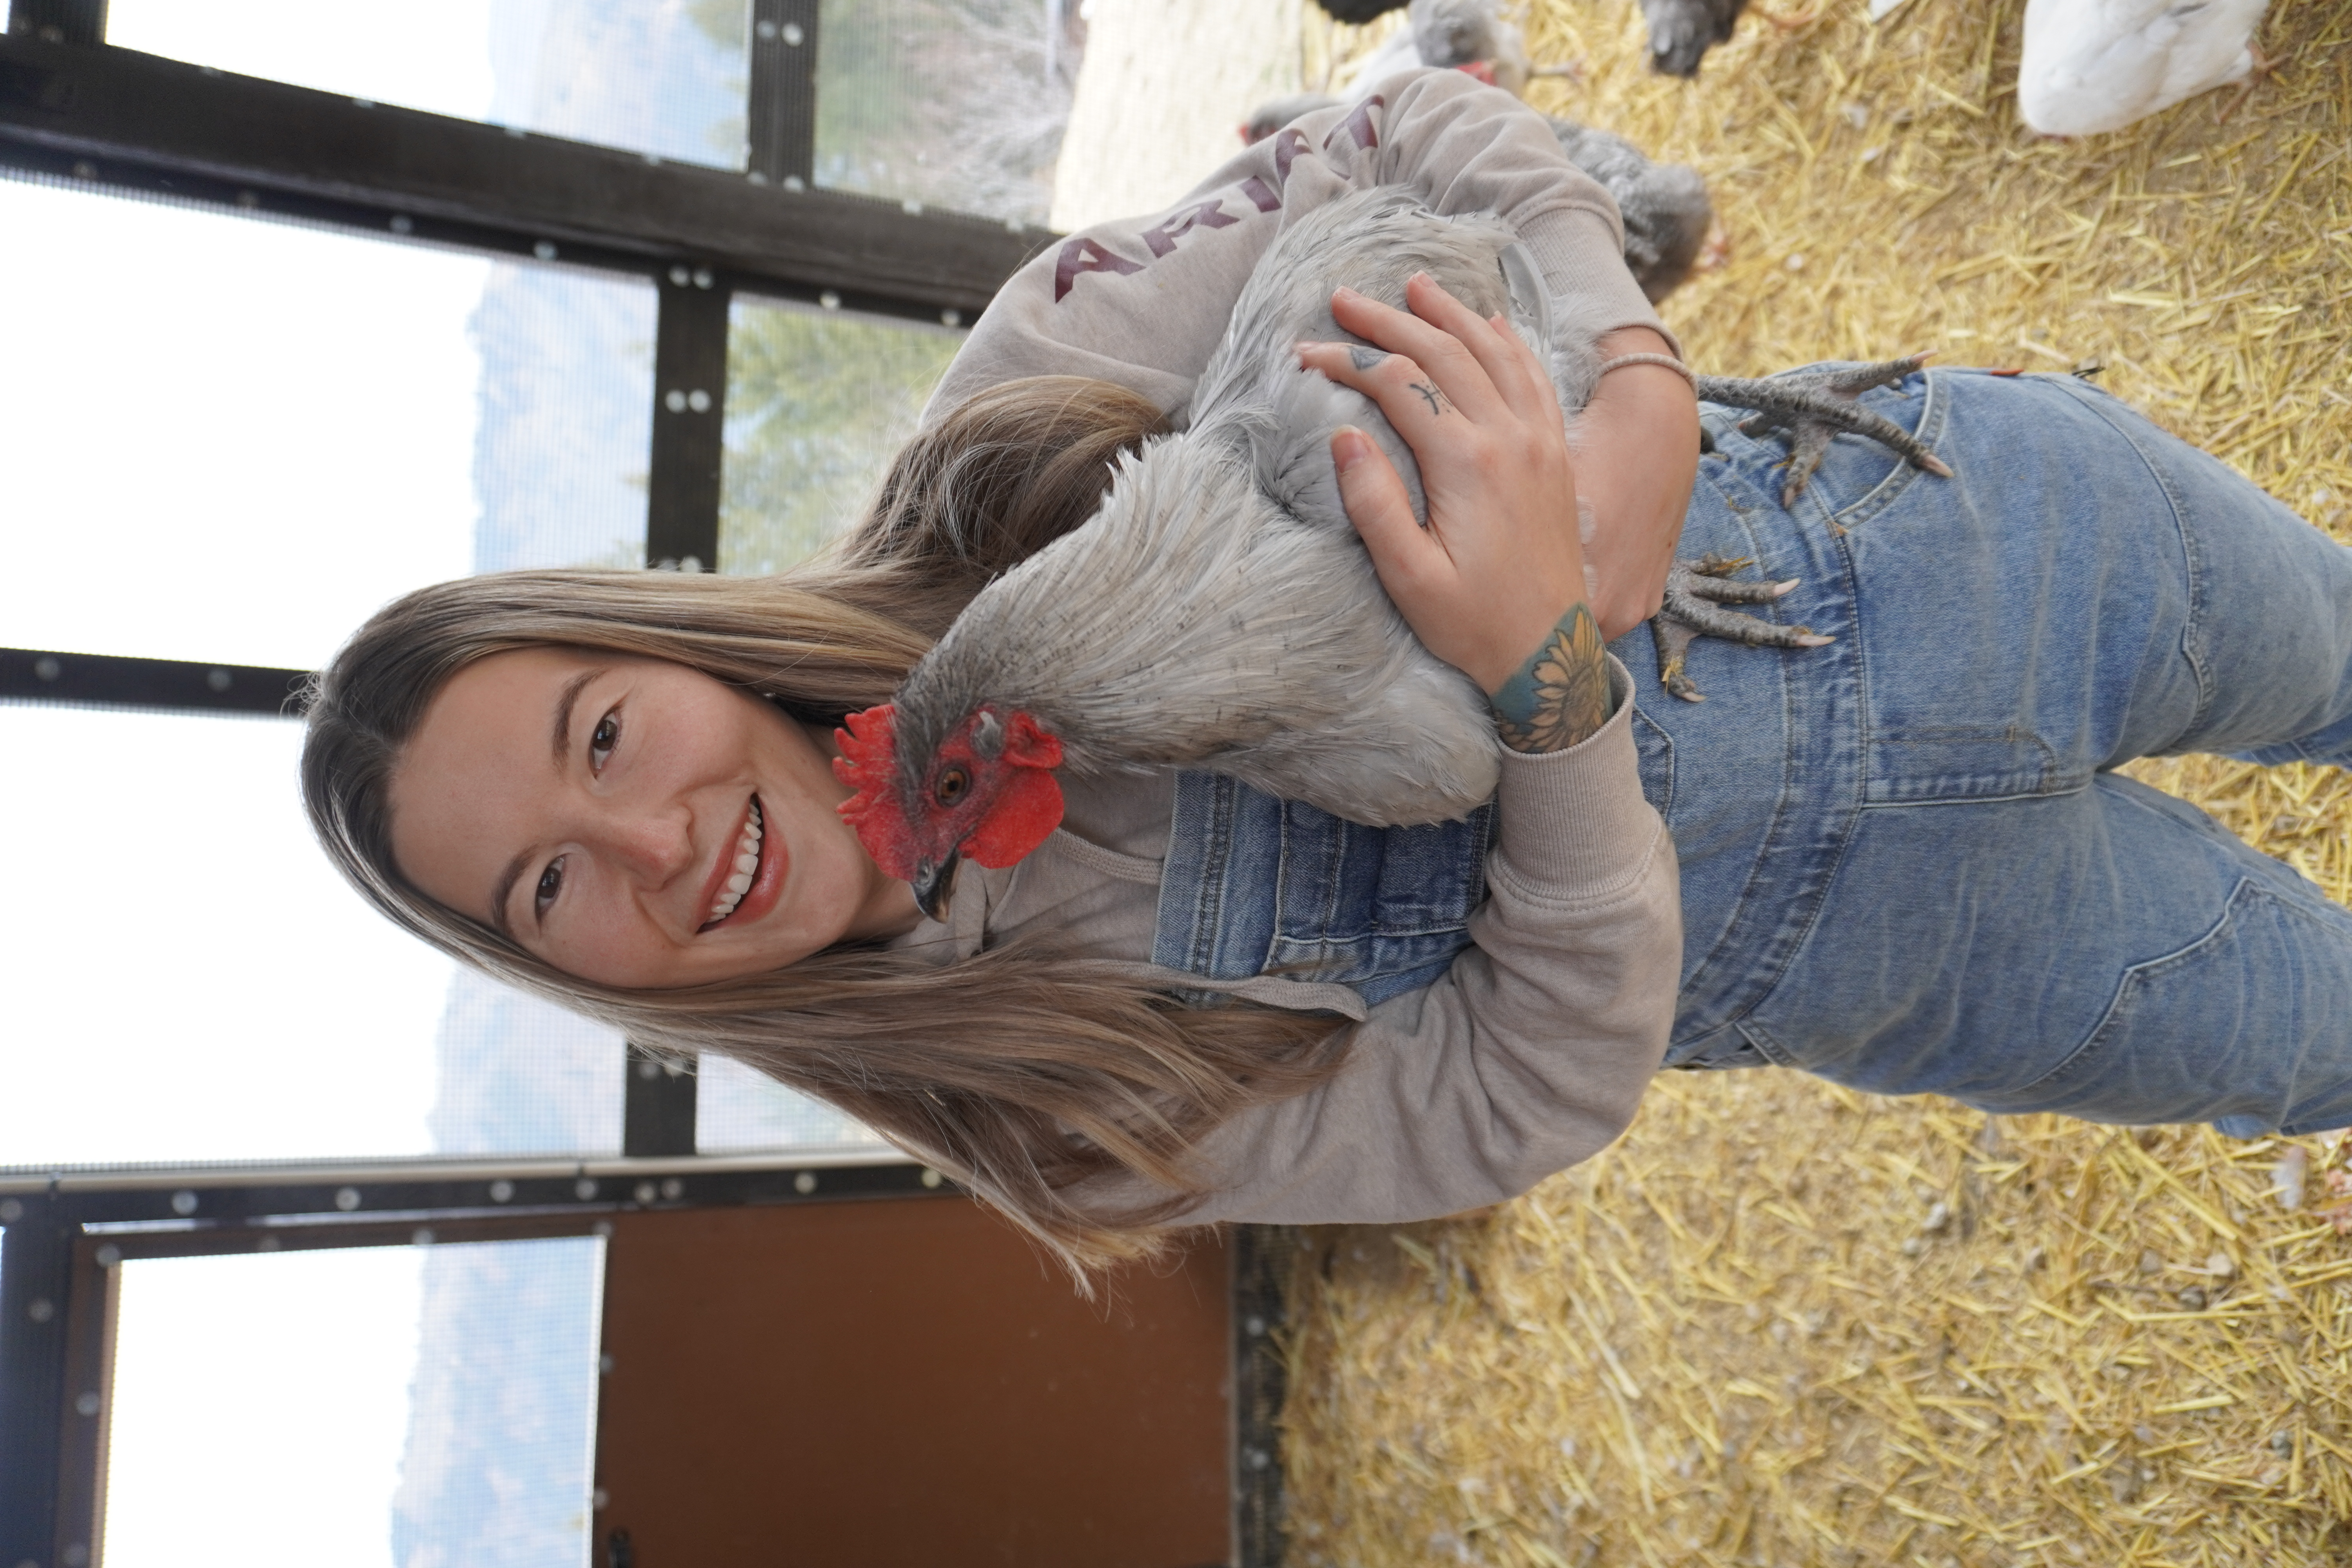
I'm Annie
I'm here to help you leave the system with ease
I live off-grid in the Idaho mountains with a flock of birds I hatched myself, an indoor grow room, and a greenhouse — because I'd rather know exactly what's going into my food than trust a label that doesn't have to tell me everything.
I built Annie's Homestead for the person who's started asking questions they can't unask. The person who reads ingredients now. The person who looked at the Palantir-USDA contract and thought — okay, it's time to build my own supply chain.
No sugar-coating. No gatekeeping. Just the real process, the real numbers, and honest answers about what it actually takes.
You found this page for a reason. Stick around.
Top Resources
Streamline your chore list with our chicken coop automation list
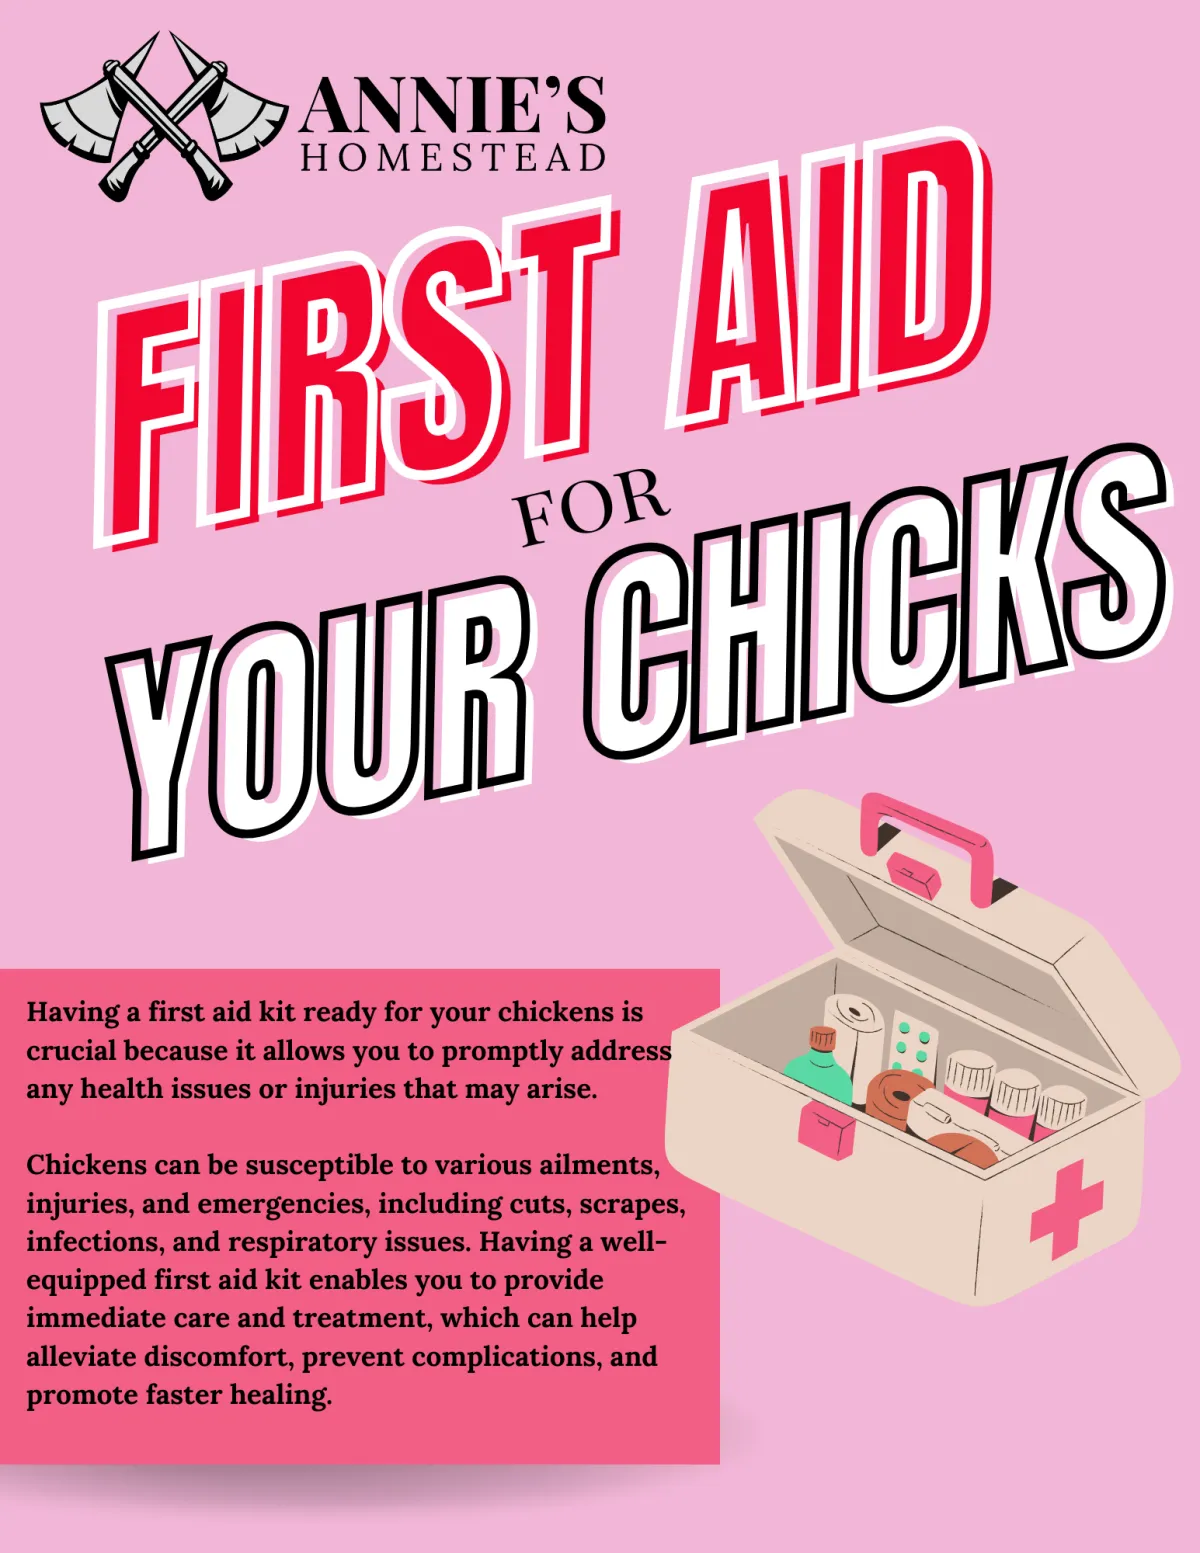
Prepare For Emergencies with our Chicken First Aid Kit
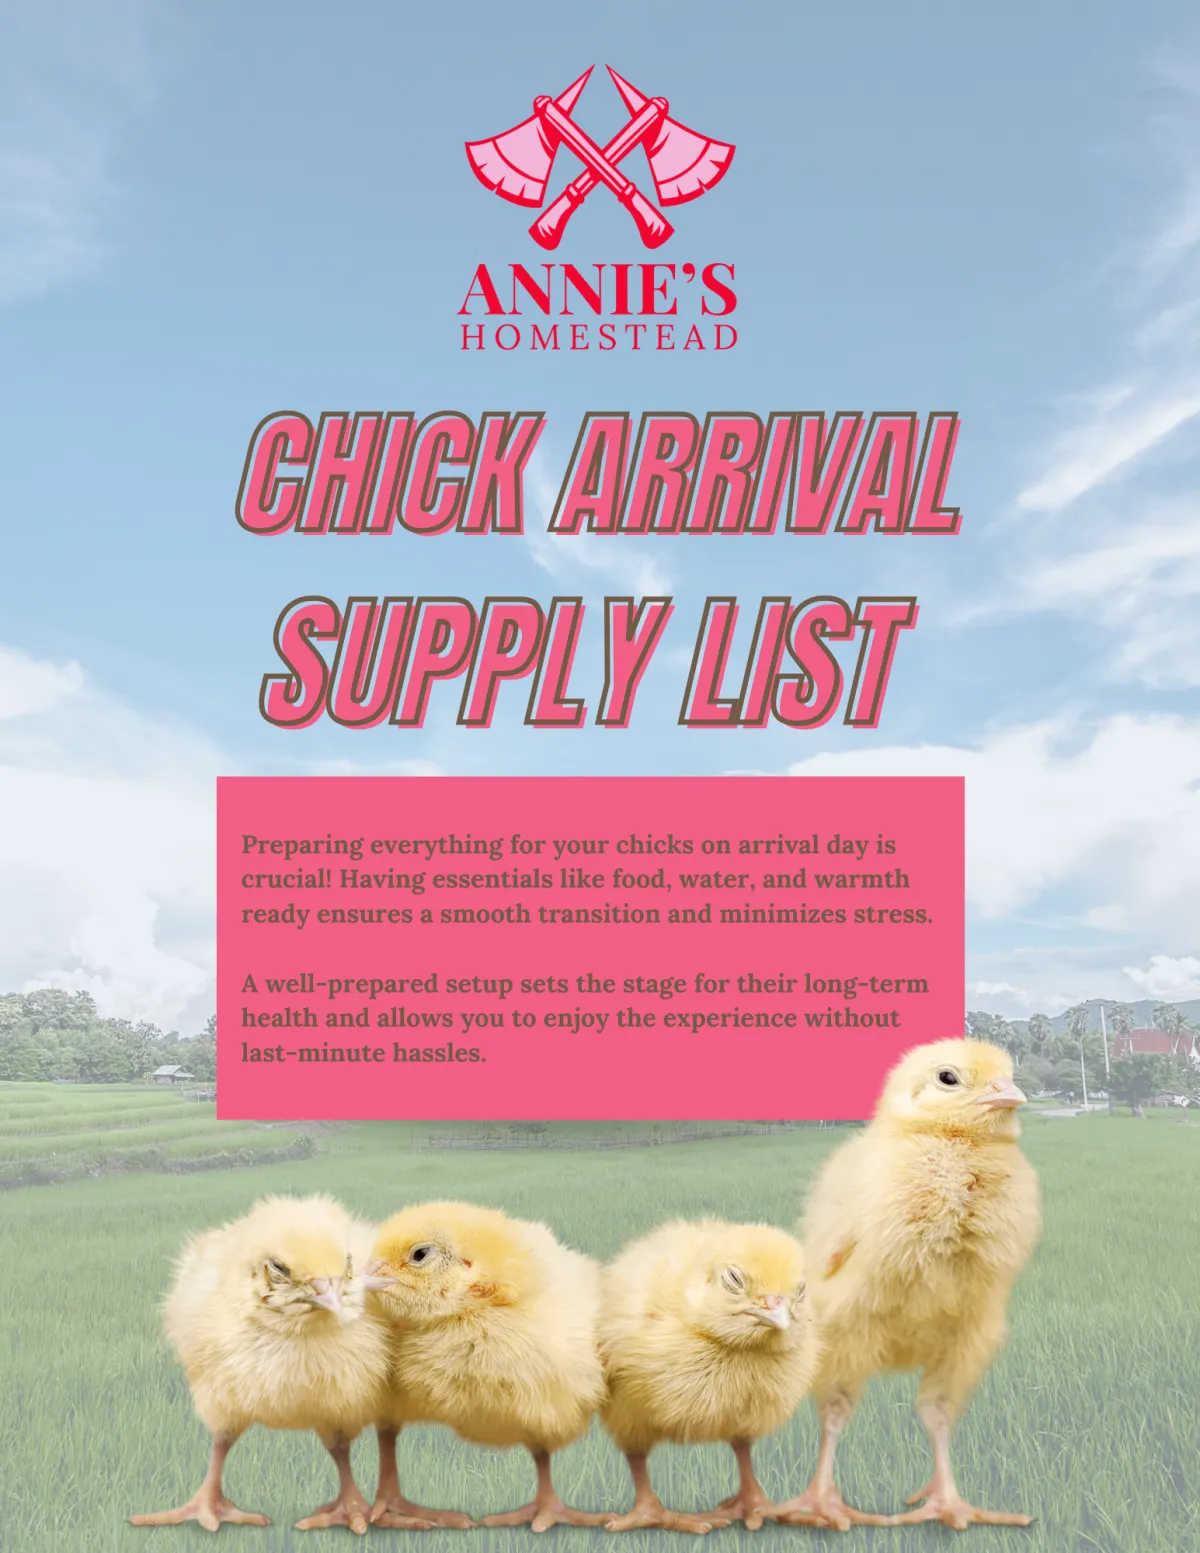
Prepare For Your New Chicks with our Favorite Essentials
Stay Updated
And join the inner circle
Be one of the firsts to know anything new and stay up to date with all the happenings on the homestead!
(I won't spam you ever - PROMISE!)
READ THE BLOG
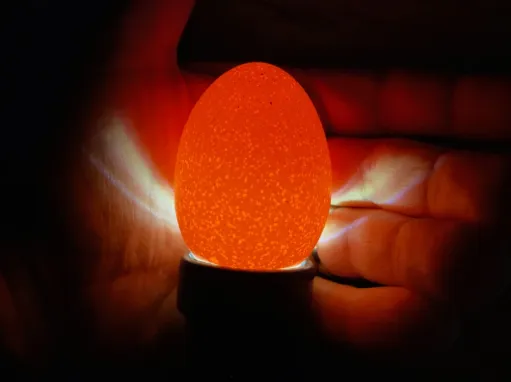
Common Misconceptions About Egg Incubation
Common Misconceptions About Egg Incubation
If you've ever thought about hatching your own chicks but felt intimidated by the process, you're not alone. Learning any new skill can be daunting. I remember buying my first incubator and it sat in the box for months because I didn't feel ready. But you can do it!
There's a LOT of misinformation floating around about incubating eggs—so today, we're busting some of the most common myths and setting the record straight!
Myth #1: You Need an Expensive Incubator
Truth: You don’t need a top-of-the-line, high-tech incubator to successfully hatch eggs!
While some high-end models have extra features like automatic egg turning and humidity control, plenty of budget-friendly incubators work just fine if you know how to manage the basics.
🔹 A simple incubator with steady temperature control, proper ventilation, and consistent humidity levels is all you need for a successful hatch.
🔹 Many homesteaders and backyard chicken keepers hatch eggs with affordable tabletop incubators.
🔹 Even DIY incubators can work—though they require a little extra monitoring.
The key is following a reliable incubation process—and I cover everything you need to know in my Egg Incubation Guide.
Myth #2: Incubating is Too Hard for Beginners
Truth: If you can follow simple steps, you can hatch eggs—no experience required!
I get it. The idea of managing temperature, humidity, and turning eggs can sound overwhelming. But guess what? Incubating eggs is actually super easy once you know what to do.
✔ Modern incubators do a lot of the work for you. Many have built-in thermometers, hygrometers, and automatic turners.
✔ You don’t have to be perfect—small fluctuations in temperature and humidity are normal.
✔ Step-by-step guidance makes all the difference—which is exactly why I created my incubation guide!
If you’ve been putting off incubating because you’re worried it’s too complicated, this is your sign to just start. I promise—it’s easier than you think!
Myth #3: Once You Put the Eggs in the Incubator, You Can Just Set It and Forget It
Truth: Incubating eggs isn’t hard, but it’s not completely hands-off either!
A lot of beginners assume that incubators do all the work—but that’s not entirely true. You still need to:
🔹 Monitor temperature & humidity daily – Even with automatic controls, slight adjustments might be needed.
🔹 Turn the eggs (if your incubator doesn’t) – Most eggs need to be turned at least three times a day to prevent the embryo from sticking to the shell.
🔹 Check for development – Candling eggs at days 7 and 14 helps ensure they are growing properly and lets you remove any that aren’t developing.
🔹 Lockdown period requires extra attention – The last few days before hatching (days 18-21) require stable humidity and no opening the incubator!
While it’s not complicated, it does require some involvement—but I’ll walk you through every step inside my Egg Incubation Guide so you can hatch healthy, thriving chicks with confidence.
Have You Heard These Myths Before?
Hatching your own chicks is one of the most fun, rewarding, and budget-friendly ways to grow your flock—and it’s WAY easier than you might think.
Which of these myths have you heard before? Did any of them hold you back from trying incubation? Let me know in the comments!
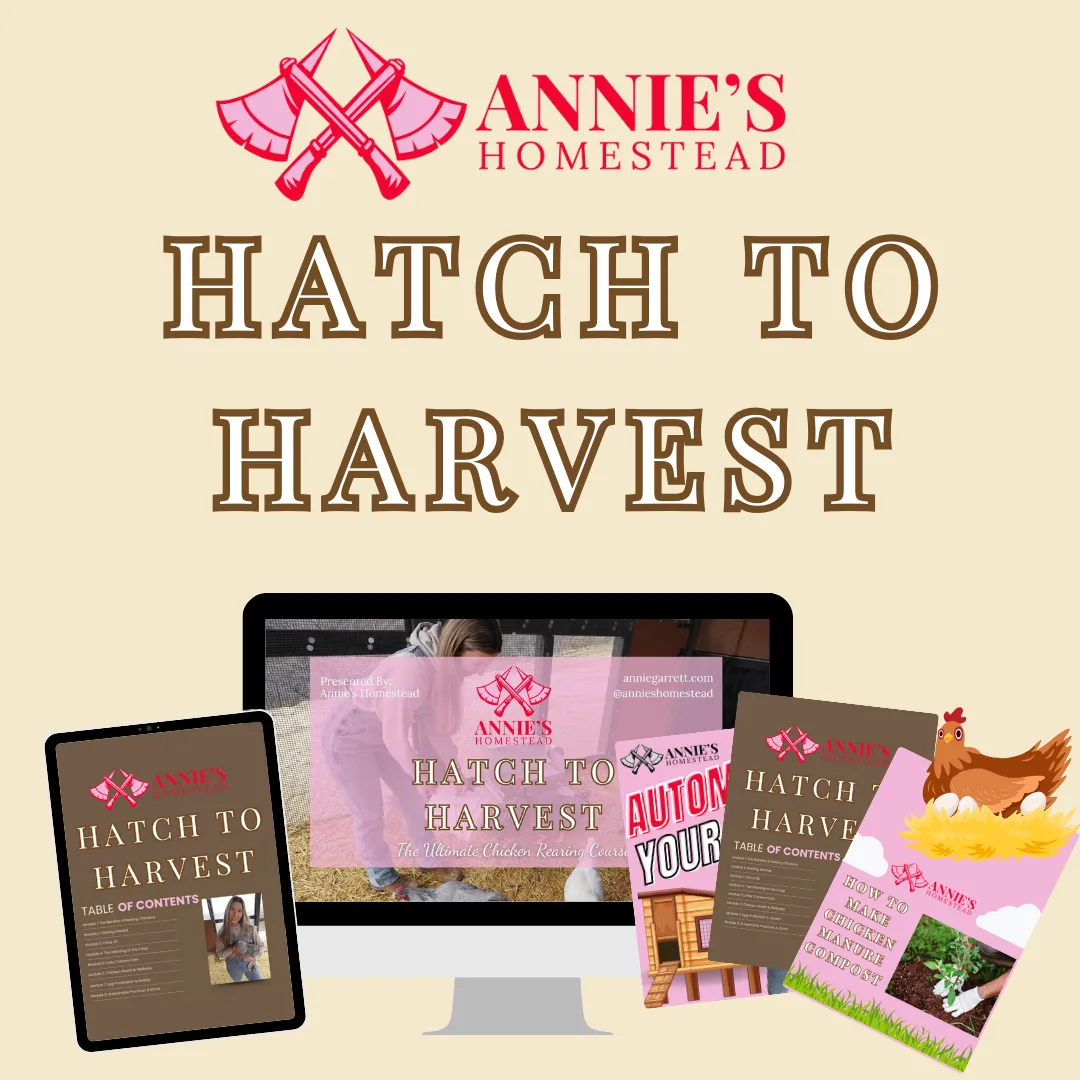
Ready to start incubating? Grab my Egg Incubation Guide for step-by-step instructions! And if you want to take your chicken-raising skills to the next level, my full Chicken Course will guide you from hatch to harvest.

It's time to take the first step towards your homesteading journey.
Don't let uncertainty hold you back any longer.
Our chicken course offers a comprehensive roadmap to self-sufficiency, guiding you step-by-step through the process of creating your own thriving flock, from hatch to harvest.
Enroll in our course today and take the first step towards a brighter, more empowered future!

Annie's Homestead is not affiliated by Facebook™ in any way. Facebook™ is a registered trademark of Facebook™ Inc
Branding and Website by RoyalT Studio