



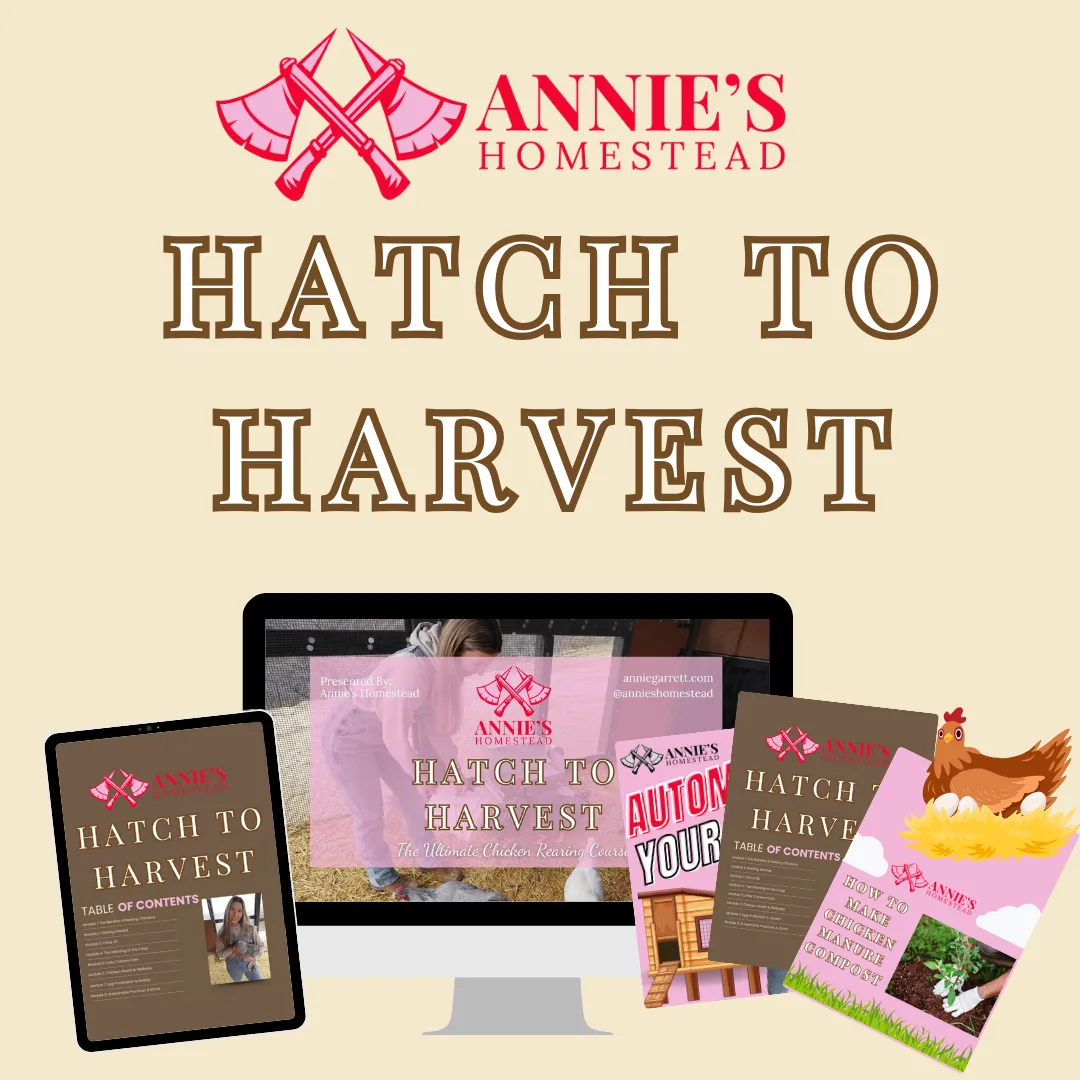
Welcome to Annie's Homestead
You stopped trusting the system.
Now let's build your way out of it
Learn how to grow real food, real birds, for real independence.
Does this sound familiar?
You've been reading labels and not likeing what you see.
You don't fully trust the grocery store, the supply chain, or what the label actually means. You're not paranoid. You're paying attention. And you're ready to do something about it.You want to know where your food actually comes from.
You want to know the bird, the feed, the ground it walked on. You want the full chain — and you want to own it.You’re done waiting for the system to fix itself.
Whether you have five acres or a back patio, you're ready to start building something that doesn't depend on anyone else. One seed. One egg. One jar at a time.
If any of that sounds like you — you're exactly who this is for.
Most homesteading content online is either a Pinterest fantasy or a 47-step overwhelm spiral. Neither helps you actually do anything.
This isn't that.
Annie's Homestead is no-gatekeep, straight-to-the-point resources for people who are done outsourcing their food supply to a system they don't trust. We go into the detail. We share what actually works. And we don't pretend it's simpler than it is — because you're smart enough to handle the real version.
That's where Annie's Homestead comes in.

Start exactly where you are.
You don't need land, livestock, or a barn. You need a direction and someone who's actually done it. Whether you have a backyard or a window ledge, the first step is the same: start something you can eat.

Know what's in your food — because you put it there.
From egg selection to hatch day. From mealworms to free-range. From seed to harvest. Annie covers the full chain because the full chain is the whole point.

Build skills that make you less dependent.
Fermentation. Incubation. Coop automation. Food preservation. Every skill you learn is one less thing you need from a system you don't trust. That's not a hobby. That's a strategy.
Free: Automate Your Coop
Want to streamline your chores?
Less time on chores.
More time on everything else.
The exact automations Annie uses on her off-grid Idaho homestead — automatic doors, refillable waterers, everything that runs the coop so she doesn't have to babysit it.
Free. Because we don't gatekeep here.
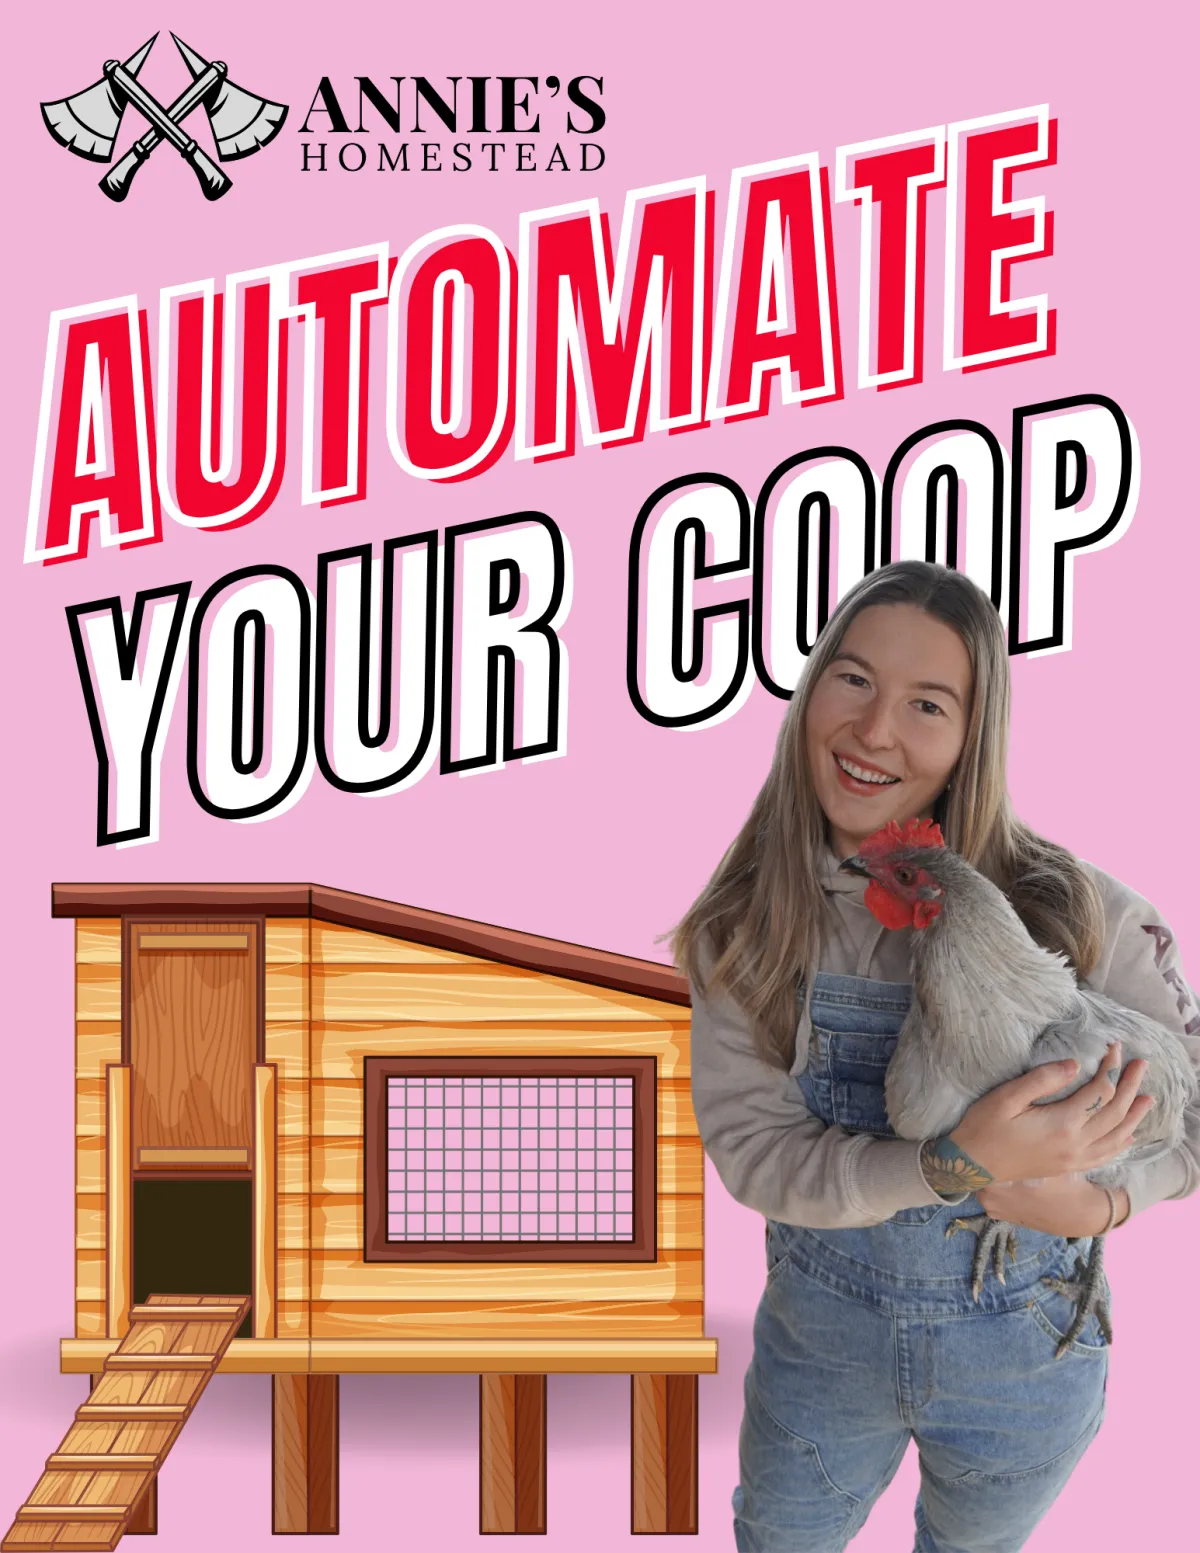
Hey There,
I'm Annie
I'm here to help you leave the system with ease
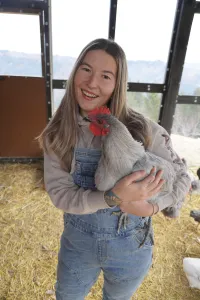
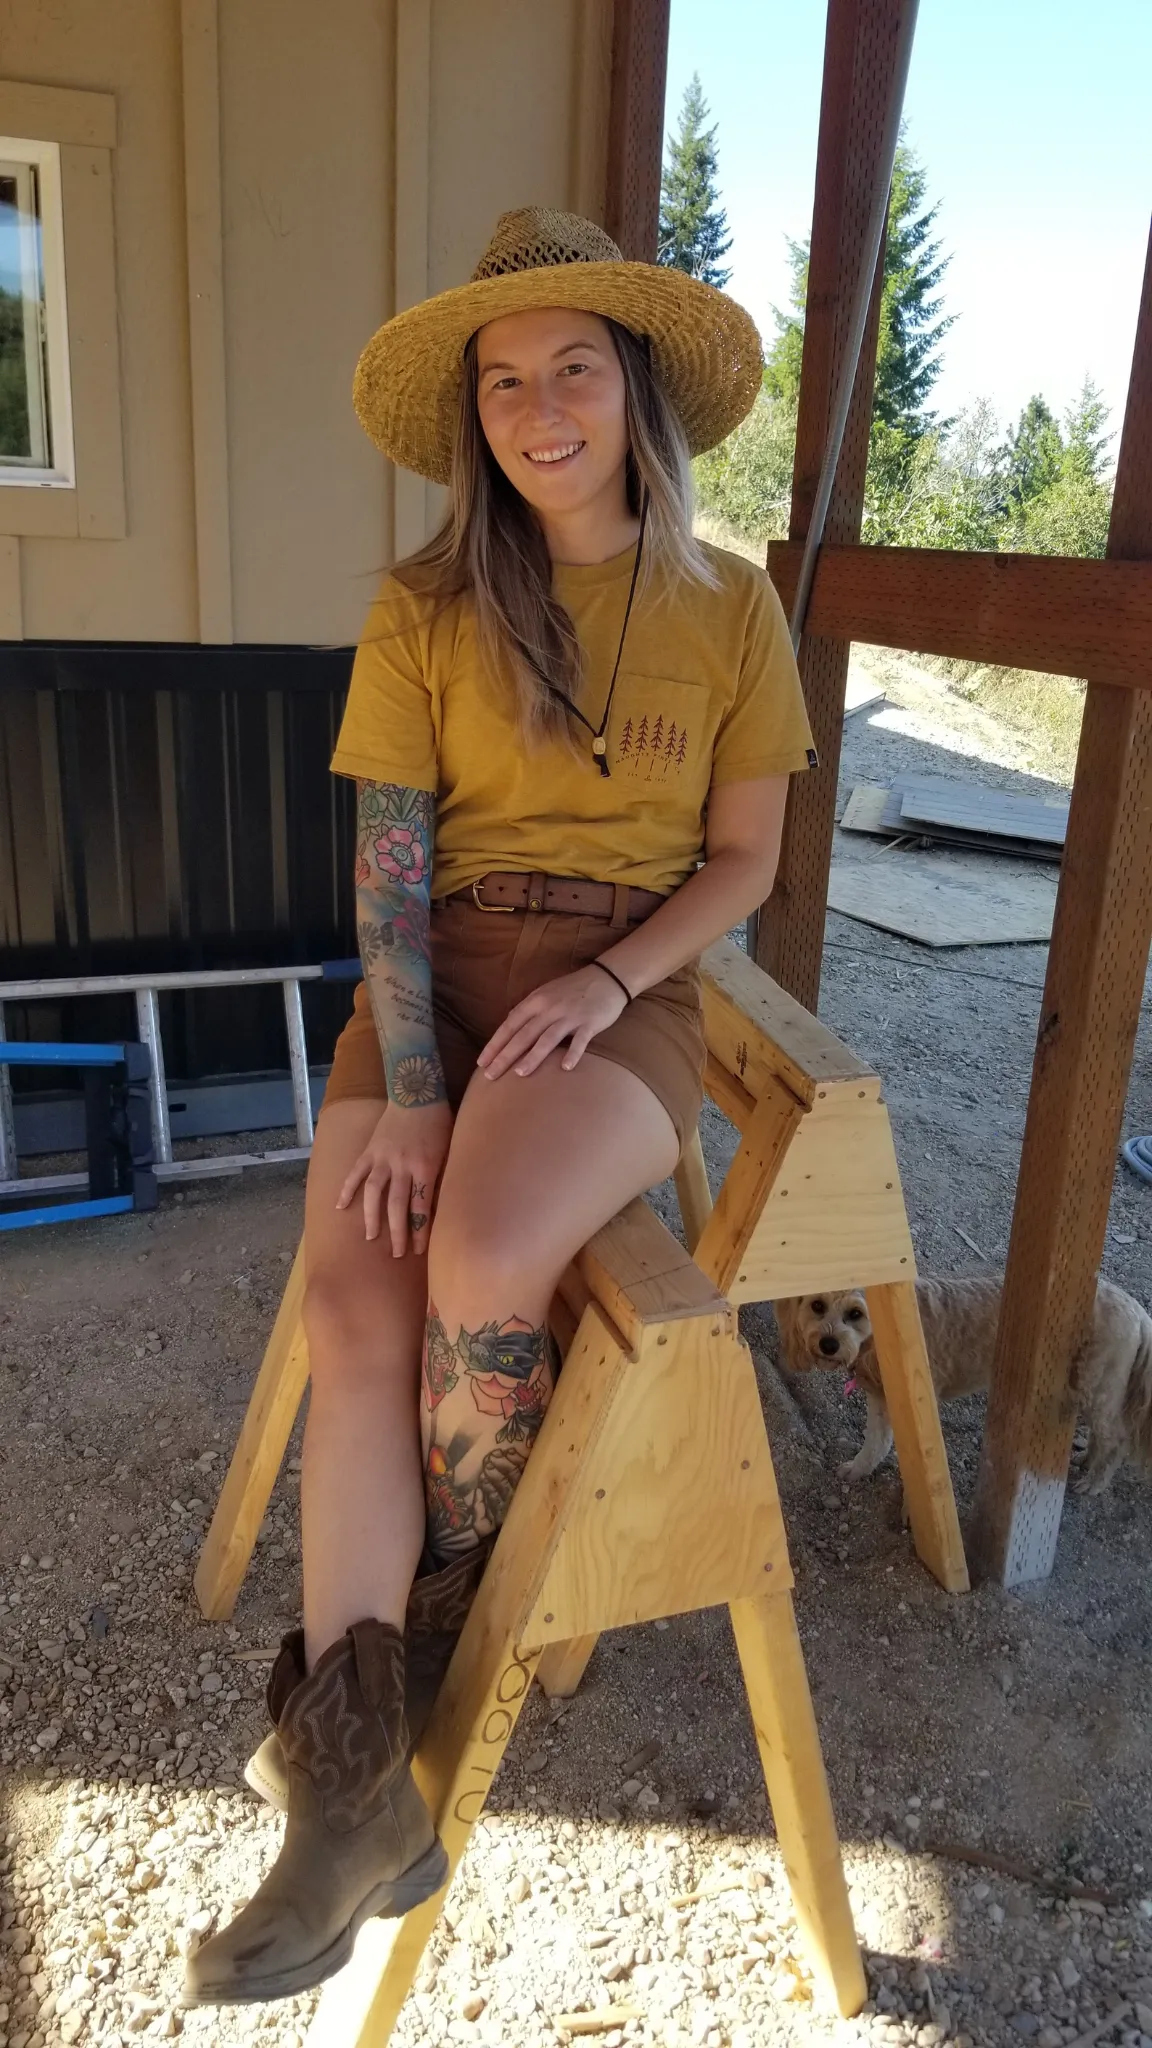
I live off-grid in the Idaho mountains with a flock of birds I hatched myself, an indoor grow room, and a greenhouse — because I'd rather know exactly what's going into my food than trust a label that doesn't have to tell me everything.
I built Annie's Homestead for the person who's started asking questions they can't unask. The person who reads ingredients now. The person who looked at the Palantir-USDA contract and thought — okay, it's time to build my own supply chain.
No sugar-coating. No gatekeeping. Just the real process, the real numbers, and honest answers about what it actually takes.
You found this page for a reason. Stick around.
Top Resources
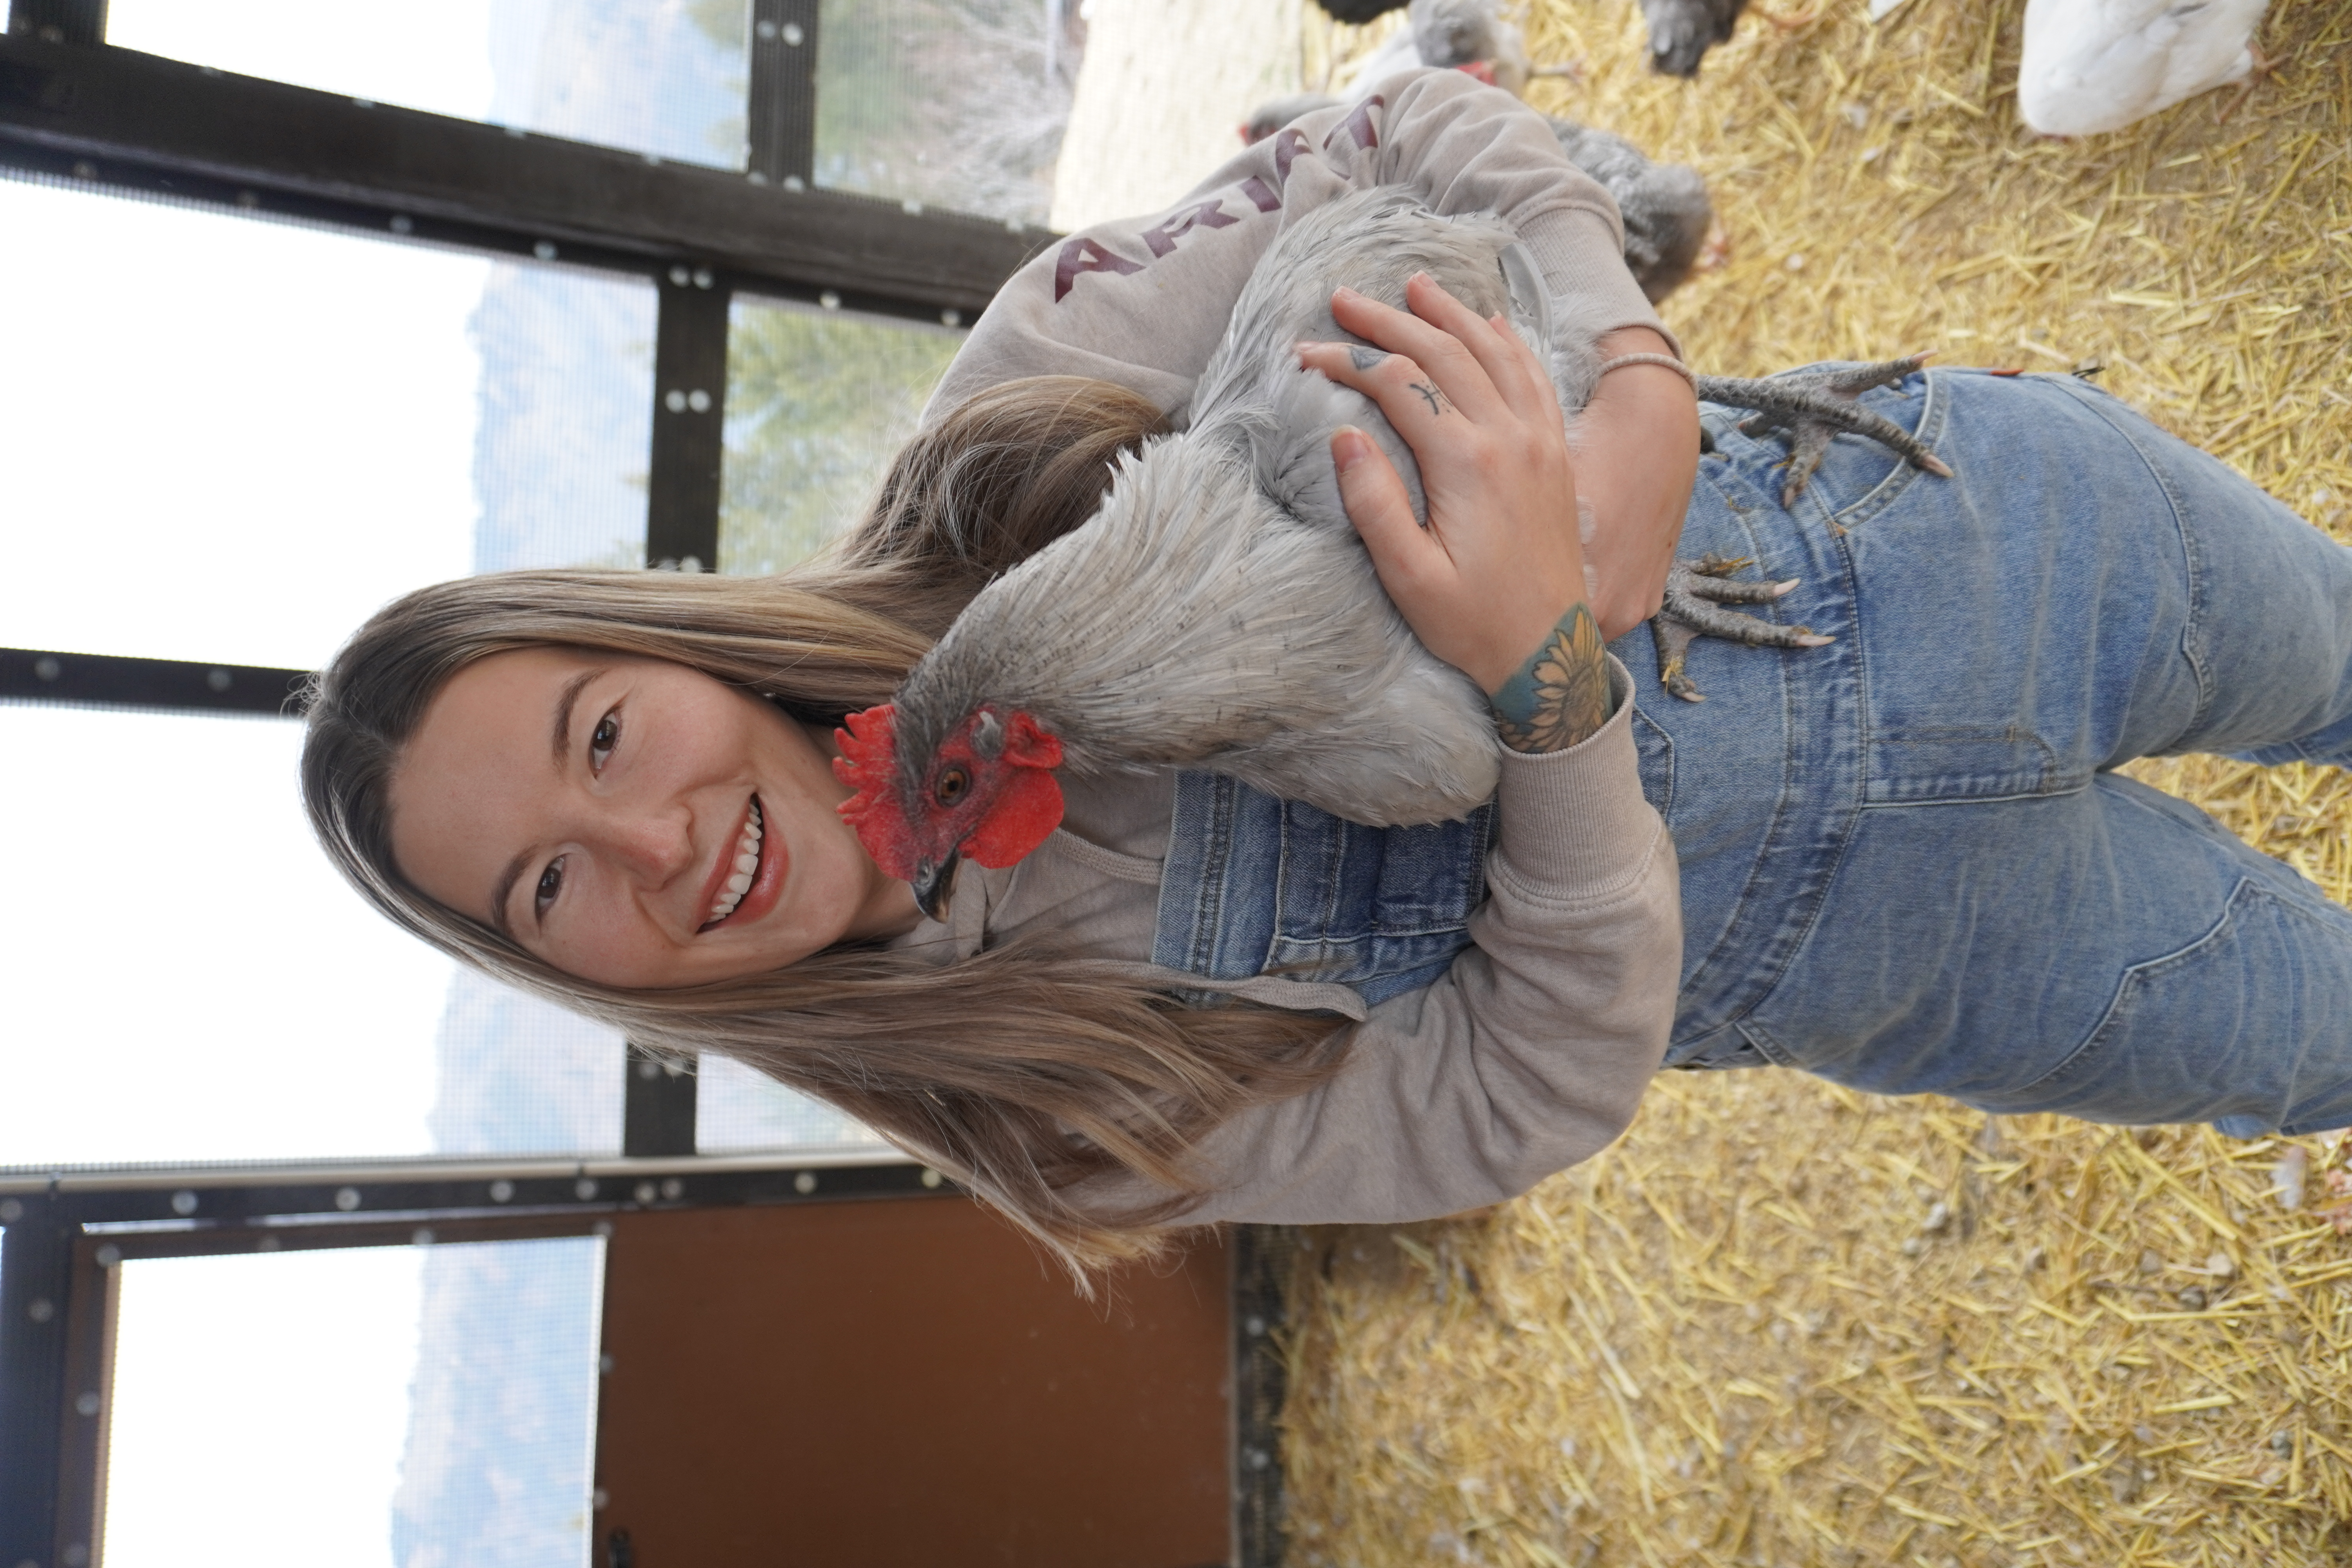
Streamline your chore list with our chicken coop automation list
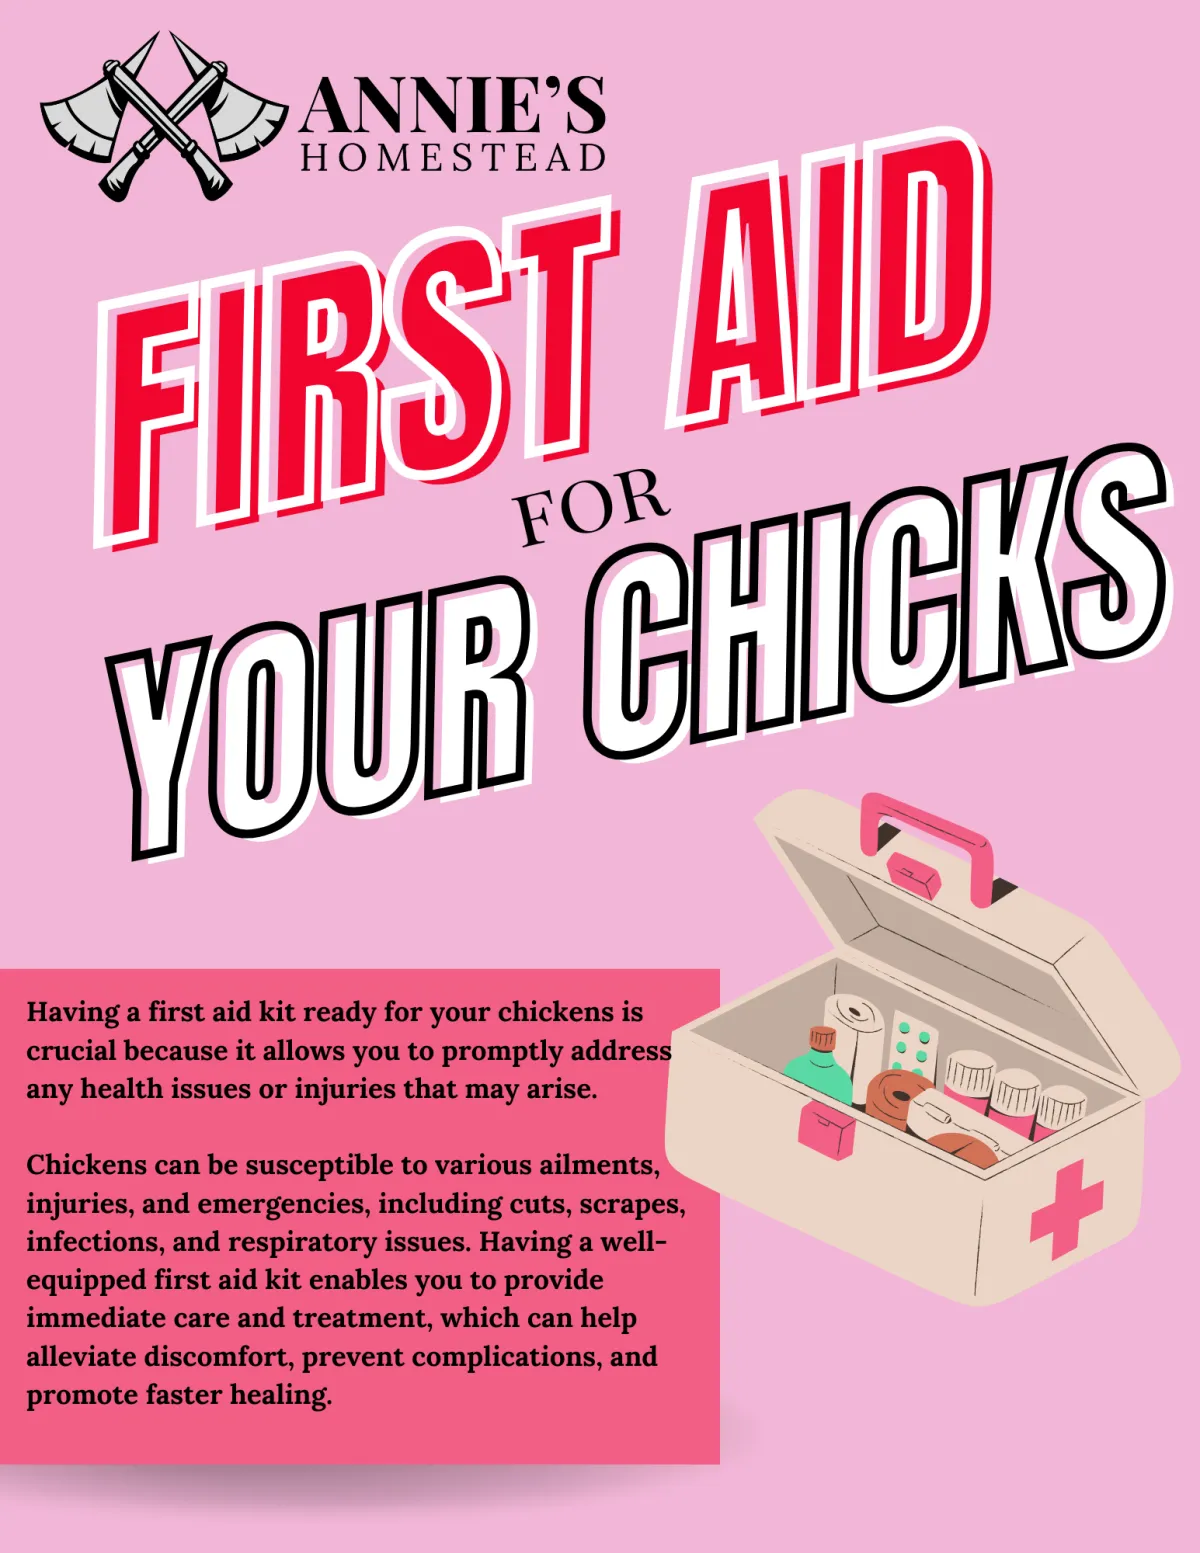
Prepare For Emergencies with our Chicken First Aid Kit
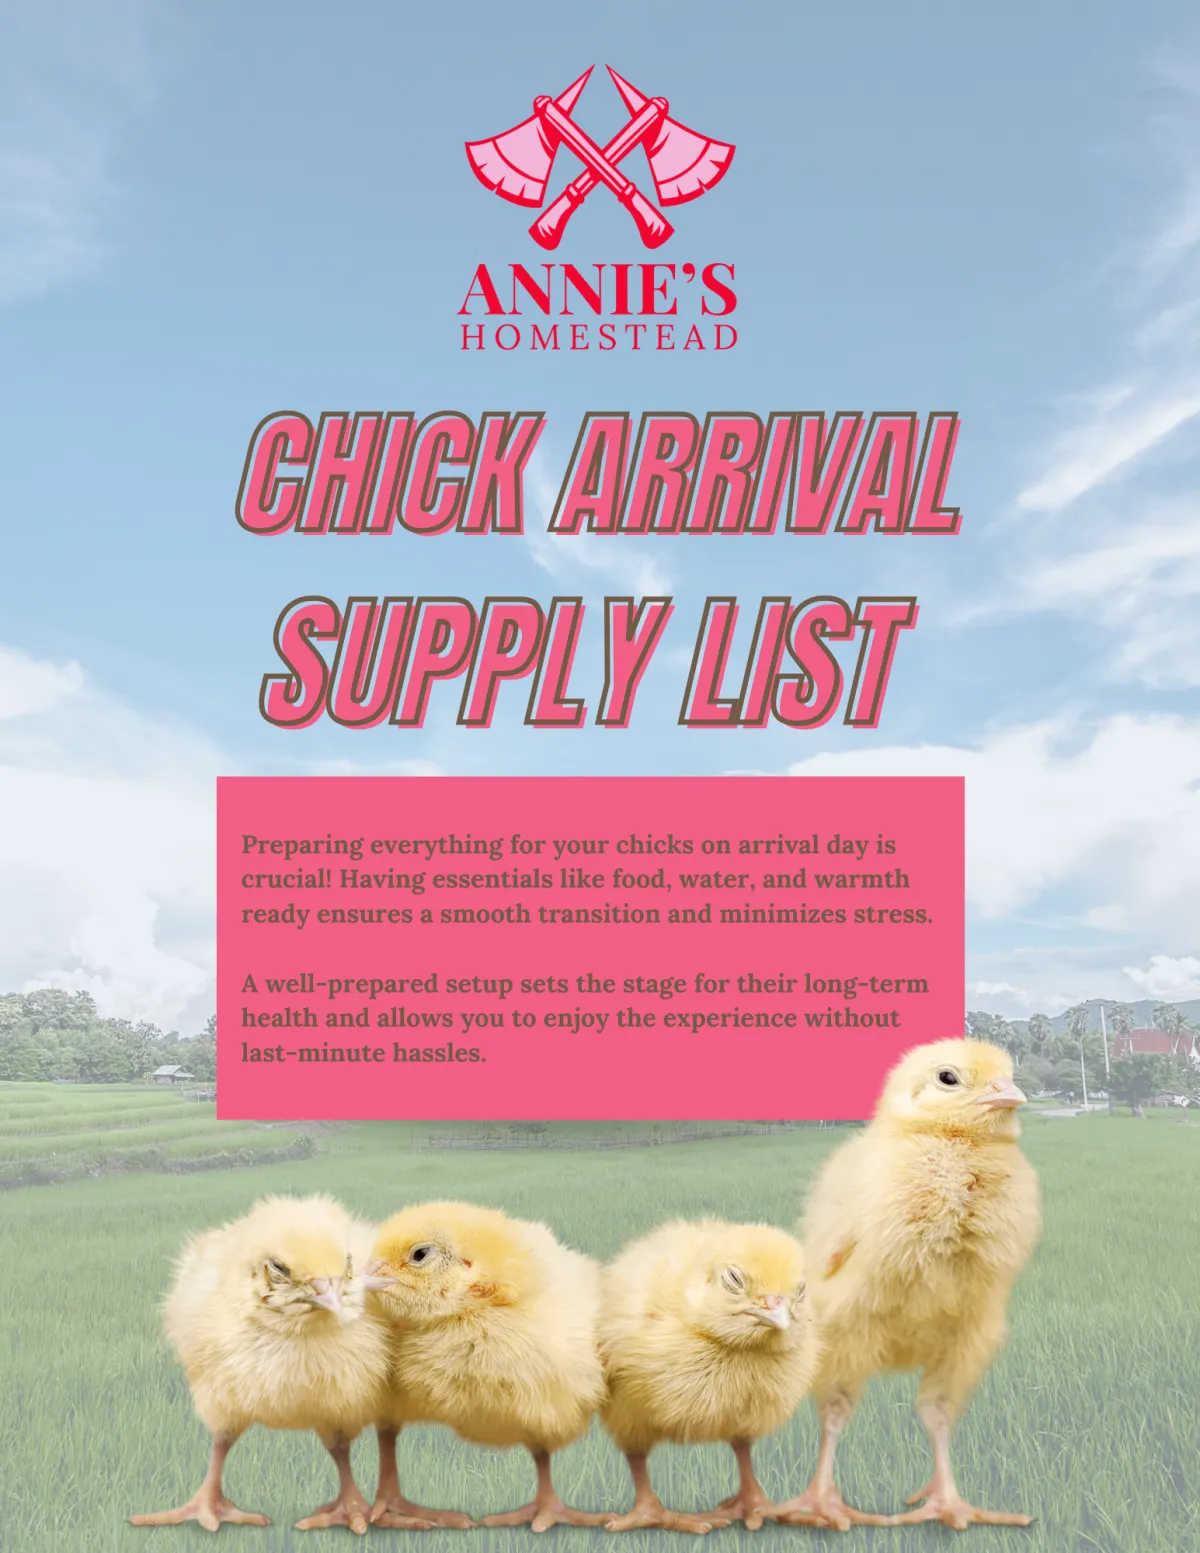
Prepare For Your New Chicks with our Favorite Essentials
Stay Updated
And join the inner circle
Be one of the firsts to know anything new and stay up to date with all the happenings on the homestead!
(I won't spam you ever - PROMISE!)
READ THE BLOG

Why You Should Start a Mealworm Farm
Why you should start a mealworm farm
In the big wide world of homesteading, where independence and eco-consciousness are key, there's a small but mighty creature that deserves a spotlight: the humble mealworm.
If you are interested in venturing into mealworm farming or if you are a seasoned chicken tender looking for tips to enhance your success, you have come to the right place! Mealworms are not only a fantastic source of protein for animals but also have so much potential on your homestead or urban farm.
These little guys pack a punch when it comes to helping us boost our self-sufficiency - don't let their unassuming looks fool you!
Join me on a journey into the fascinating world of mealworm farming as we uncover why these tiny critters are essential for any homestead, and how you can start and maintain your own mealworm farm effortlessly.
Understanding the Life Cycle of Mealworms
Before digging into the intricacies of mealworm farming, it's essential to understand the different life stages of these guys. Mealworms undergo a complete metamorphosis, transitioning through four distinct stages: egg, larva (mealworm), pupa, and adult beetle. Each stage plays a crucial role in the mealworm's life cycle, from egg-laying and hatching to growth and reproduction.
The Egg Stage: The lifecycle of a mealworm begins with the egg. The female beetles lay their eggs in a substrate, such as wheat bran or oats, which provides them with an ideal environment for hatching. It usually takes around one to two weeks for the eggs to hatch into tiny little larvae. To ensure successful hatching, maintain a warm temperature of around 80-85°F (26-29°C) and moderate humidity levels. It is also essential to regularly check the eggs for any signs of mold or diseases, because this can affect the hatching process. Remove any contaminated eggs as soon as you find them to prevent spreading.
The Larva Stage: Once hatched, the mealworm larvae emerge. At this stage, they are tiny, pale, and soft-bodied. As they grow, they undergo a series of molts, shedding their exoskeleton to accommodate their increasing size. To ensure optimal growth during this stage, provide a suitable substrate, such as wheat bran, oats, or cornmeal. This substrate not only acts as a food source but also provides a medium for the larvae to burrow and hide. Keep the substrate moist but not wet, as excessive moisture can lead to mold growth. Feeding the larvae is also crucial. They are voracious eaters and require a balanced diet to thrive. Common food sources for mealworms include grains, vegetables, fruits, and even kitchen scraps. Remember to provide fresh food regularly and remove any spoiled or uneaten food promptly to maintain a healthy environment.
The Pupa Stage: After several molts, the mealworm larvae enter the pupa stage, where they undergo a metamorphosis to transform into adult beetles. During this stage, mealworms become motionless and develop a hardened outer shell. To ensure successful pupation, provide a separate container with ample substrate for the larvae to burrow into. Keep the container in a dark and quiet environment, maintaining a temperature of around 75-80°F (24-27°C). It is essential to minimize disturbance during this stage as the pupae are delicate and any stress can affect their development.
The Adult Beetle Stage: Once the pupae have completed their transformation, they emerge as adult beetles. At this stage, the beetles are ready to breed and lay eggs to continue the lifecycle. It is essential to separate the adult beetles from the larvae and pupae to prevent cannibalism and ensure the eggs are safe from predation. Provide a suitable breeding environment for the adult beetles, such as a separate container with ample substrate and hiding places. Maintain a temperature of around 75-80°F (24-27°C) and avoid overcrowding to reduce stress and promote breeding success. Remember to provide a continuous source of food and remove any waste to maintain a clean and healthy environment for the beetles.
By understanding and effectively nurturing every stage of the mealworm lifecycle, you can maximize your farming success. The key to success lies in maintaining optimal temperature and humidity levels, providing suitable substrates, and offering a balanced diet. Regular monitoring and prompt action against mold, diseases, and contamination are also crucial for a healthy and thriving mealworm farm.

Let's discover the amazing benefits of mealworm farming on your homestead
From sustainable animal feed production to waste reduction and environmental stewardship, mealworm farming is a game-changer for reducing food waste and feed costs for your birds.
Check out these unbeatable reasons why you should start a mealworm farm right away:
High-Protein Animal Feed: Looking for a cost-effective solution to feed your animals? Look no further. Mealworms are jam-packed with protein and essential nutrients, making them the perfect supplement for poultry, fish, reptiles, and small mammals. Say goodbye to expensive commercial alternatives and hello to high-quality, homemade animal feed.
Say Goodbye to Waste: Mealworms are the champions of waste management. These voracious decomposers can devour a wide variety of organic waste materials, including kitchen scraps, cardboard, and agricultural residues. By introducing mealworms into your composting system, you'll speed up the decomposition process, reduce waste volume, and create nutrient-rich compost for your garden. Mother Nature will thank you!
Learning Made Fun: Mealworm farming isn't just practical—it's also educational! Everyone, young and old, can learn from the fascinating world of insects, biology, and sustainable agriculture. By involving your children in the care and management of a mealworm farm, you'll not only ignite their curiosity but also foster a greater love for our environment. This is a must-have addition for homeschoolers!
Don't miss out on the incredible possibilities that mealworm farming brings to your homestead. Start your own farm today and reap the rewards of sustainable living.
Building Your Own Mealworm Farm: A Step-by-Step Guide
Now that we've explored the benefits of mealworm farming, let's dig into the practicalities of building your own mealworm farm on the homestead. While mealworm farming can be adapted to suit various scales and budgets, the following steps outline a basic setup suitable for beginners:
Choose a suitable container for your mealworm farm, such as a plastic storage bin or a dedicated mealworm breeding tray. Ensure that the container is spacious enough to accommodate your desired quantity of mealworms and provides adequate ventilation to prevent moisture buildup. You don’t want your worms piling up on top of each other so find a container large enough for your worms to be happy. Providing more space will help dissipate heat and prevent overheating, which improves survival rate.
Line the bottom of the container with a suitable substrate for the mealworms to burrow and pupate. Common substrate options include wheat bran, oats, or a specialized mealworm bedding mix. Ensure that the substrate is dry and free from contaminants before adding it to the container.
Once the substrate is in place, introduce a starter population of mealworms to kickstart the farming process. You can obtain mealworms from pet stores, online suppliers, or by collecting them from existing colonies. Spread the mealworms evenly across the substrate, allowing them to burrow and begin feeding.
Mealworms require a consistent source of food and water to thrive. Offer a balanced diet of fruits, vegetables, and high-protein supplements such as dry dog food or poultry feed. Additionally, provide a shallow dish of water or hydrating fruits (e.g., cucumber or apple slices) to prevent dehydration.
Monitor and maintain optimal environmental conditions within the mealworm farm to support healthy growth and reproduction. Maintain temperatures between 70-80°F (21-27°C) and humidity levels around 70-80% to promote optimal breeding conditions. Regularly inspect the substrate for signs of mold, moisture, or contamination, and remove any decaying organic matter promptly.
As your mealworm colony grows, periodically harvest mature mealworms for use as animal feed or culinary ingredients. Use a fine mesh sieve or specialized mealworm harvesting tool to separate mealworms from the substrate. Additionally, manage population sizes by removing excess pupae and beetles to prevent overcrowding and competition for resources.
Embrace the Potential of Mealworm Farming
Whether you are a beginner or an experienced mealworm farmer, we hope this information on mealworms has equipped you with the knowledge and insights to become a master in this fascinating endeavor.
So, what are you waiting for? Dive into the thrilling world of mealworm farming today and unlock the endless benefits that await you. From sustainability to endless nutrition and a captivating hobby, mealworm farming is your ticket to a greener, more fulfilling life. Mealworm farming offers homesteaders a sustainable and rewarding way to produce protein-rich animal feed, manage organic waste, and engage in educational activities.
By understanding the life cycle of mealworms and building a suitable farming setup, you can harness the potential of these tiny creatures to enhance the self-sufficiency and resilience of your homestead. Whether you're a seasoned homesteader or embarking on your self-sufficiency journey, consider incorporating mealworm farming into your repertoire—it's a small step with significant benefits for both your homestead and the environment.
Are you ready to jump into mealworm farming? Grab my mealworm guide here! I lay down all the basics and teach you how to build a robust mealworm farm so you can start reducing your feed costs and feed your birds a fresh, nutritional protein treat.
Happy farming and may your mealworms flourish at every stage!
It's time to take the first step towards your homesteading journey.
Don't let uncertainty hold you back any longer.
Our chicken course offers a comprehensive roadmap to self-sufficiency, guiding you step-by-step through the process of creating your own thriving flock, from hatch to harvest.
Enroll in our course today and take the first step towards a brighter, more empowered future!

Annie's Homestead is not affiliated by Facebook™ in any way. Facebook™ is a registered trademark of Facebook™ Inc
Branding and Website by RoyalT Studio